Participate in Dynamic TAO - Testnet
Learn how to participate in Bittensor's Dynamic TAO testnet using either BTCLI or Polkadot.js. This guide covers two simple methods: installing BTCLI locally or using a browser-based solution through Polkadot.js.
The browser-based method allows you to participate in Dynamic TAO testnet without installing any software locally. This approach uses Polkadot.js and works entirely through your web browser. Follow these steps to get started with the testnet using PolkadotJS and optionally a notebook to run BTCLI commands:
Table Of Contents
1. Set Up Browser Wallet
Start by installing the official Bittensor browser extension. Once installed, you can either import an existing wallet using your seed phrase or create a new one by following the steps in our "Create Bittensor Wallet" guide. The extension will allow you to interact directly with a wallet through your browser.
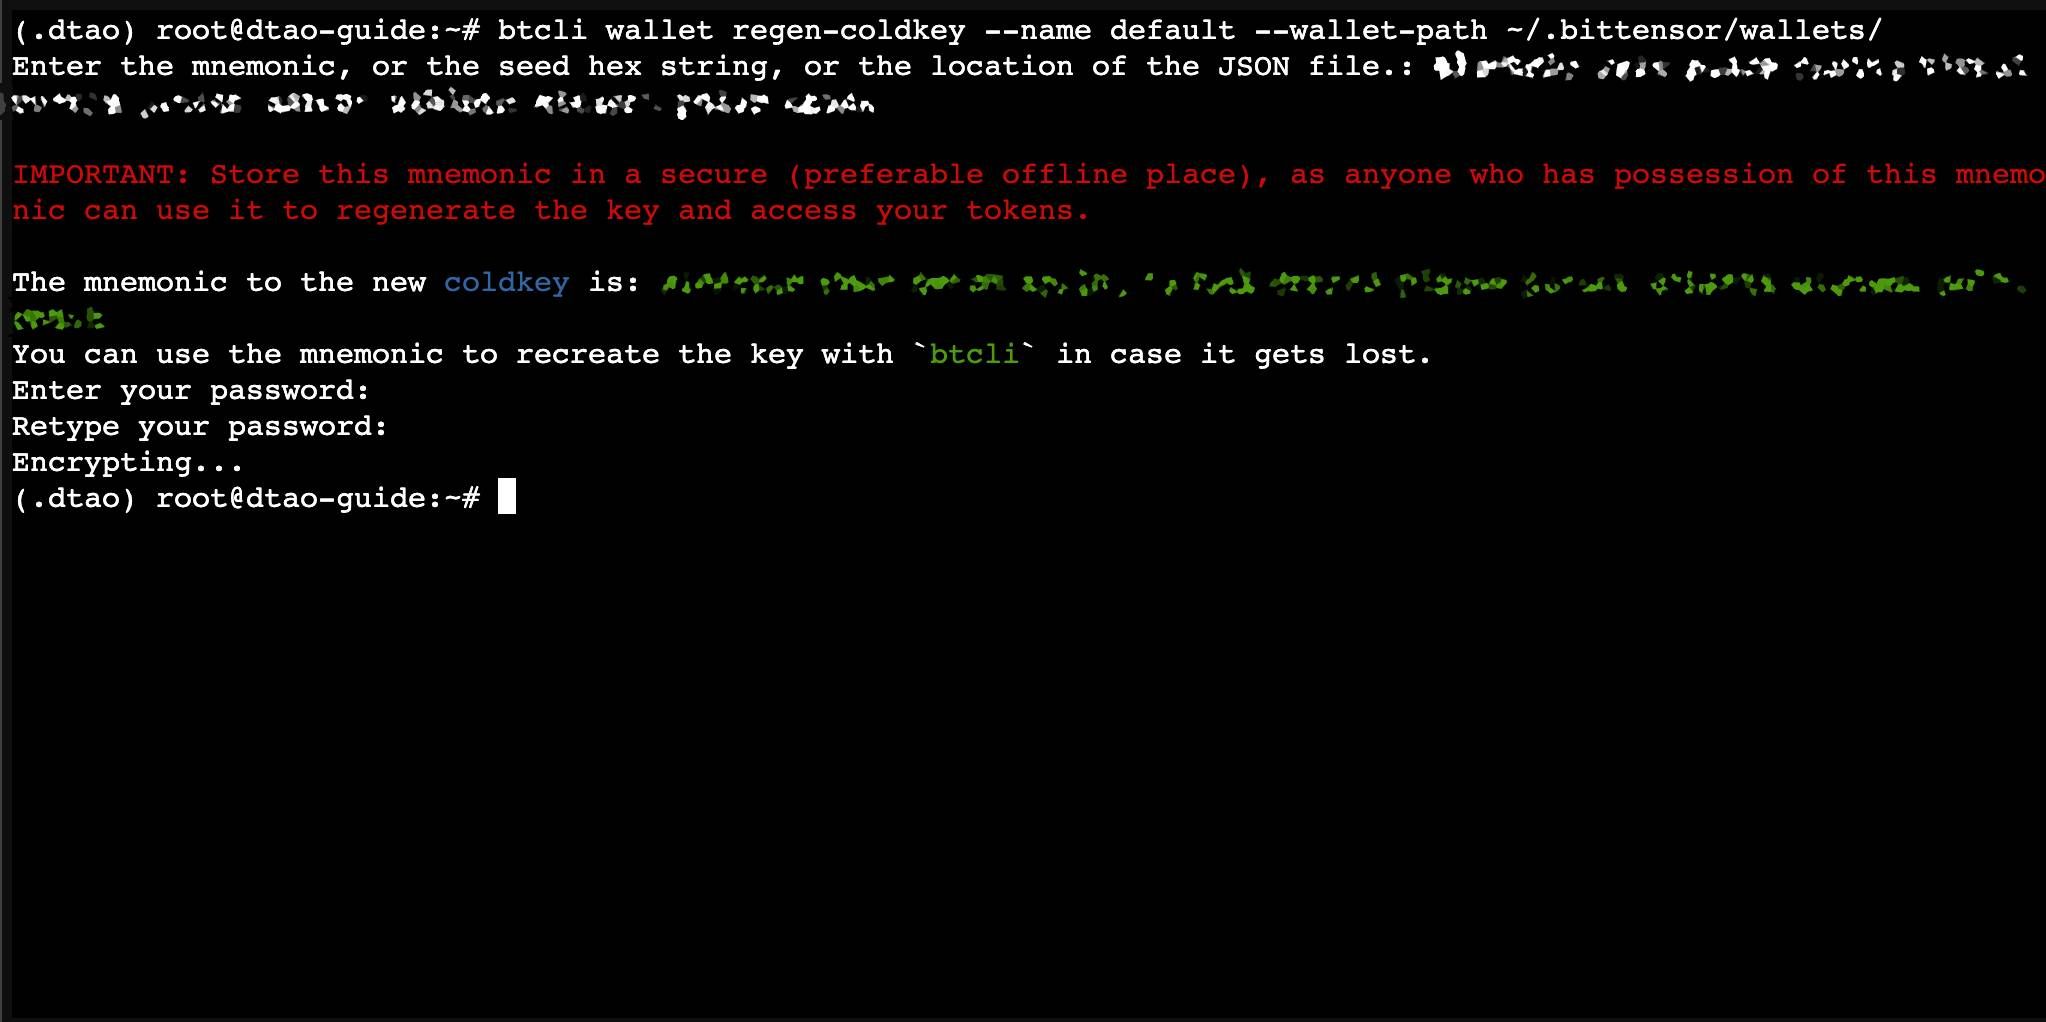
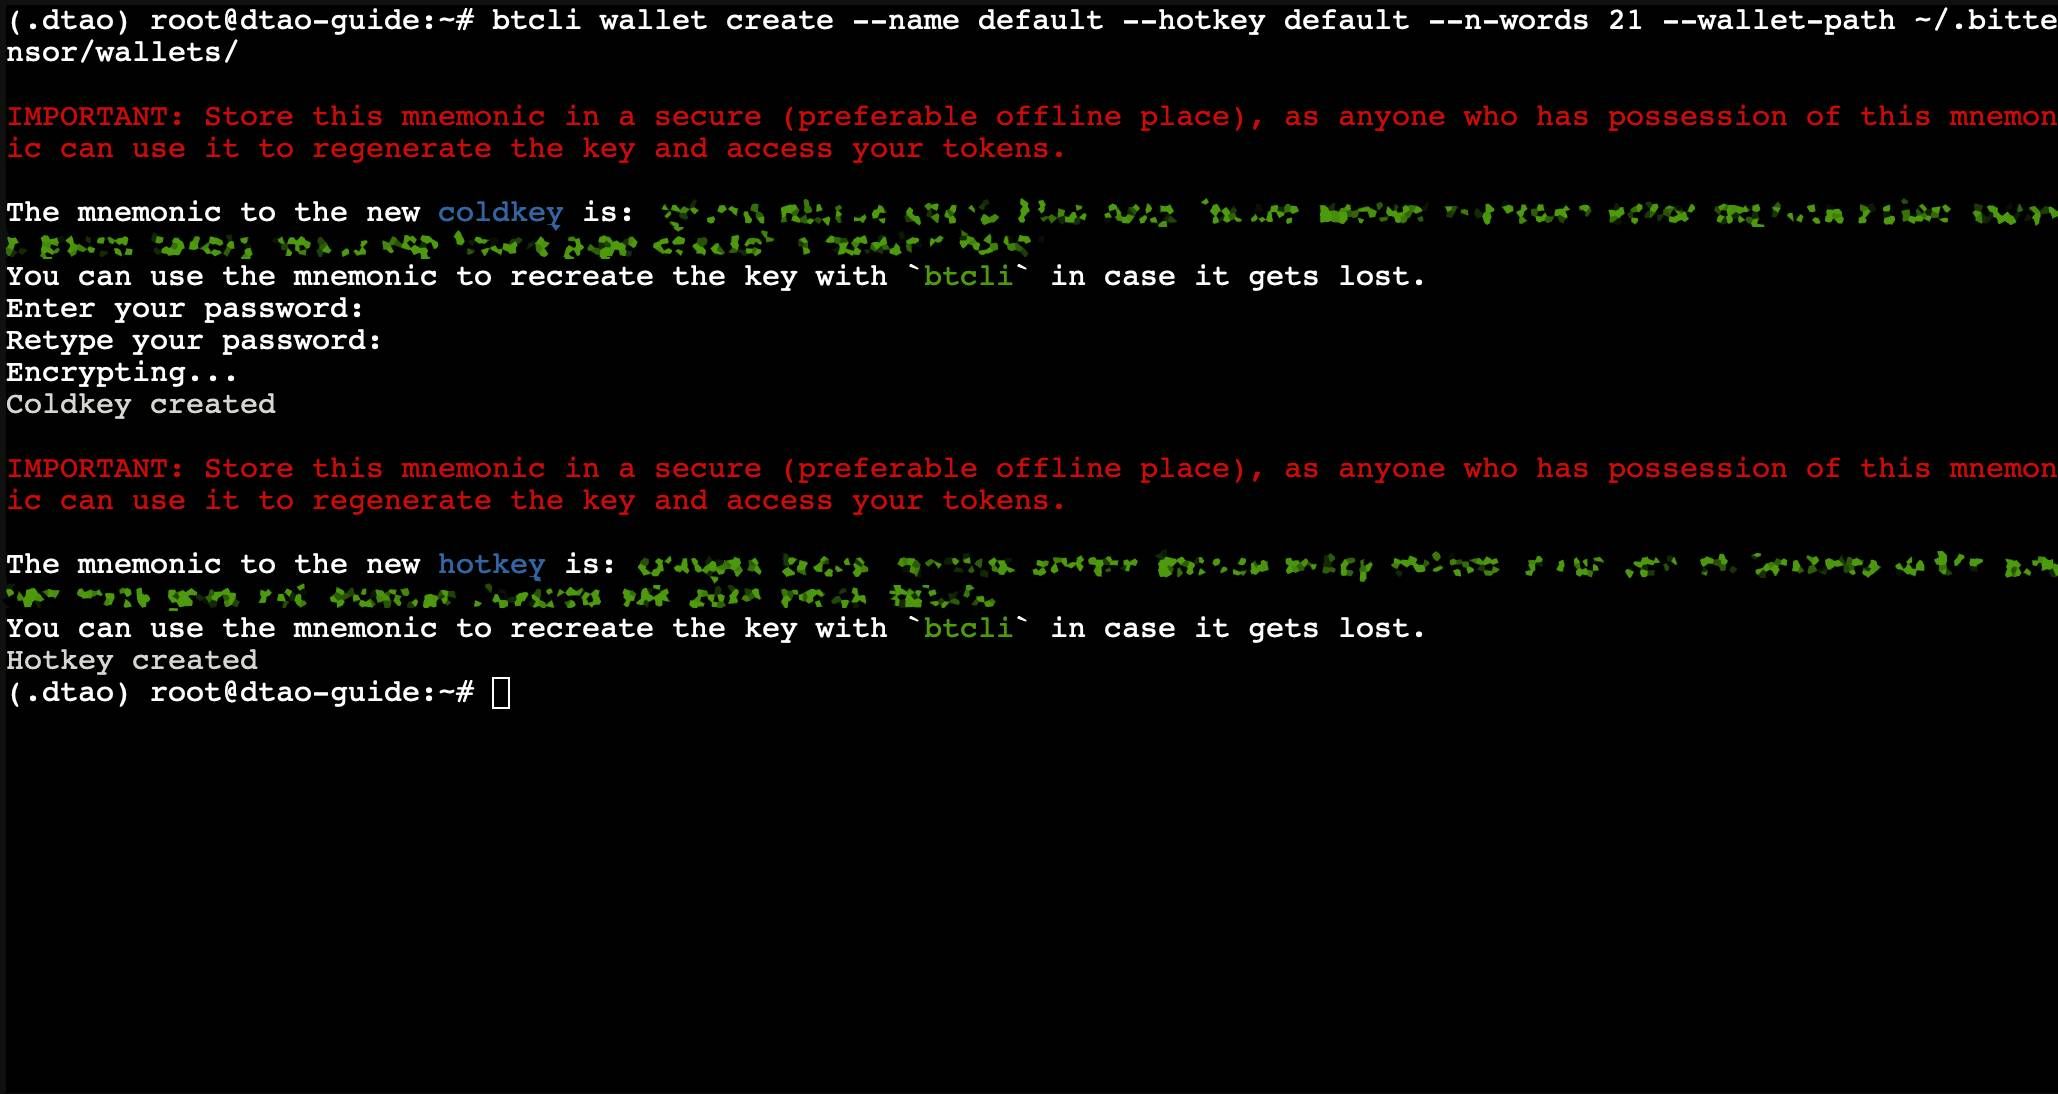
STORE YOUR SEED PHRASE
immediately write down your mnemonic phrase and store it in a secure location. If you lose these 12 words, you will permanently lose access to your wallet and any funds it contains.
2. Connect to Polkadot.js Interface
Visit the testnet interface through this link:
https://polkadot.js.org/apps/?rpc=wss://test.finney.opentensor.ai:443#/extrinsicsYour wallet extension will prompt you to connect with the website. Select the wallet you have created/imported for this use-case.
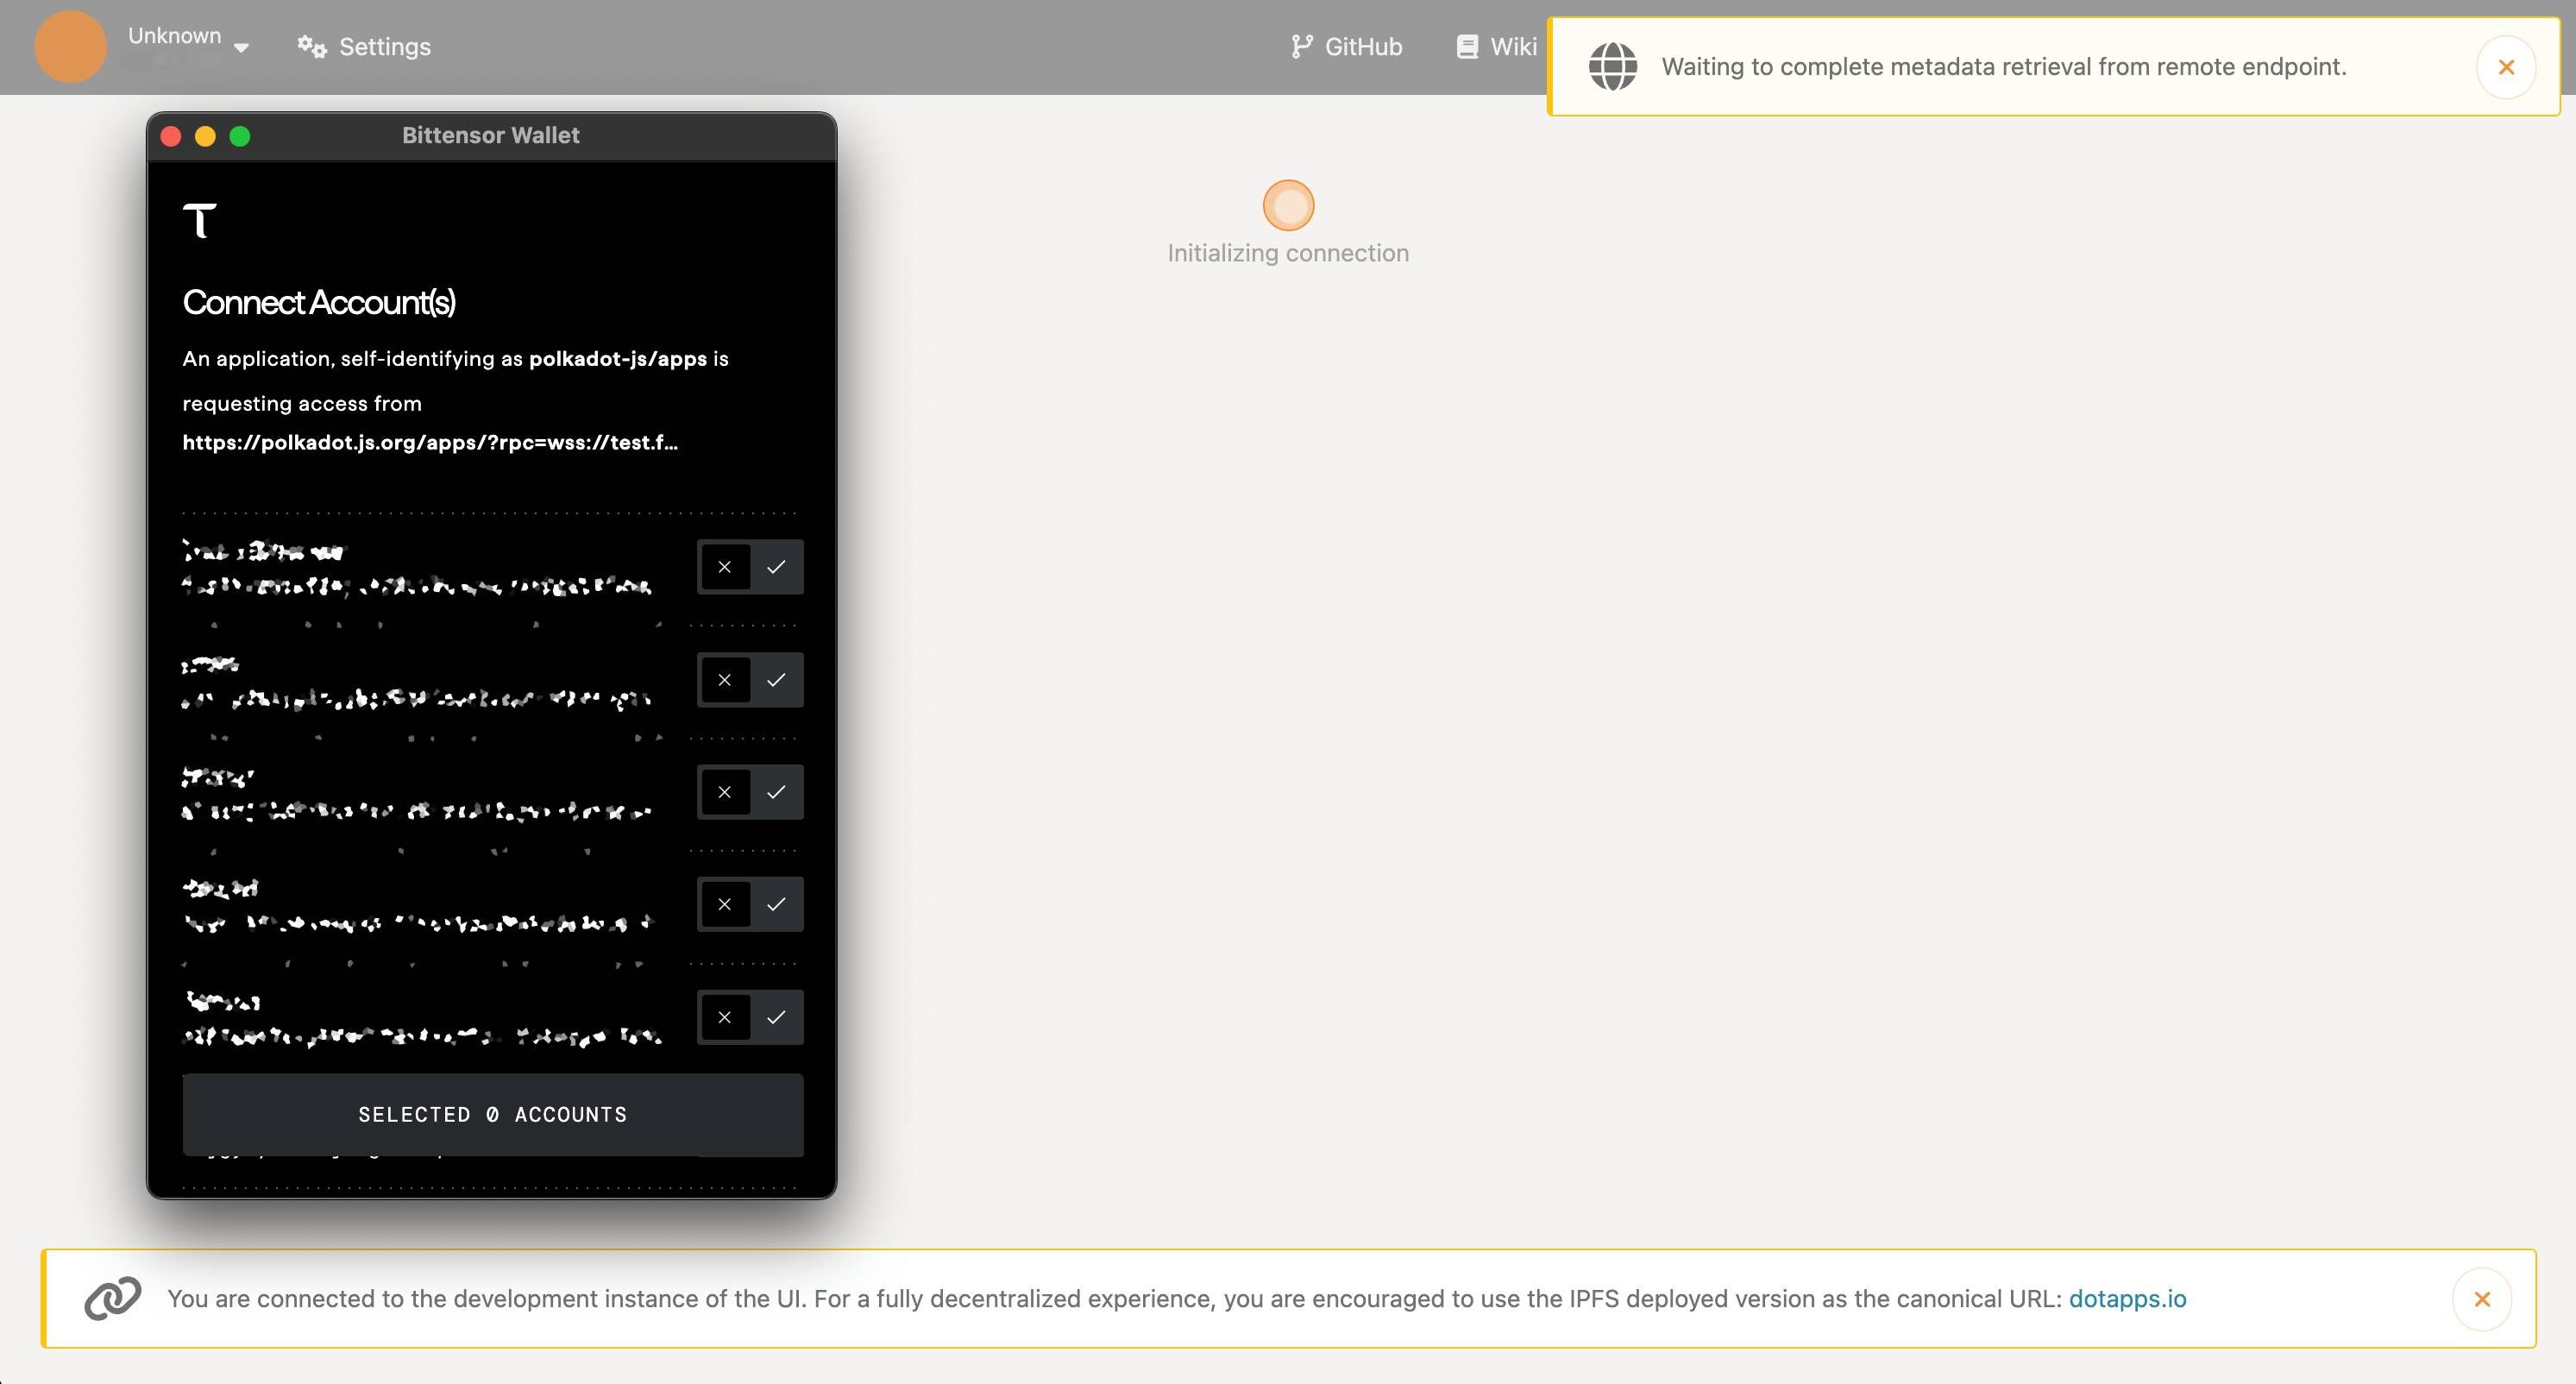
After allowing the connection, you should see your wallet appear as the selected account in the interface.
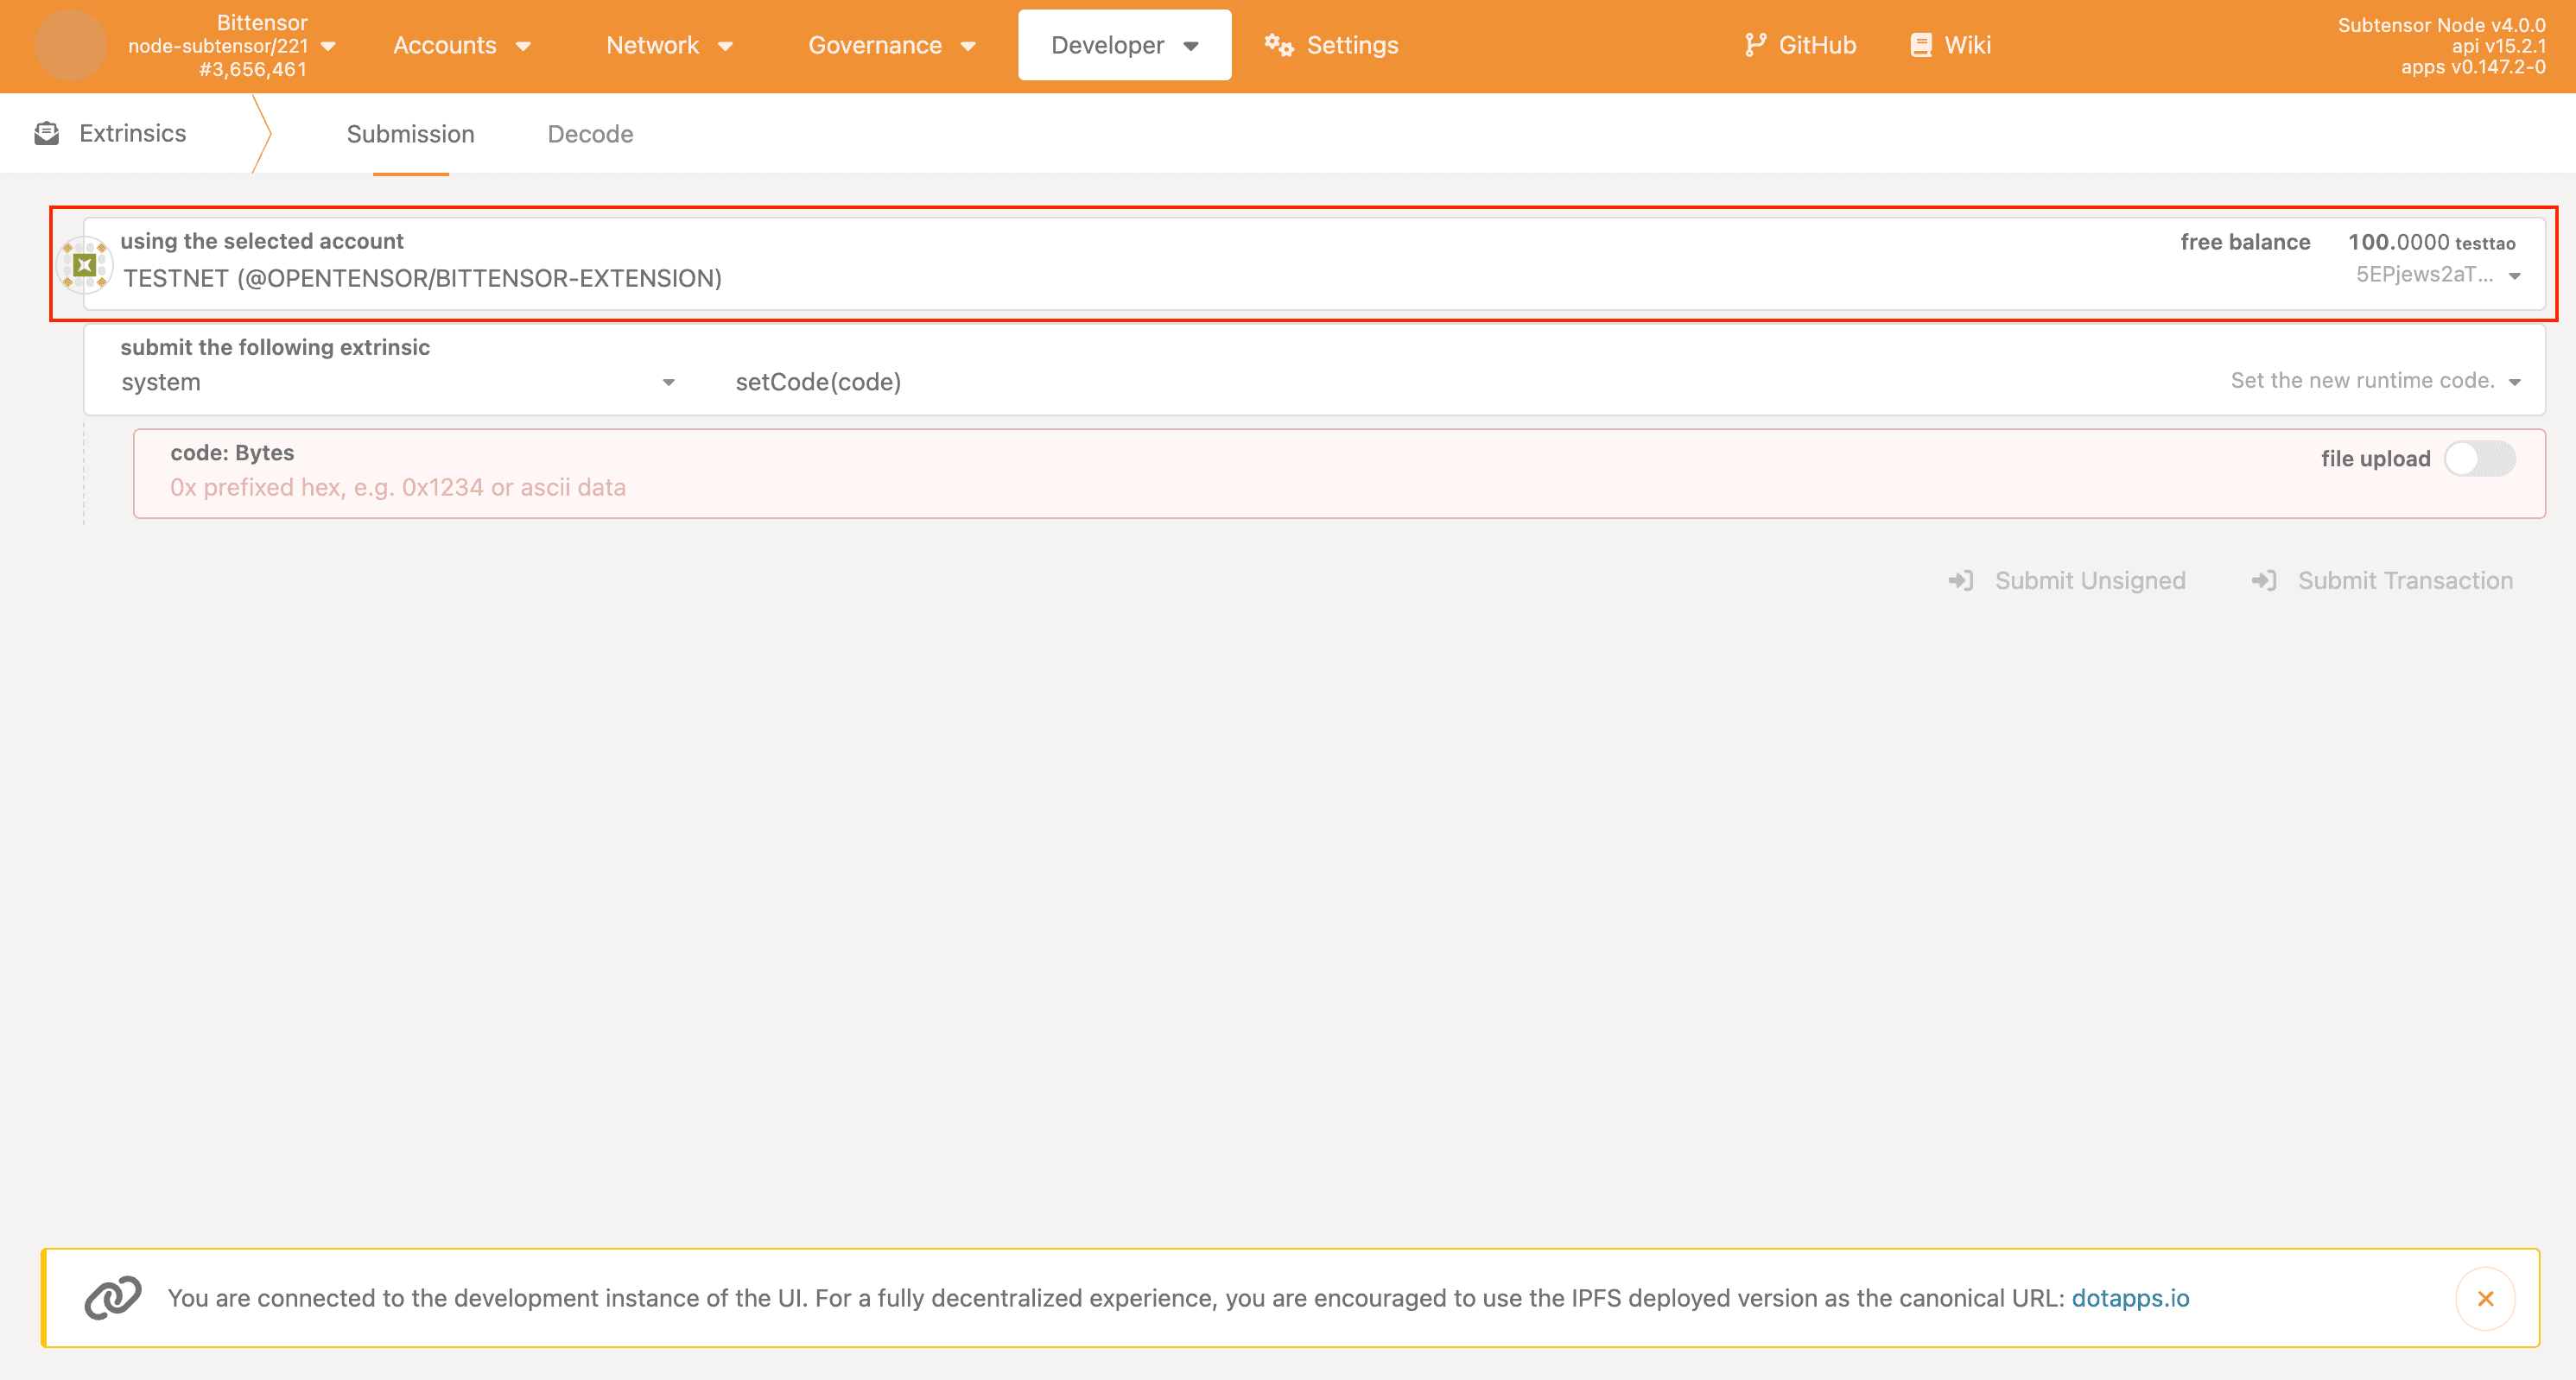
The website will automatically connect to the Bittensor testnet, but verify this by clicking on the top left icon and confirming that the "custom endpoint" is set to:
wss://test.finney.opentensor.ai:443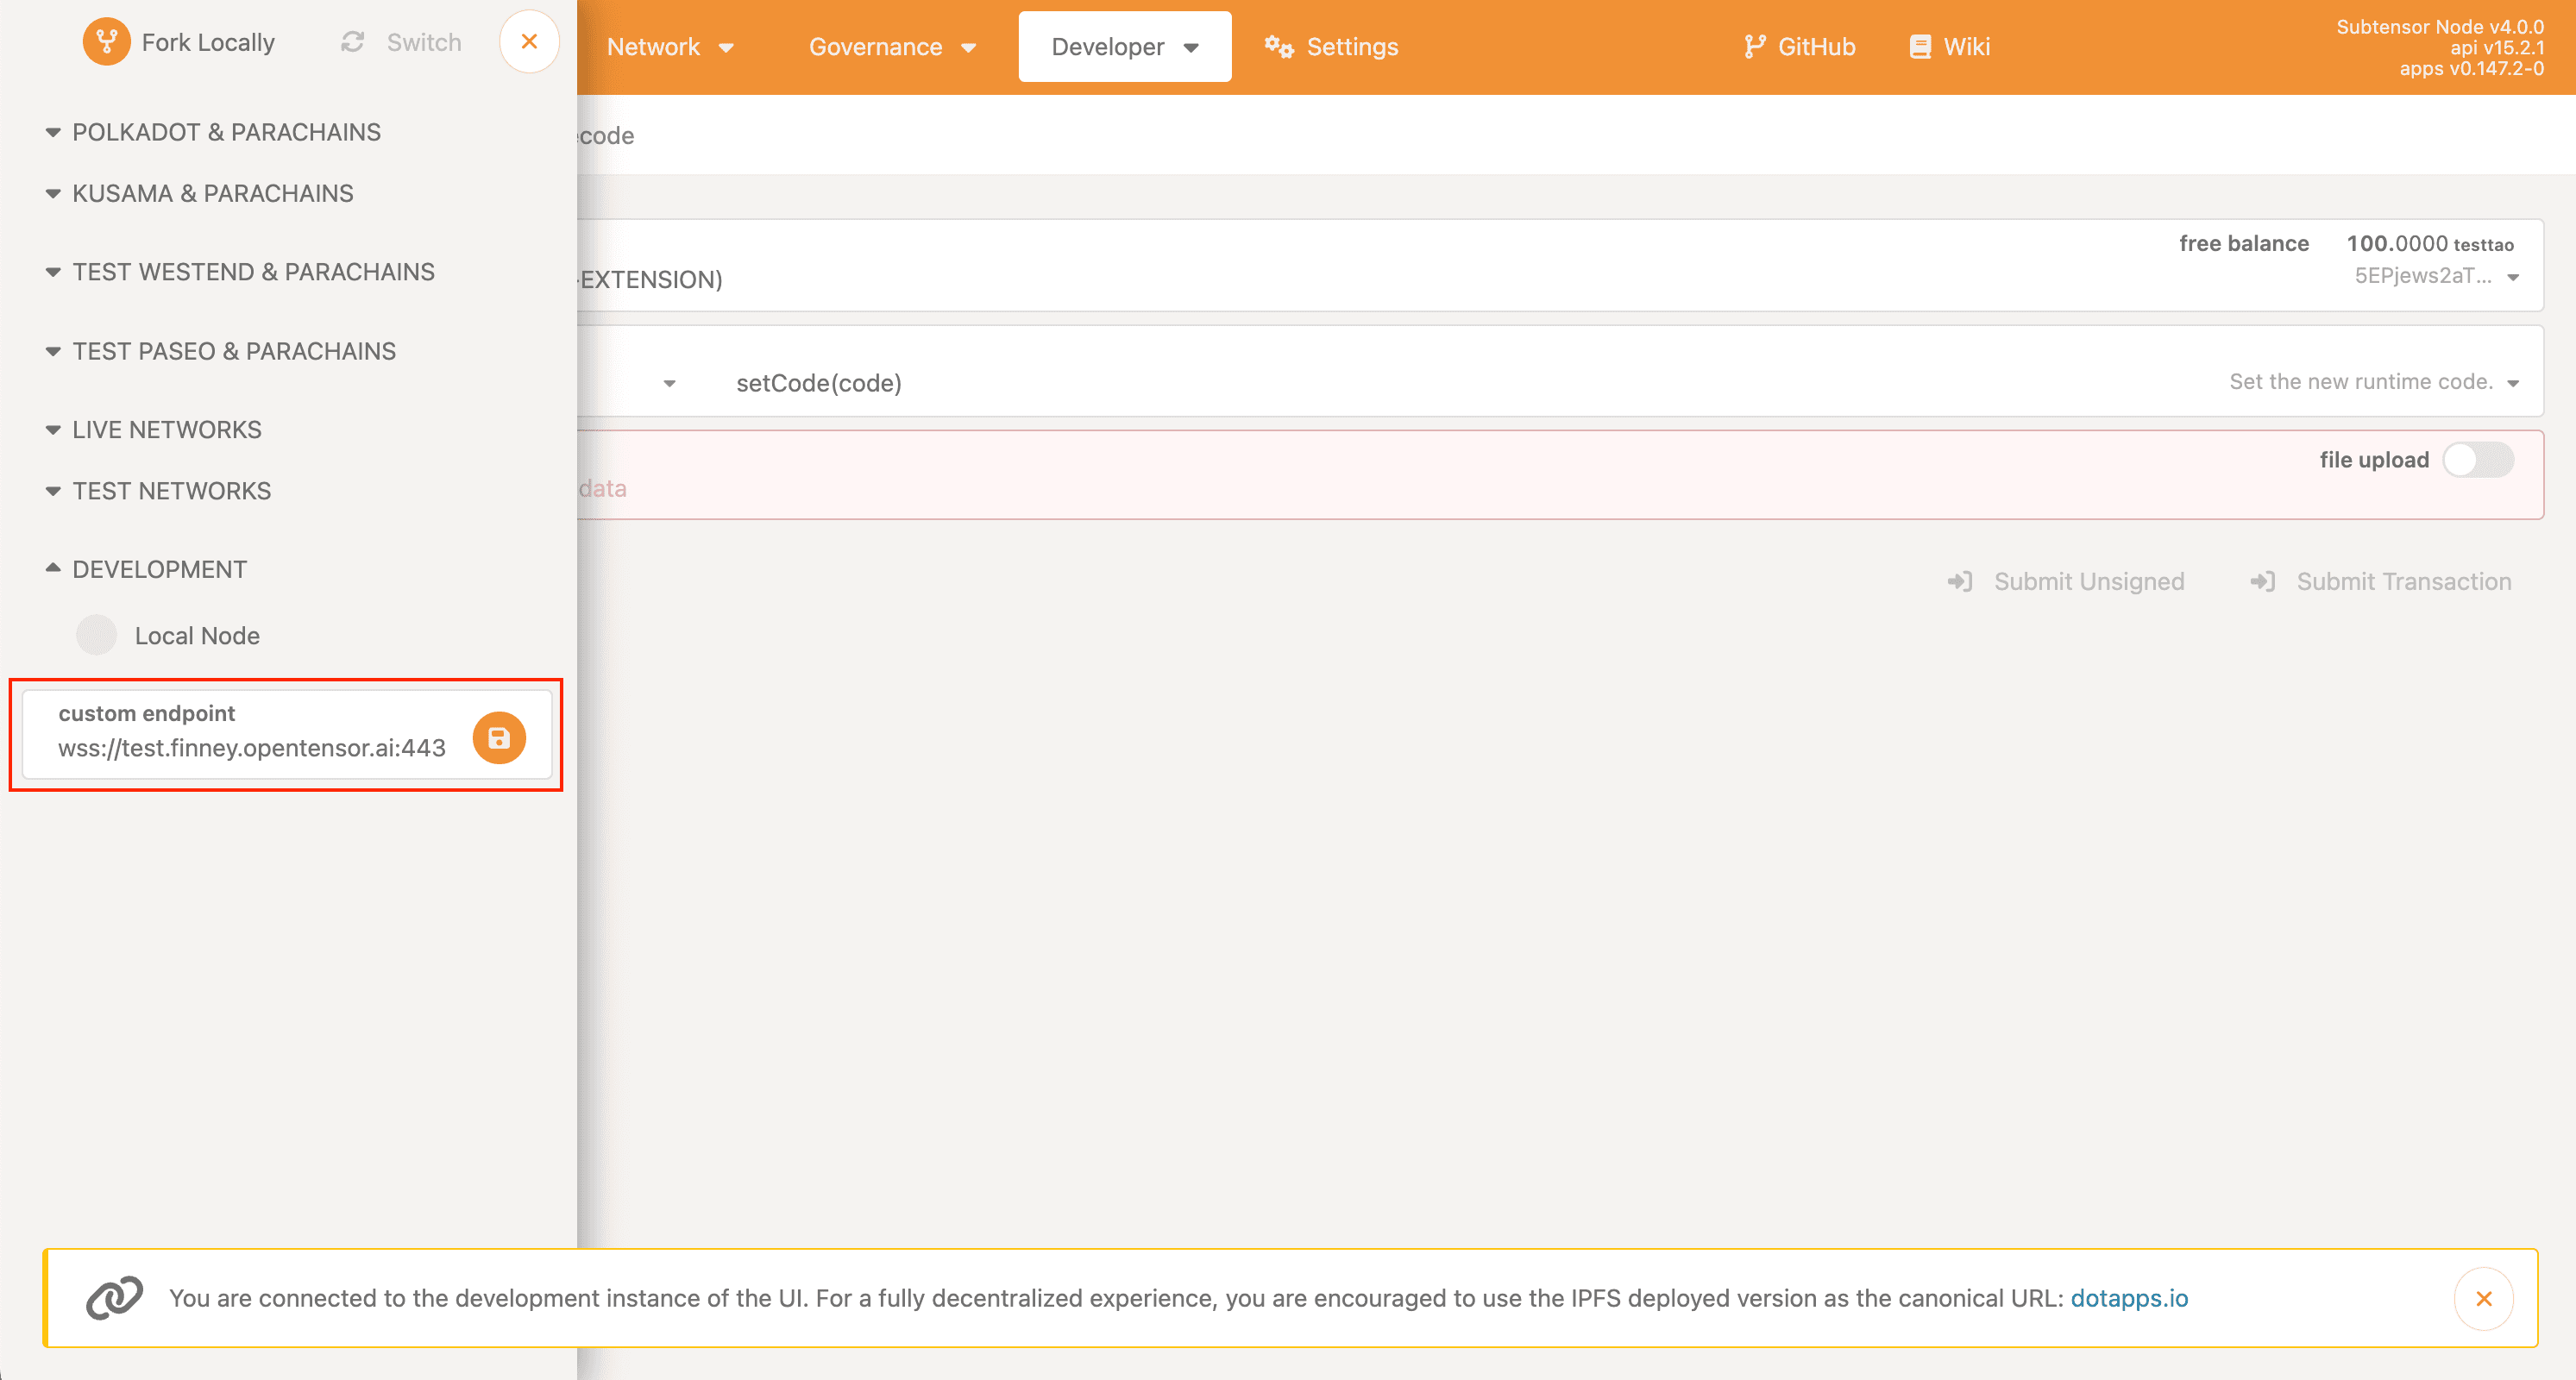
3. Use BTCLI Through Browser
For users who prefer not to install software locally, we provide a browser-based alternative using a Google Colab notebook (Google Account required). This notebook allows you to access BTCLI commands directly through your web browser, making it particularly useful for:
- Viewing subnet information
- Monitoring all subnets
- Checking subnet validators
While this method is technically optional, it's recommended for checking subnet prices etc. before staking , or required before unstaking to know the amount of ALPHA able to unstake.
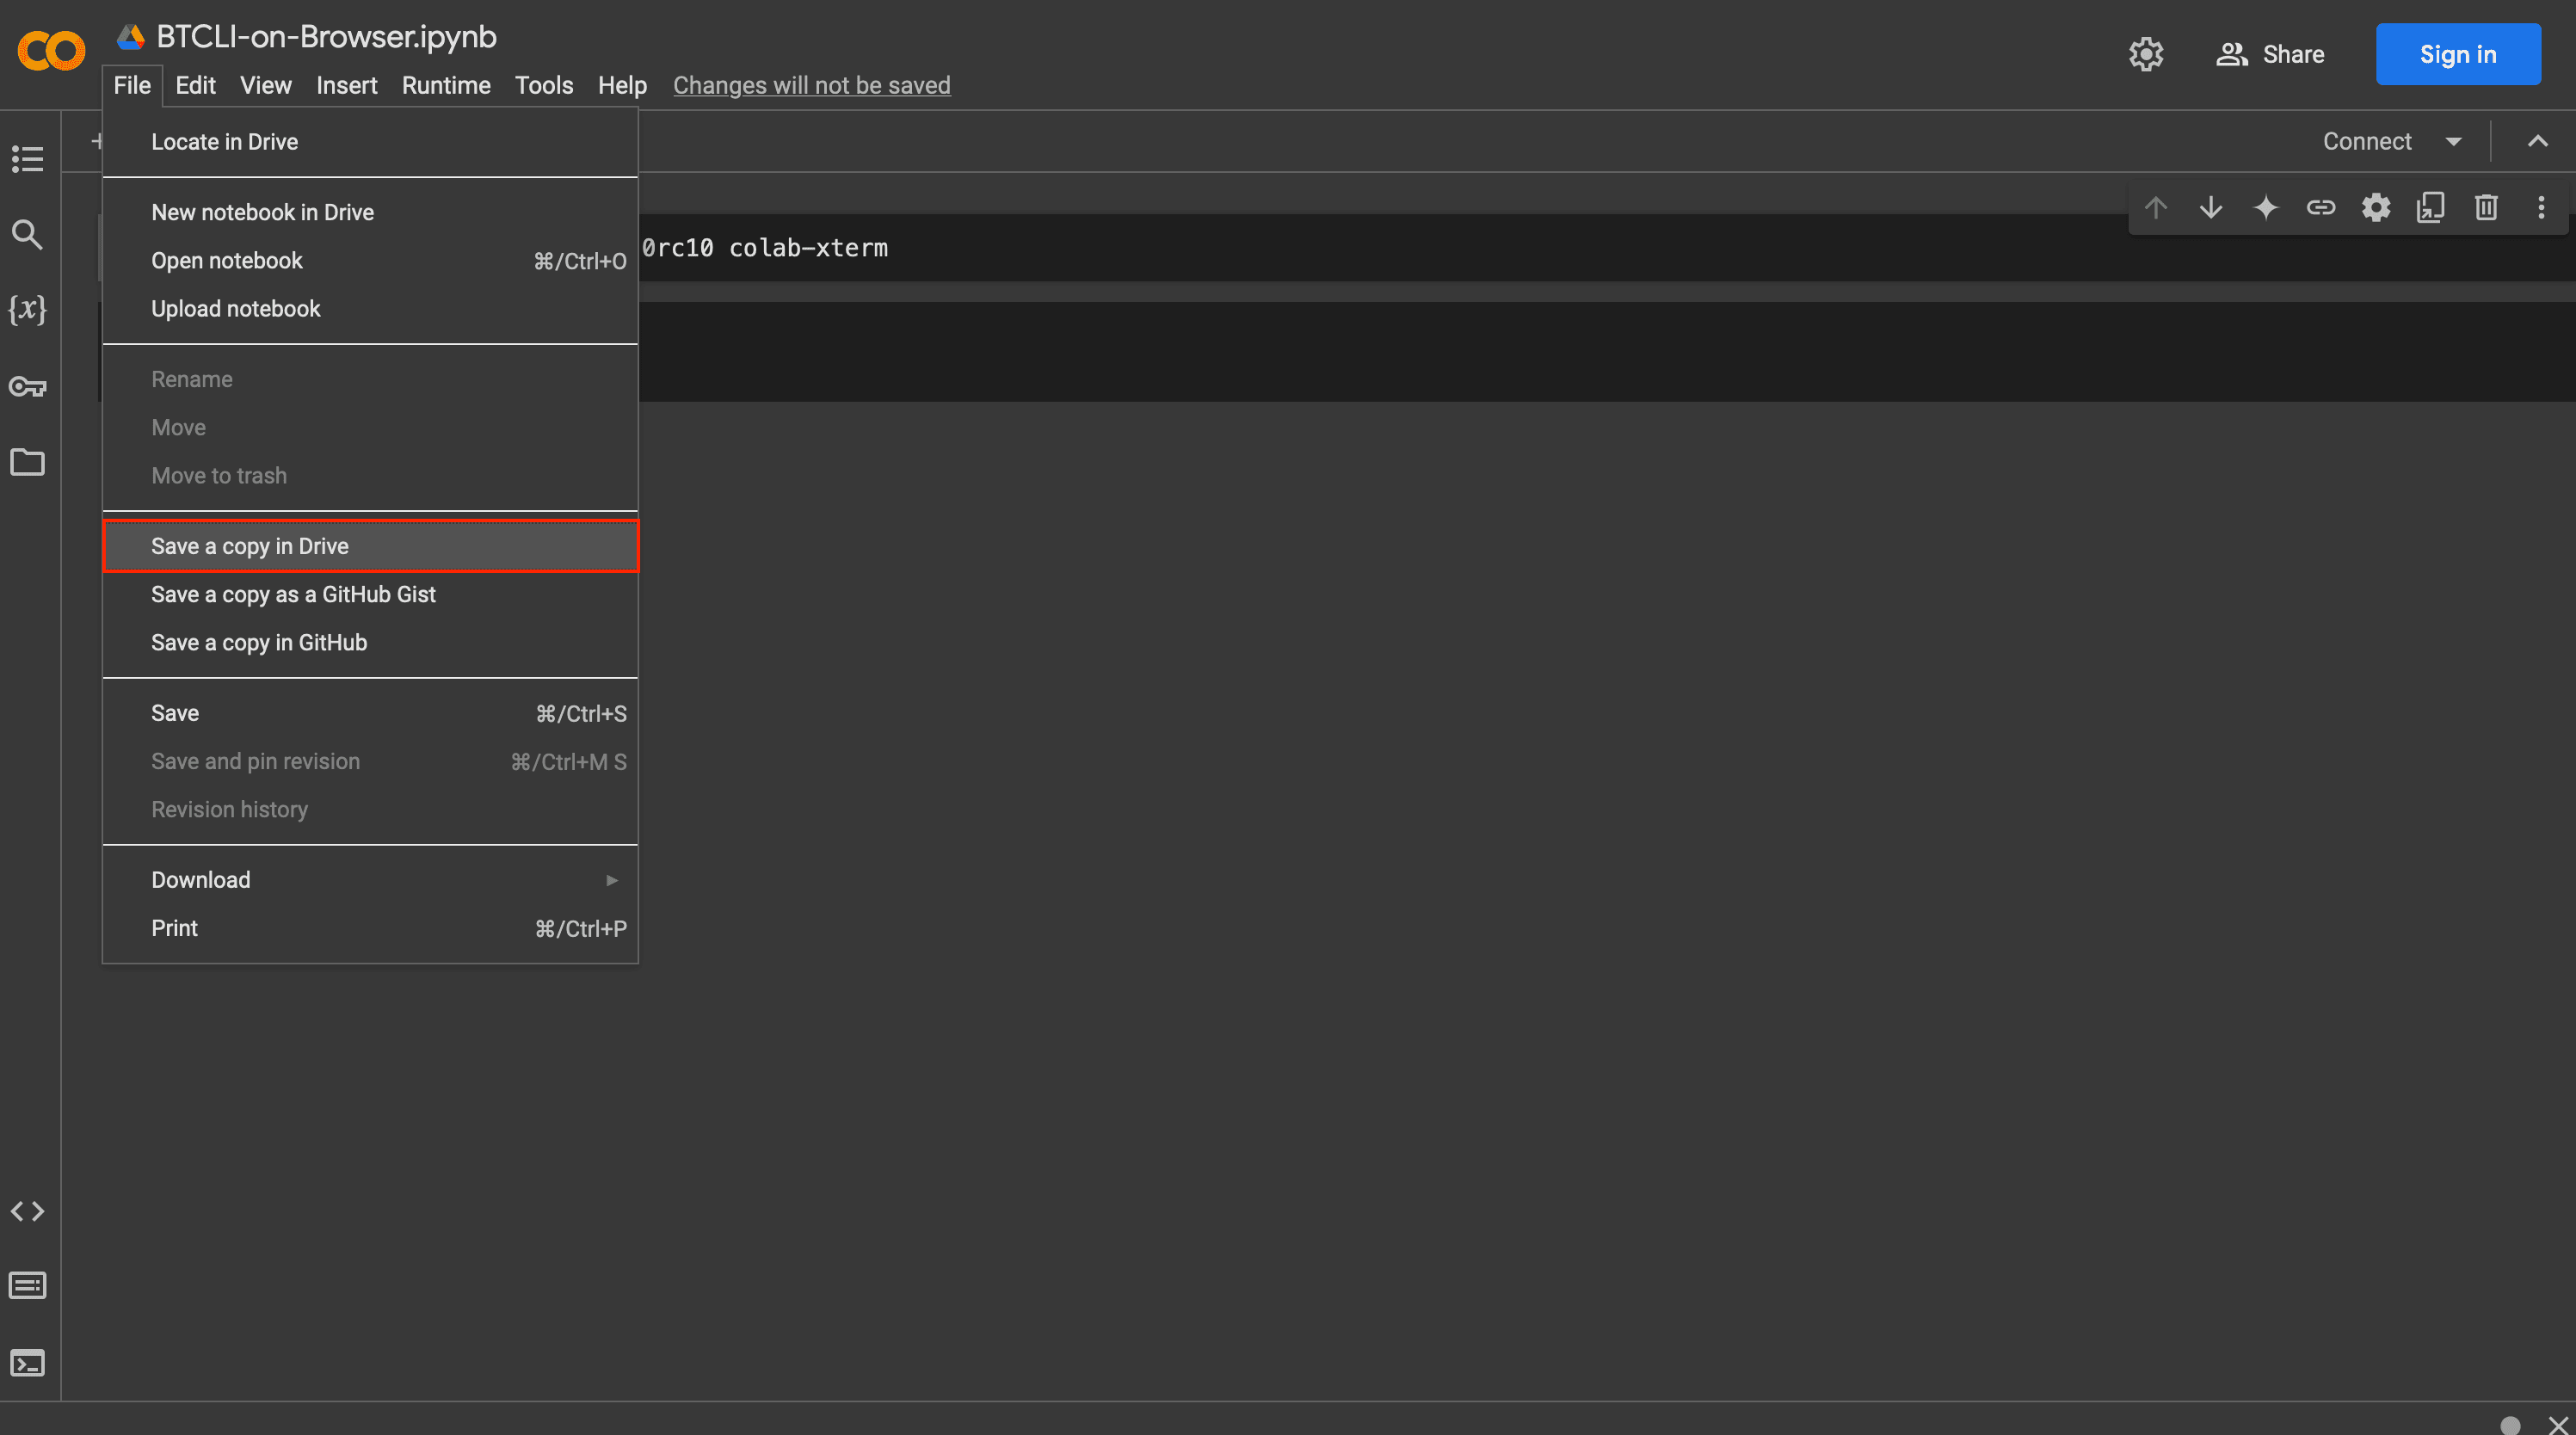
When you first open the notebook, go to "File -> Save a Copy in Drive" to create your personal copy in Google Drive. This ensures you have your own private instance of the notebook where you can run the commands.
Once you're working with your copy, you have to execute each cell for BTCLI to work. To run all cells easily simply click on "Runtime -> Run all".
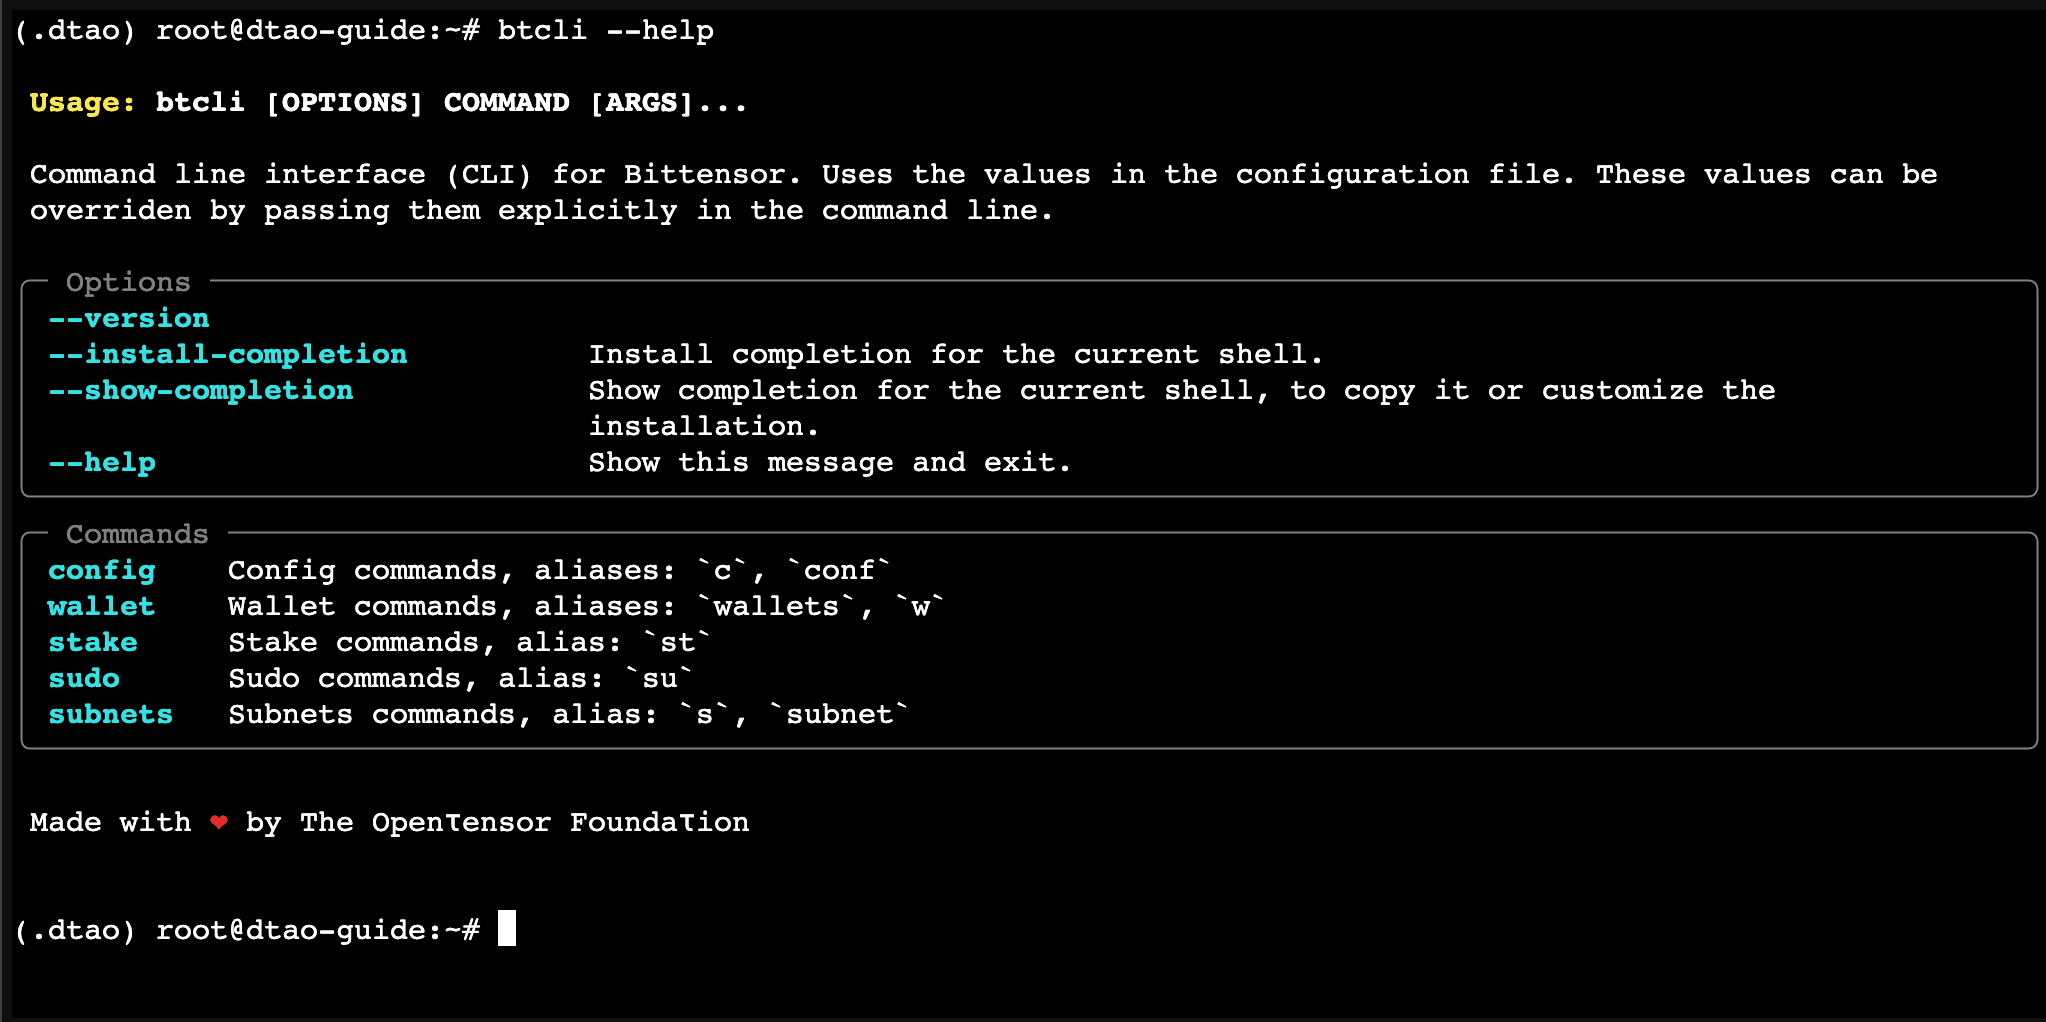
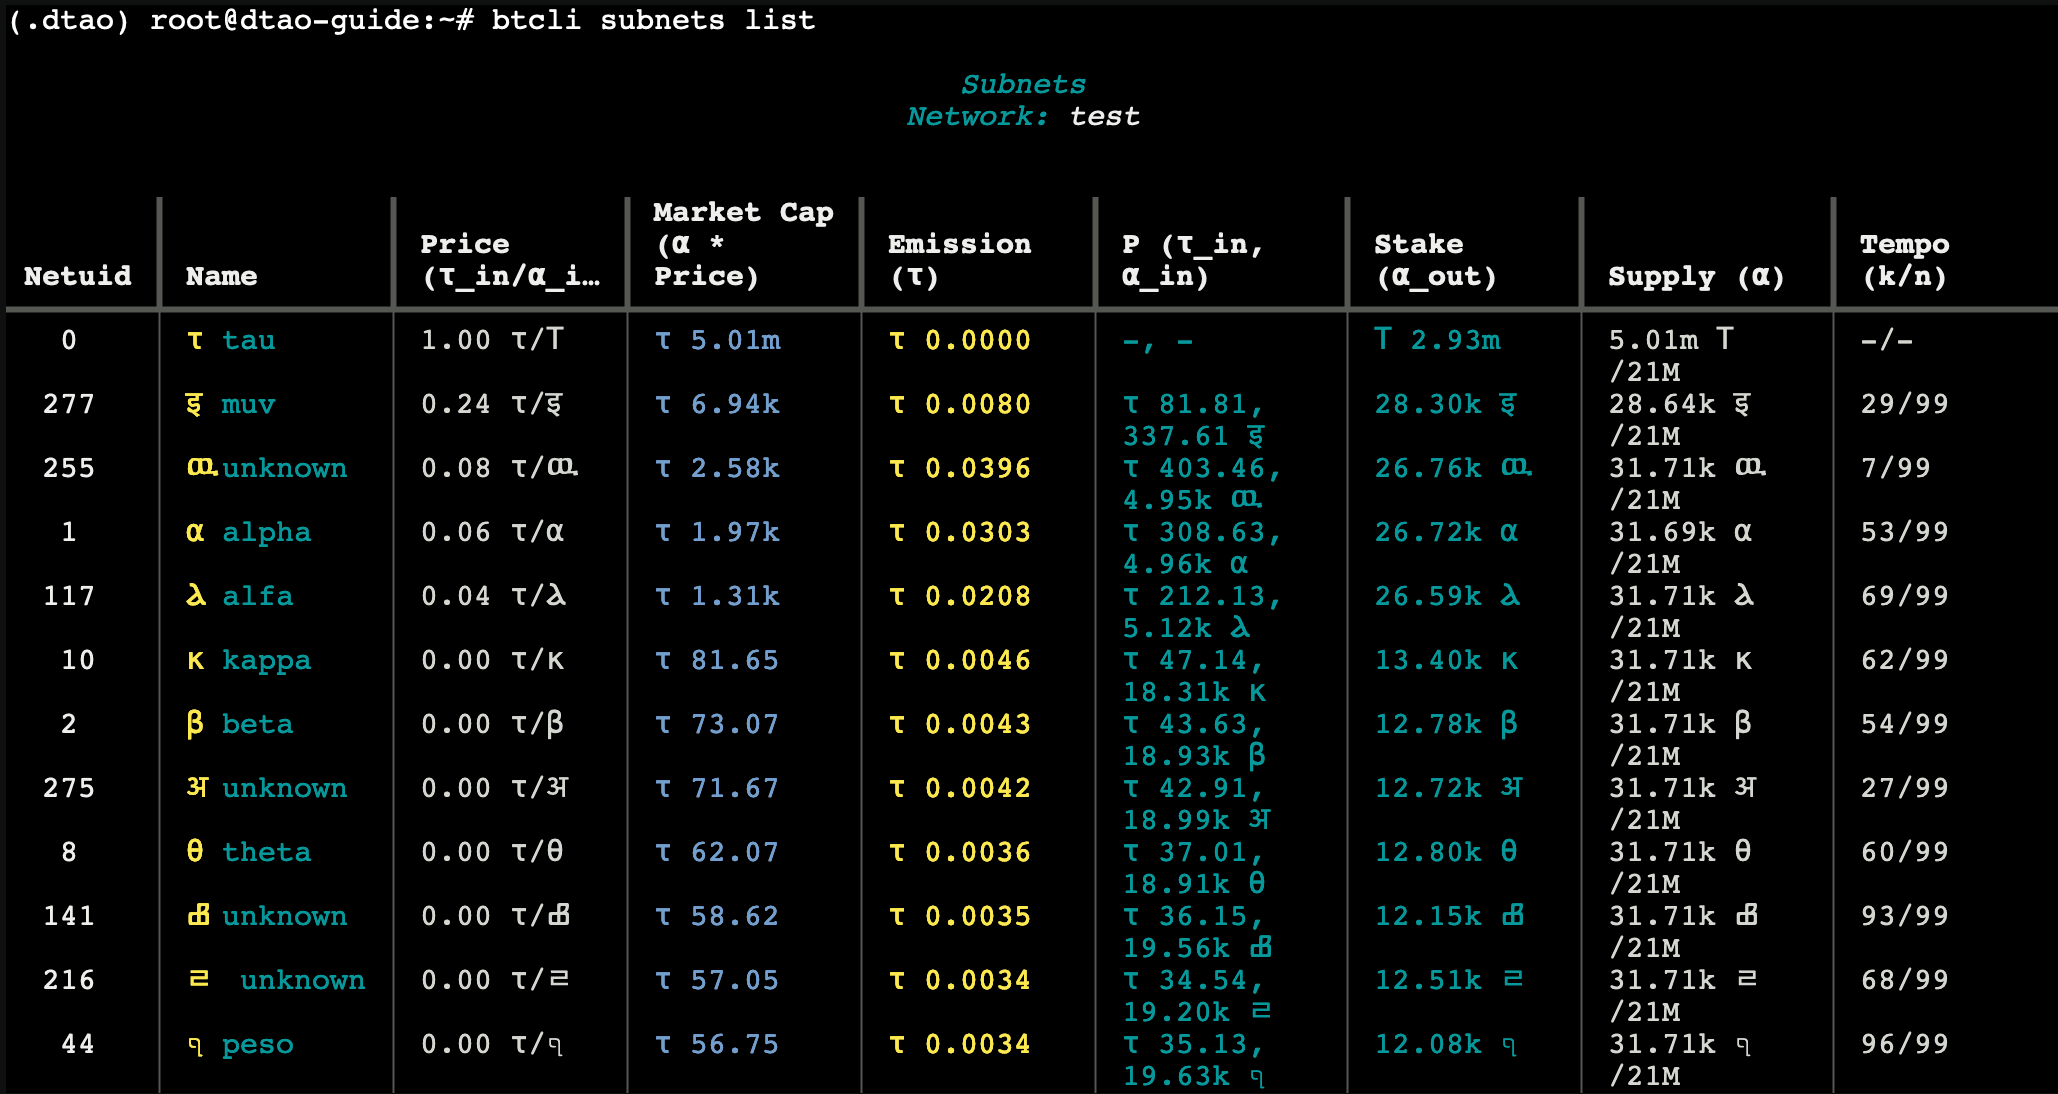
Once you can see the black terminal the BTCLI should be working and accepting commands. Verify this by running:
btcli subnets list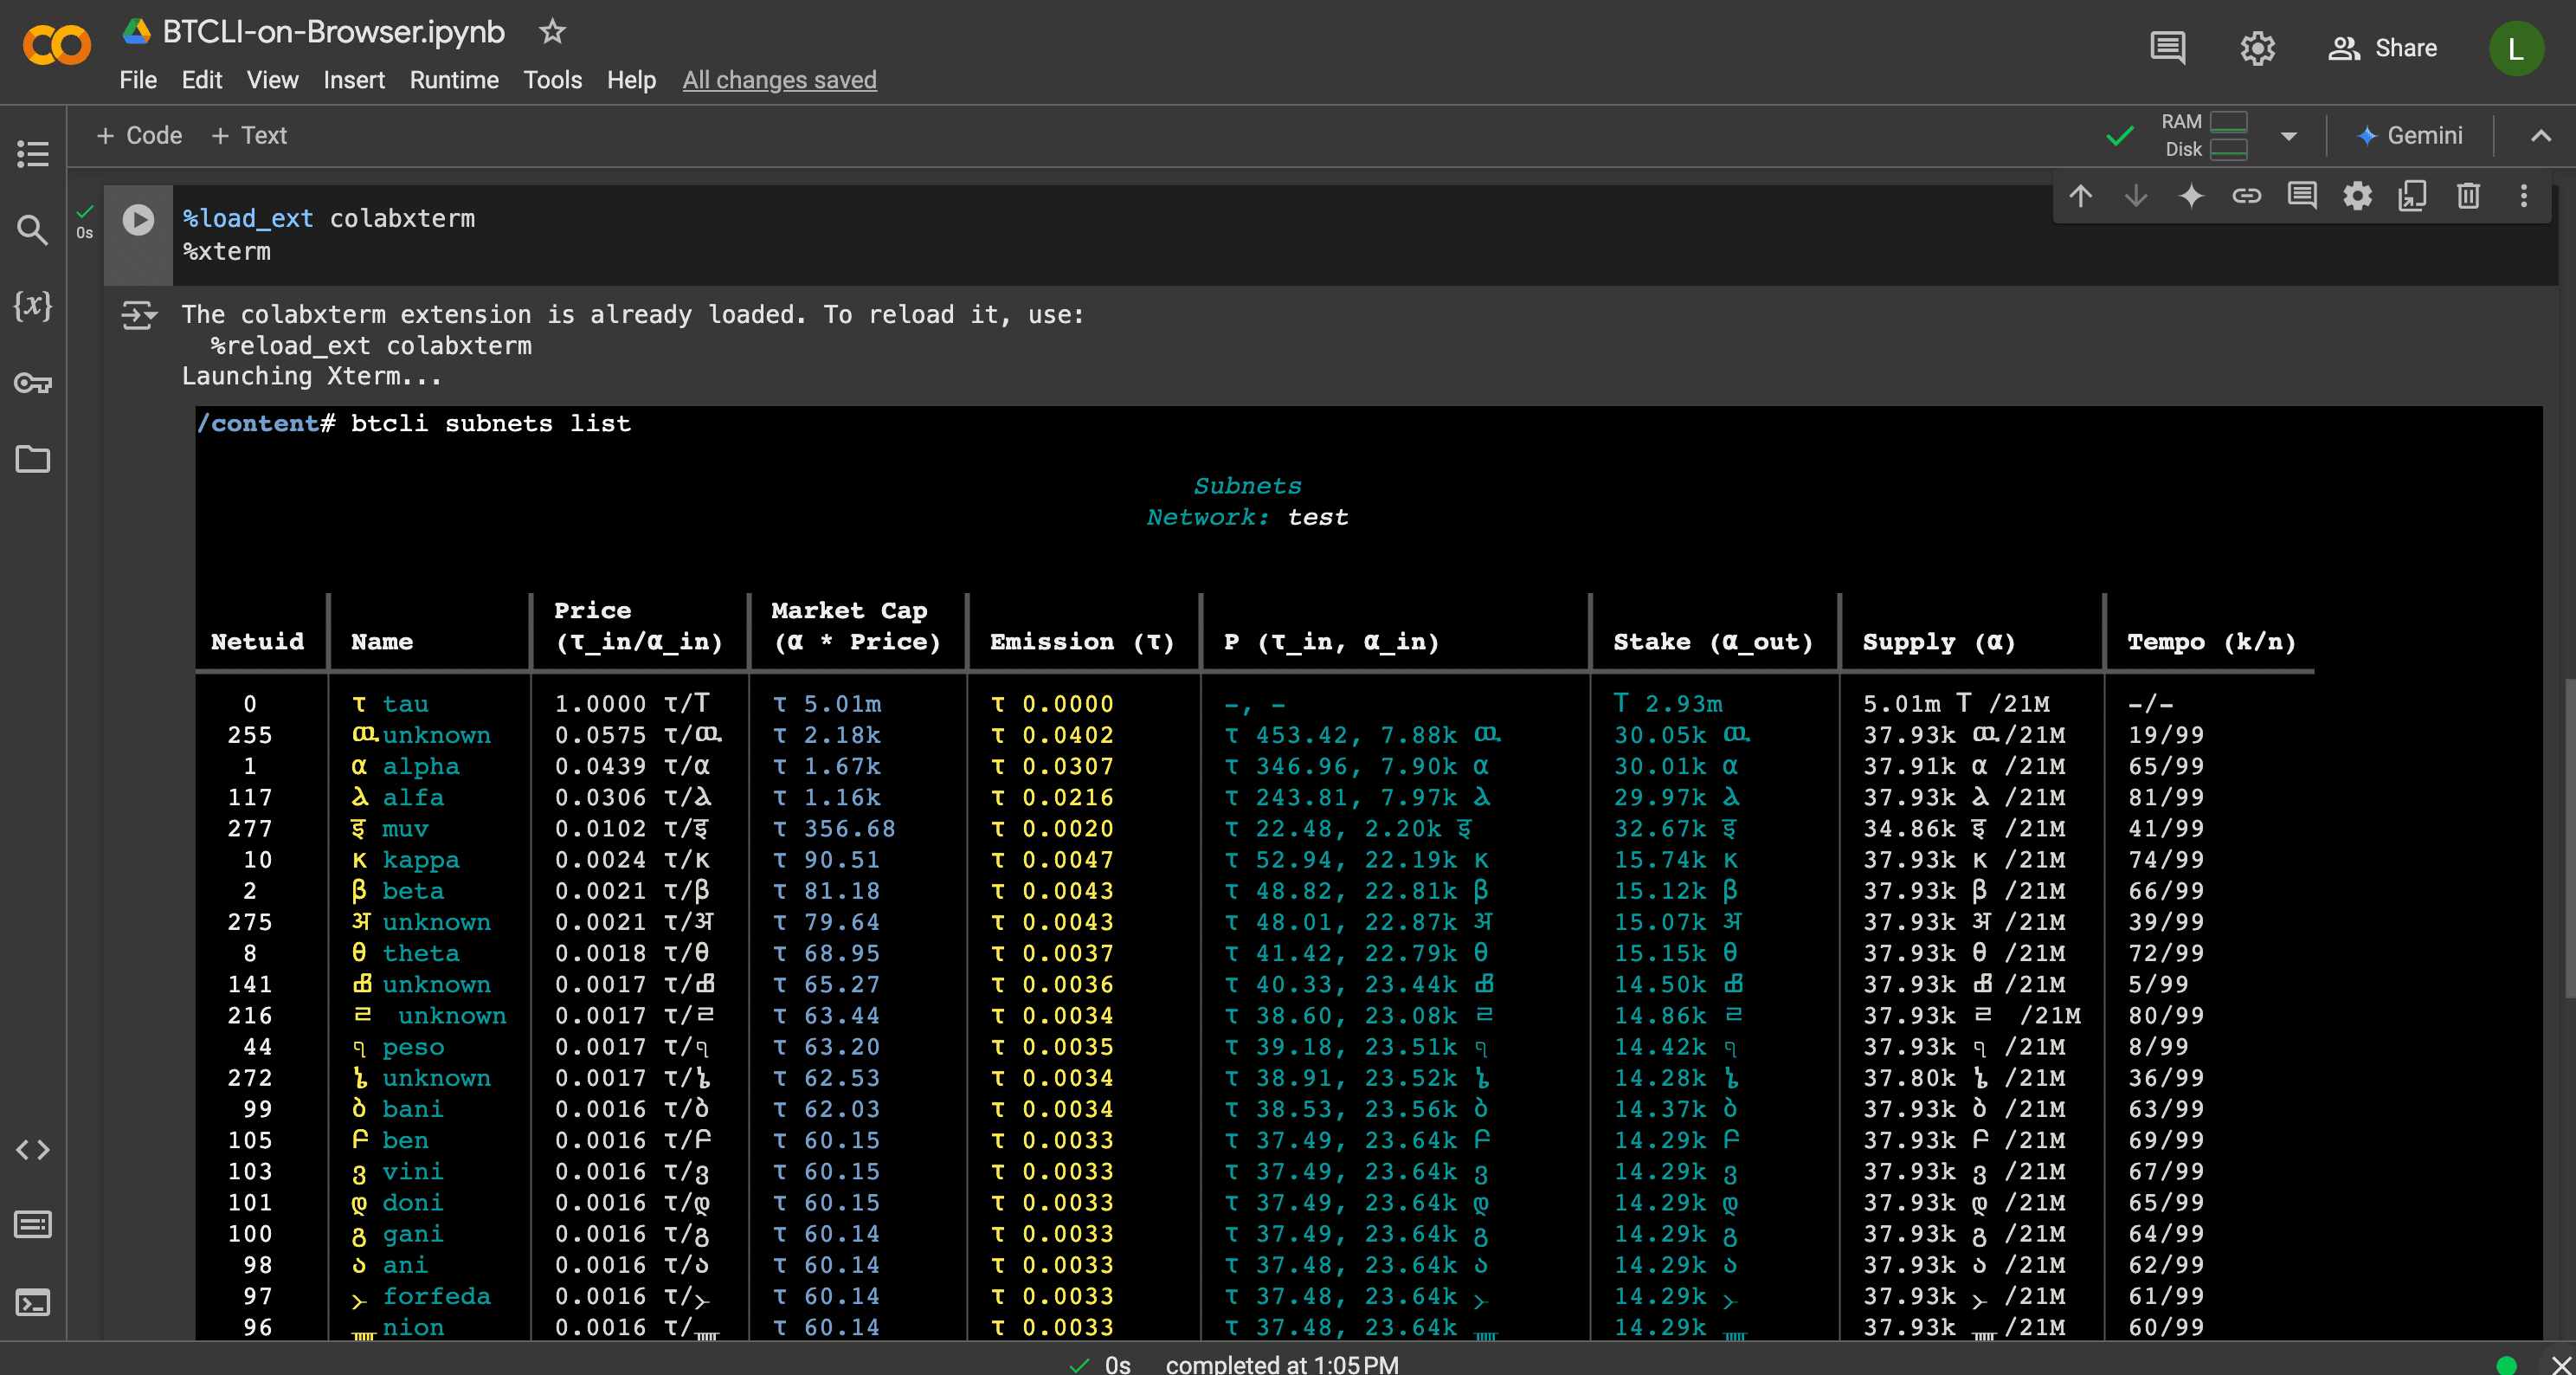
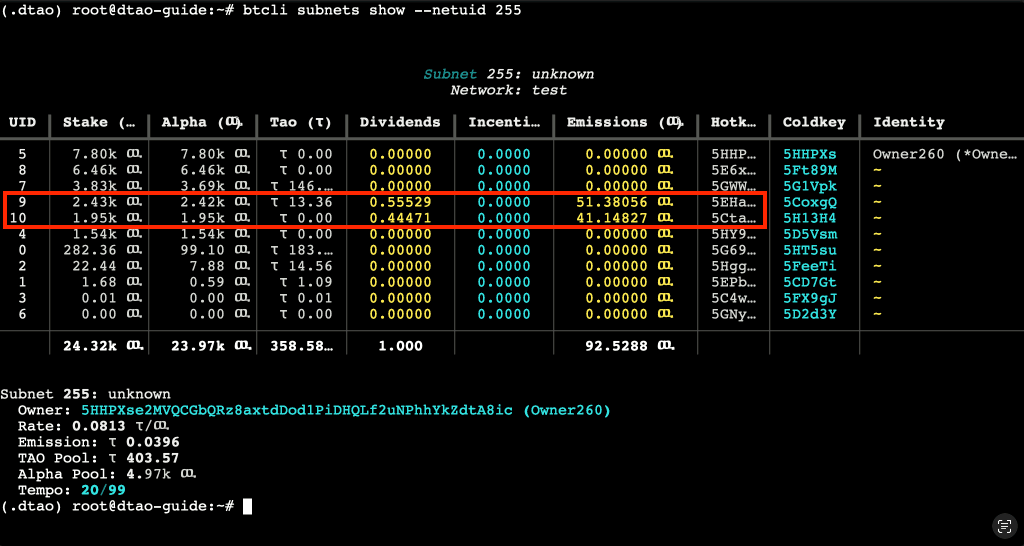
This command will be useful to understand which subnet you will want to stake with. To get more detailed information on a subnet simply run:
btcli subnets show --netuid X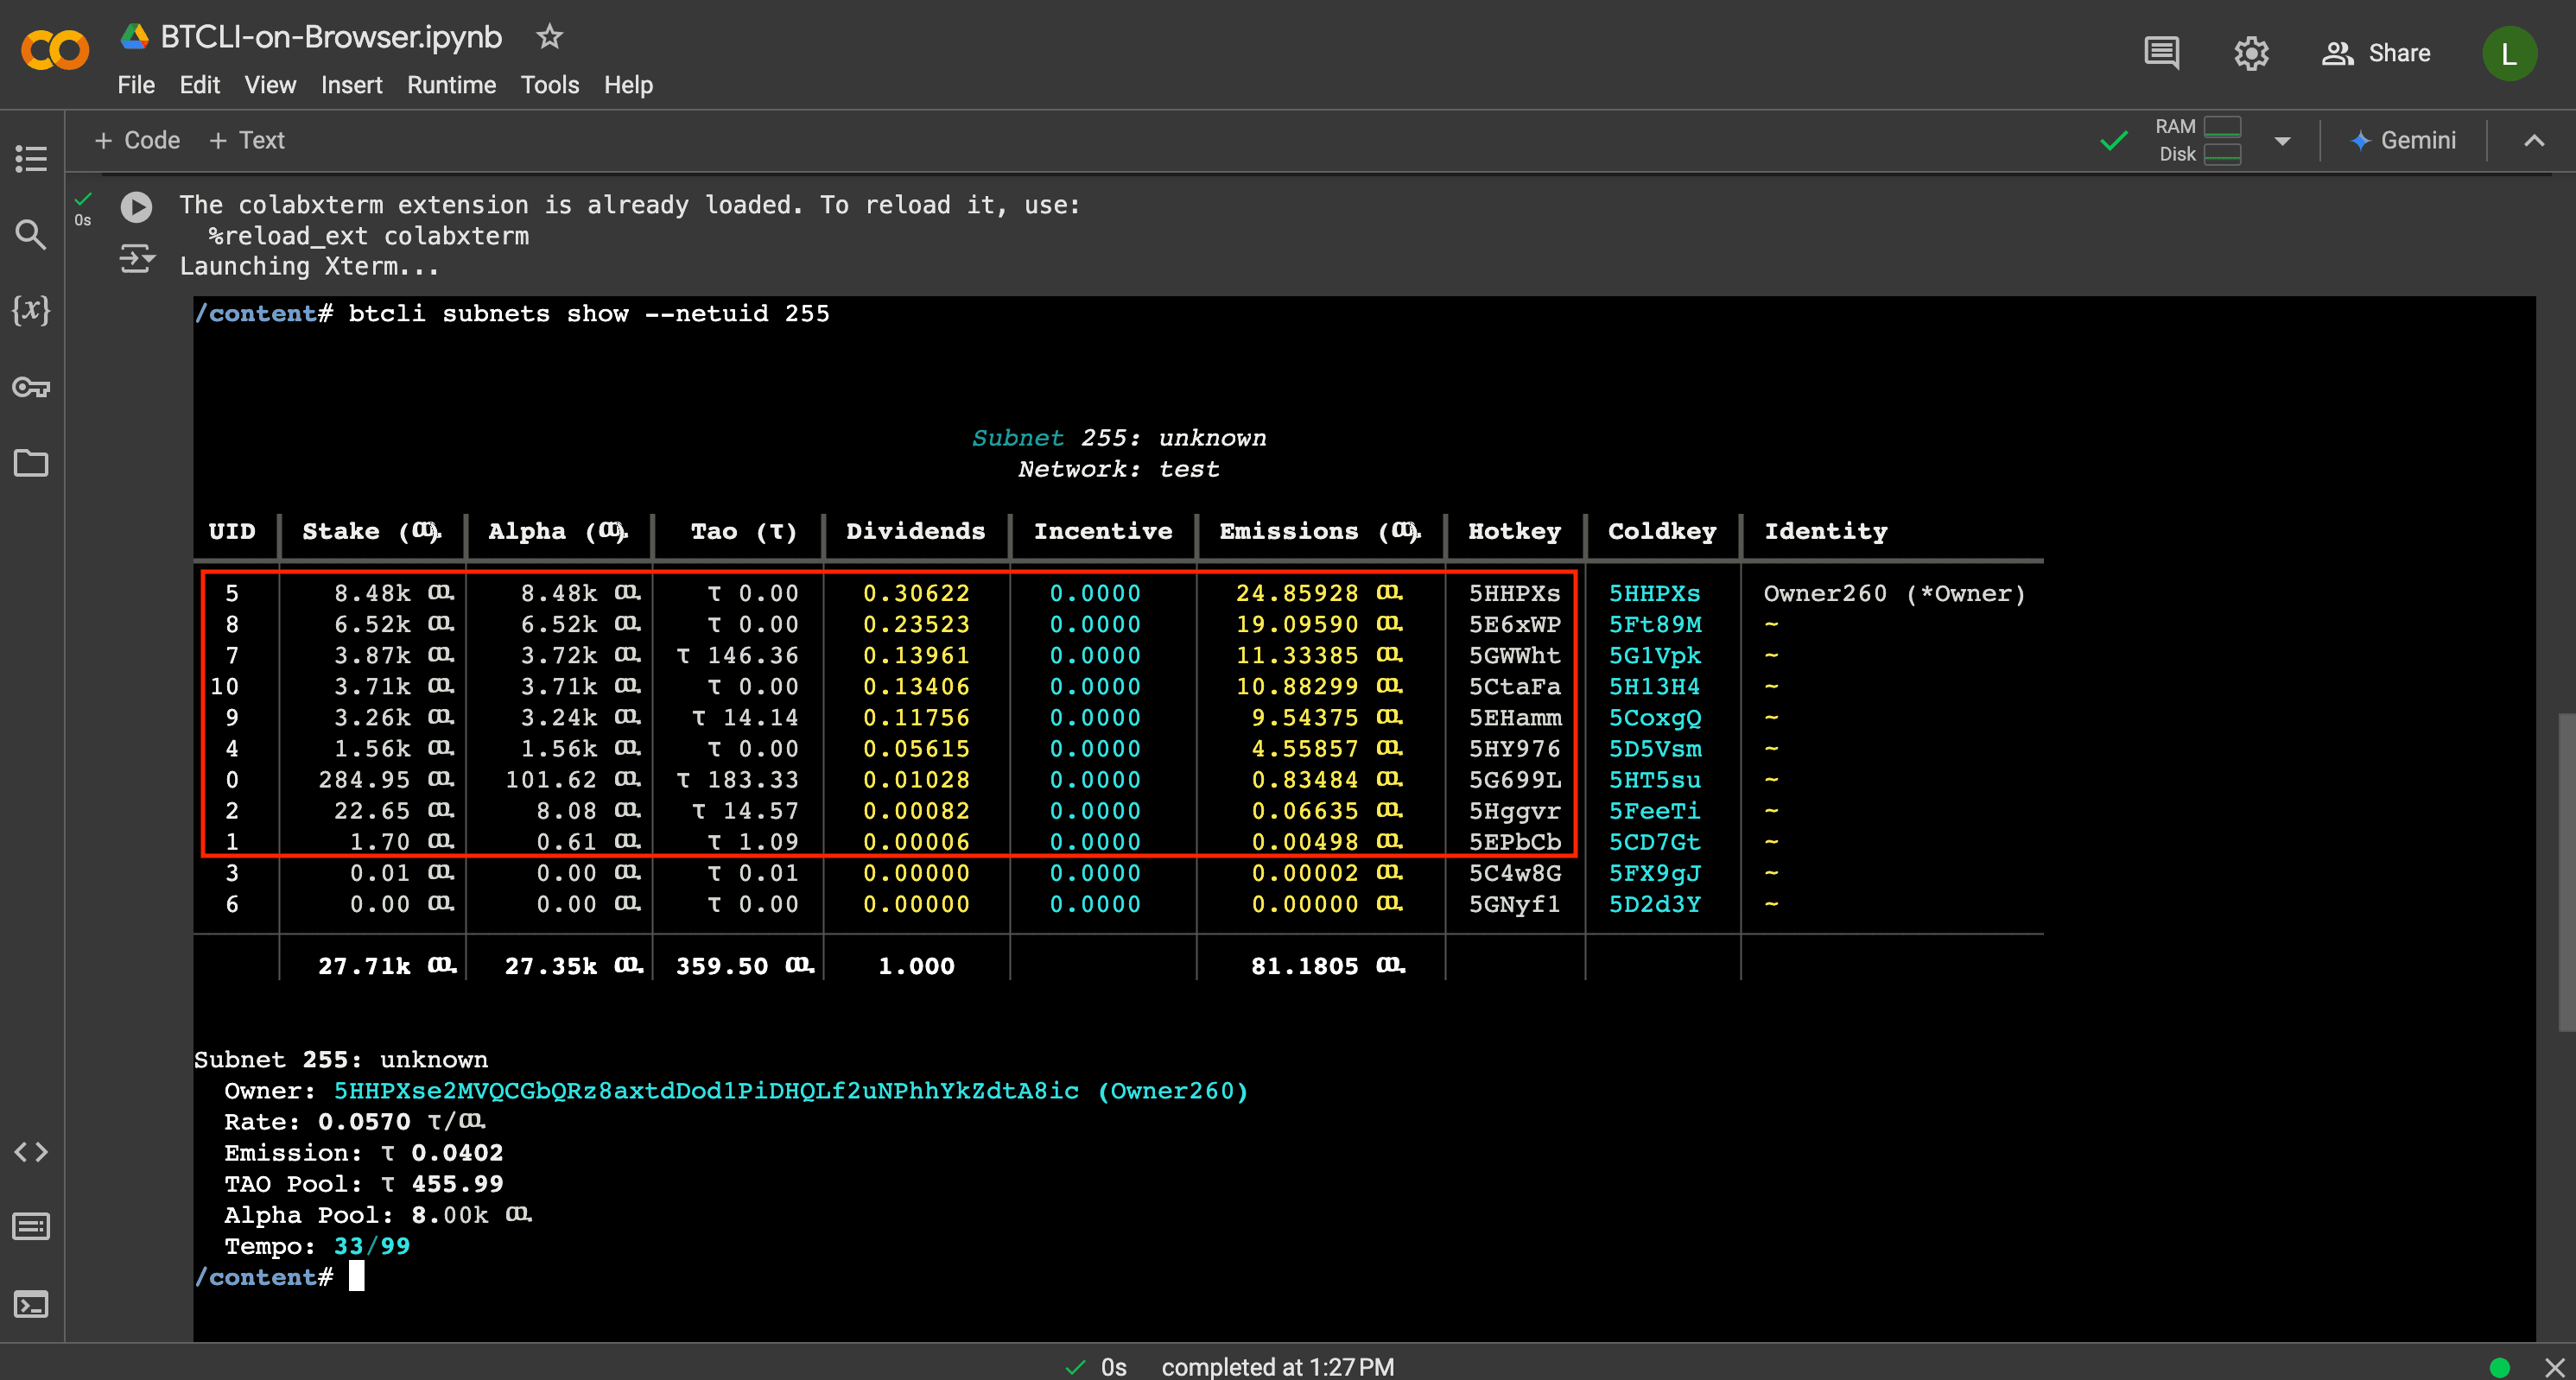
Replace the "X" with the subnet number you want to examine. Then while on the subnet view, you can see all the participants of the subnet. Most important for you will be to find UIDs that are getting dividends (like those marked in the image). These are validators to which you will be able to stake your TAO to.
ON REFRESH/RELOAD RERUN ALL CELLS
Every time that you reopen the tab or revisit it after some inactivity, it can be that you will need to run all "cells" again for BTCLI to work.
DON'T INPUT YOUR WALLET INFORMATION
It's highly recommended to not enter any private information like your wallet seed phrase into the BTCLI through the notebook. Although nobody has access to this notebook, we wouldn't recommend to do so.
What can be safely done is checking the wallet's balance/stake as the address is safe to share.
4. Request Testnet TAO
To participate in the Dynamic TAO testnet, you'll need testTAO. Follow these steps to request them:
- Join the Bittensor Discord
- Read the FAQ on how to get testTAO
You should reques the testTAO for netuid 0 (root subnet) for simplicity, and for the role enter "Staker/Tester".
To know the ss58-address of your coldkey , which you need to fill in the request form go to the top of the bittensor wallet extension.
Once you did it, wait for a moderator to process your request and send the testTAO to your wallet!
5. Participate in Dynamic TAO - Testnet
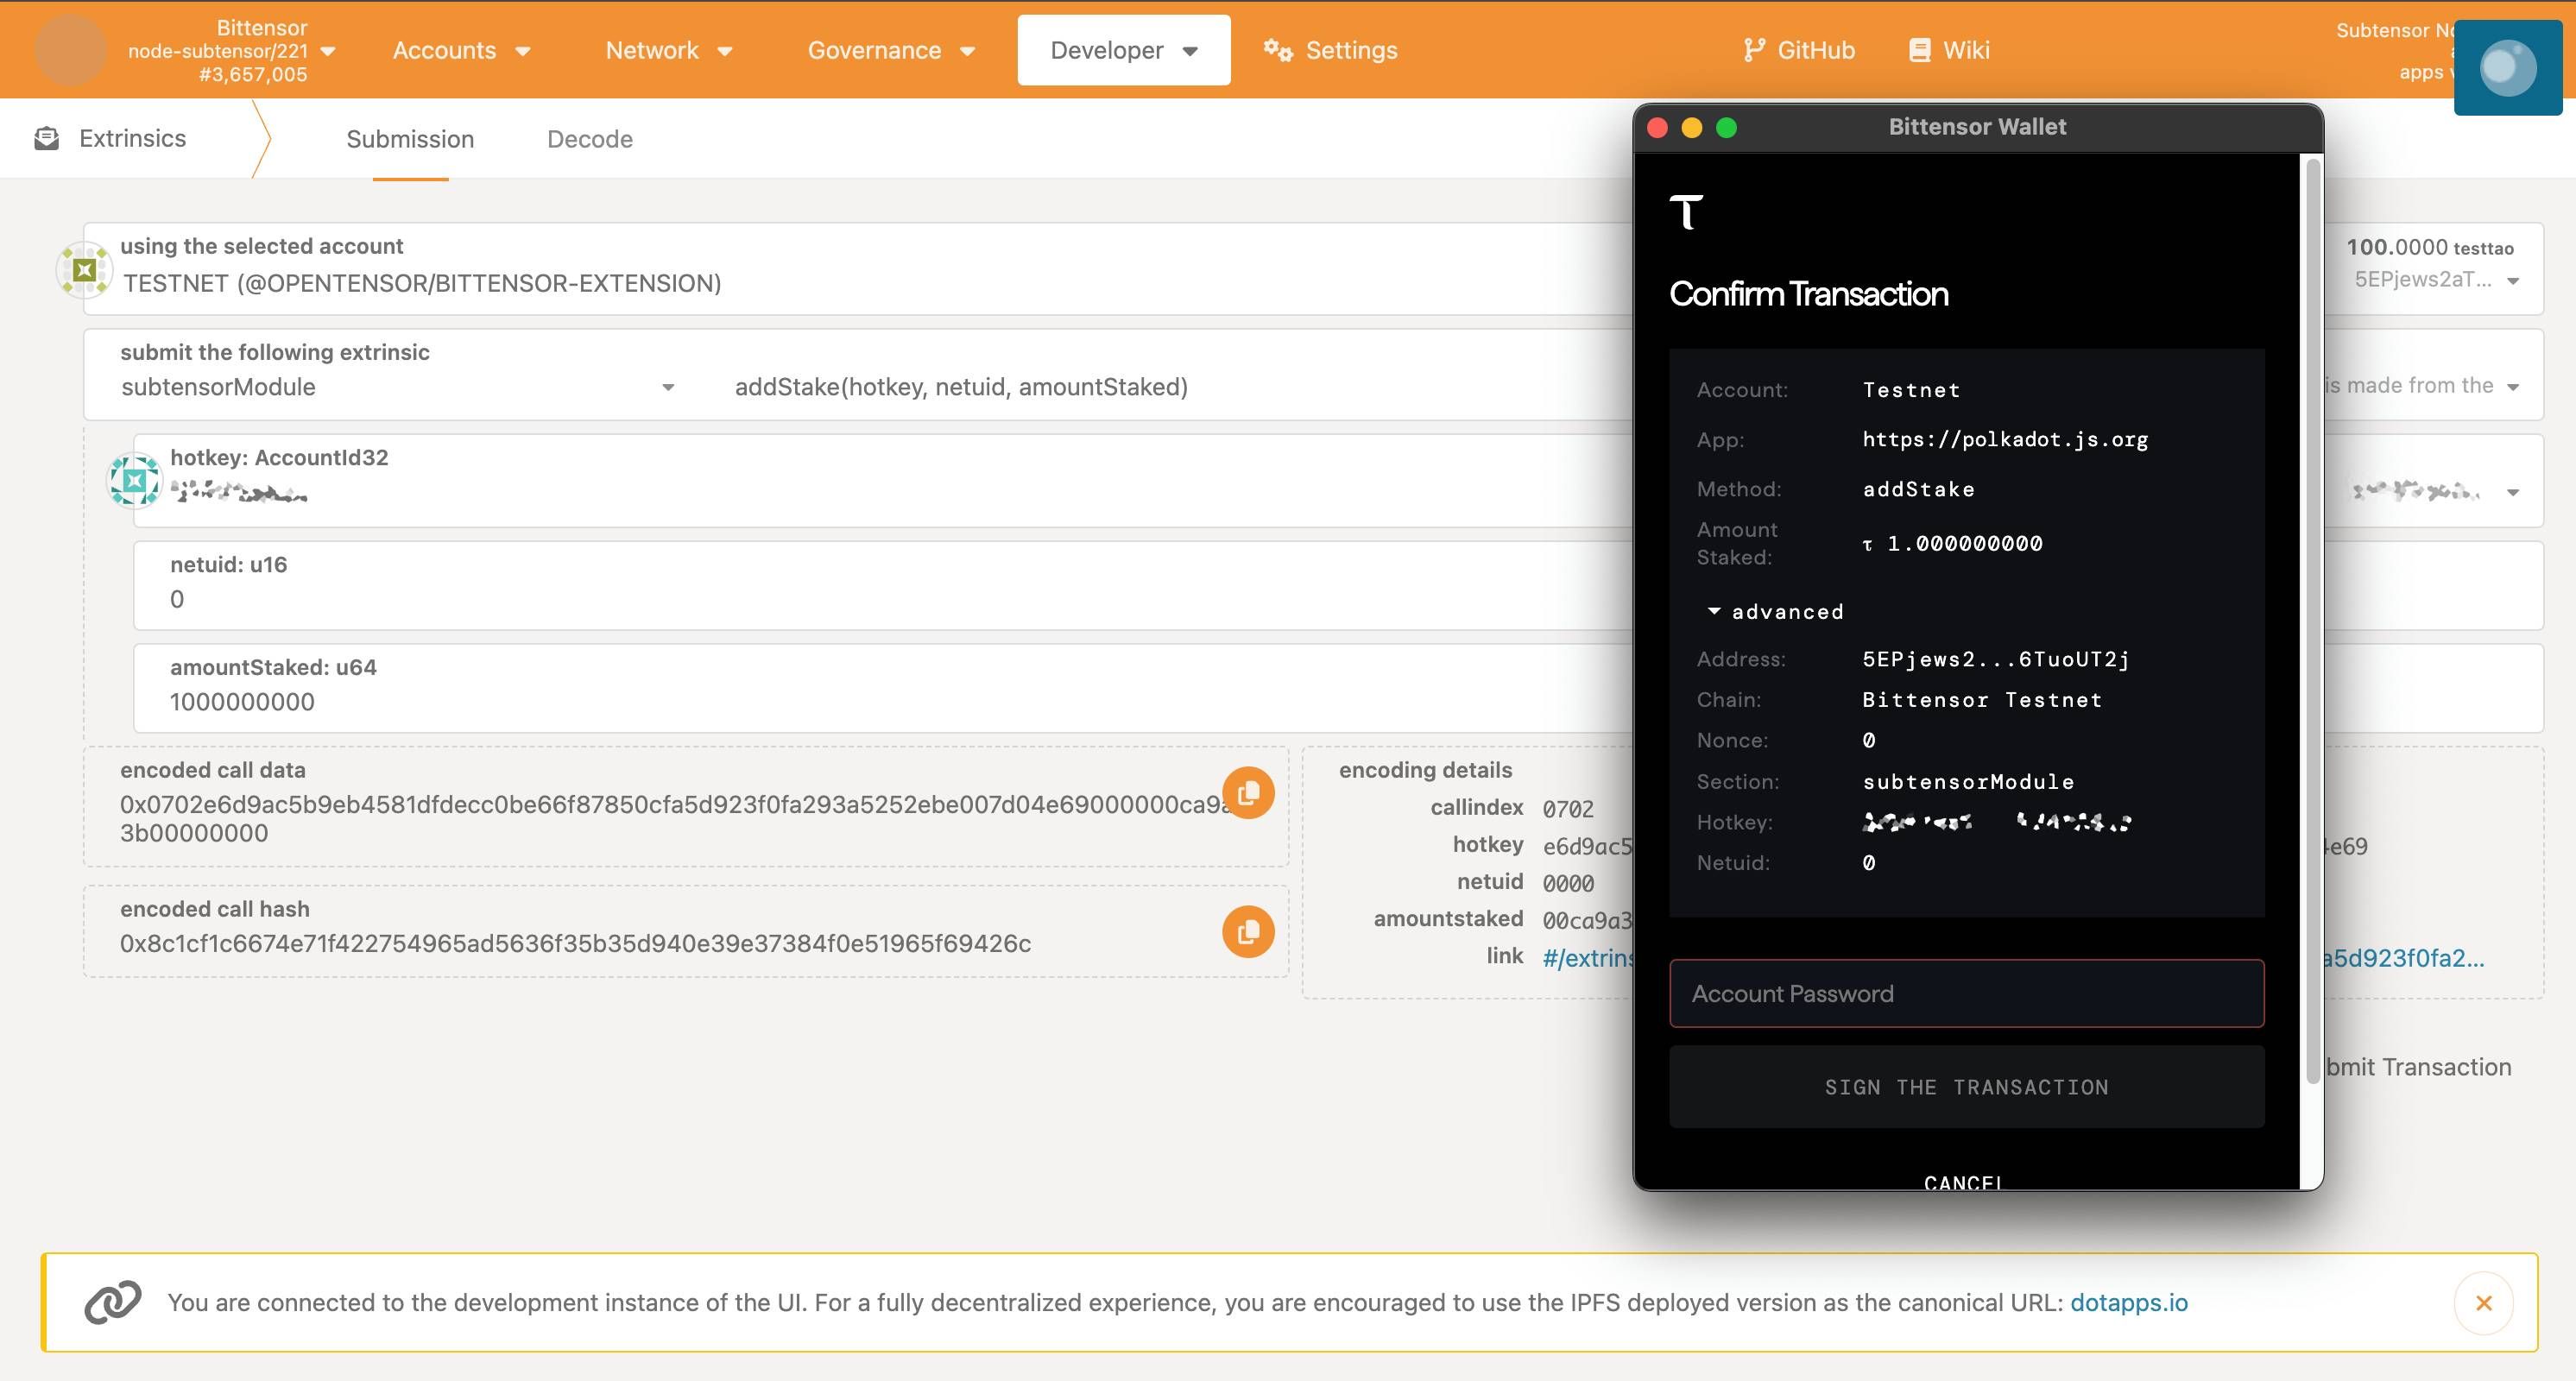
Navigate to the "Developer > Extrinsics" section of Polkadot.js which was linked at the beginning of the guide. Once you decide to which subnet you want to stake to here's how to stake and unstake your testTAO:
Staking Process
- Select "subtensorModule" from the dropdown menu in the "submit the following extrinsic" field
- Choose "addStake" from the available functions
- Enter the subnet's netuid you want to stake to
- Enter the validator's hotkey address you want to stake to
- Input your stake amount in RAO units (1 TAO = 1,000,000,000 RAO)
- Click "Submit Transaction" -> "Sign and Submit" and approve it through your wallet extension
ALWAYS ACCOUNT FOR SLIPPAGE
During staking /unstaking operations to subnets (except subnet 0) slippage can occur based on the subnet's pool balance!
To understand how slippage works and calculate the slippage based on a pool's balance, please look at our "Understanding Slippage" section in the subnet pool page, with the included slippage calculator.
Unstaking Process
- Go to "Developer > Extrinsics" (if not already there)
- Select "subtensorModule" from the dropdown menu in the "submit the following extrinsic" field
- Choose "removeStake"
- Enter the subnet's netuid you want to unstake from
- Enter the validator's hotkey you want to unstake from
- Input the amount to unstake in raoALPHA units (1 ALPHA = 1,000,000,000 raoALPHA)
Now to understand how much ALPHA you can unstake, you will need to go to the BTCLI notebook provided before run the following command to see your current stake in all subnets:
btcli stake list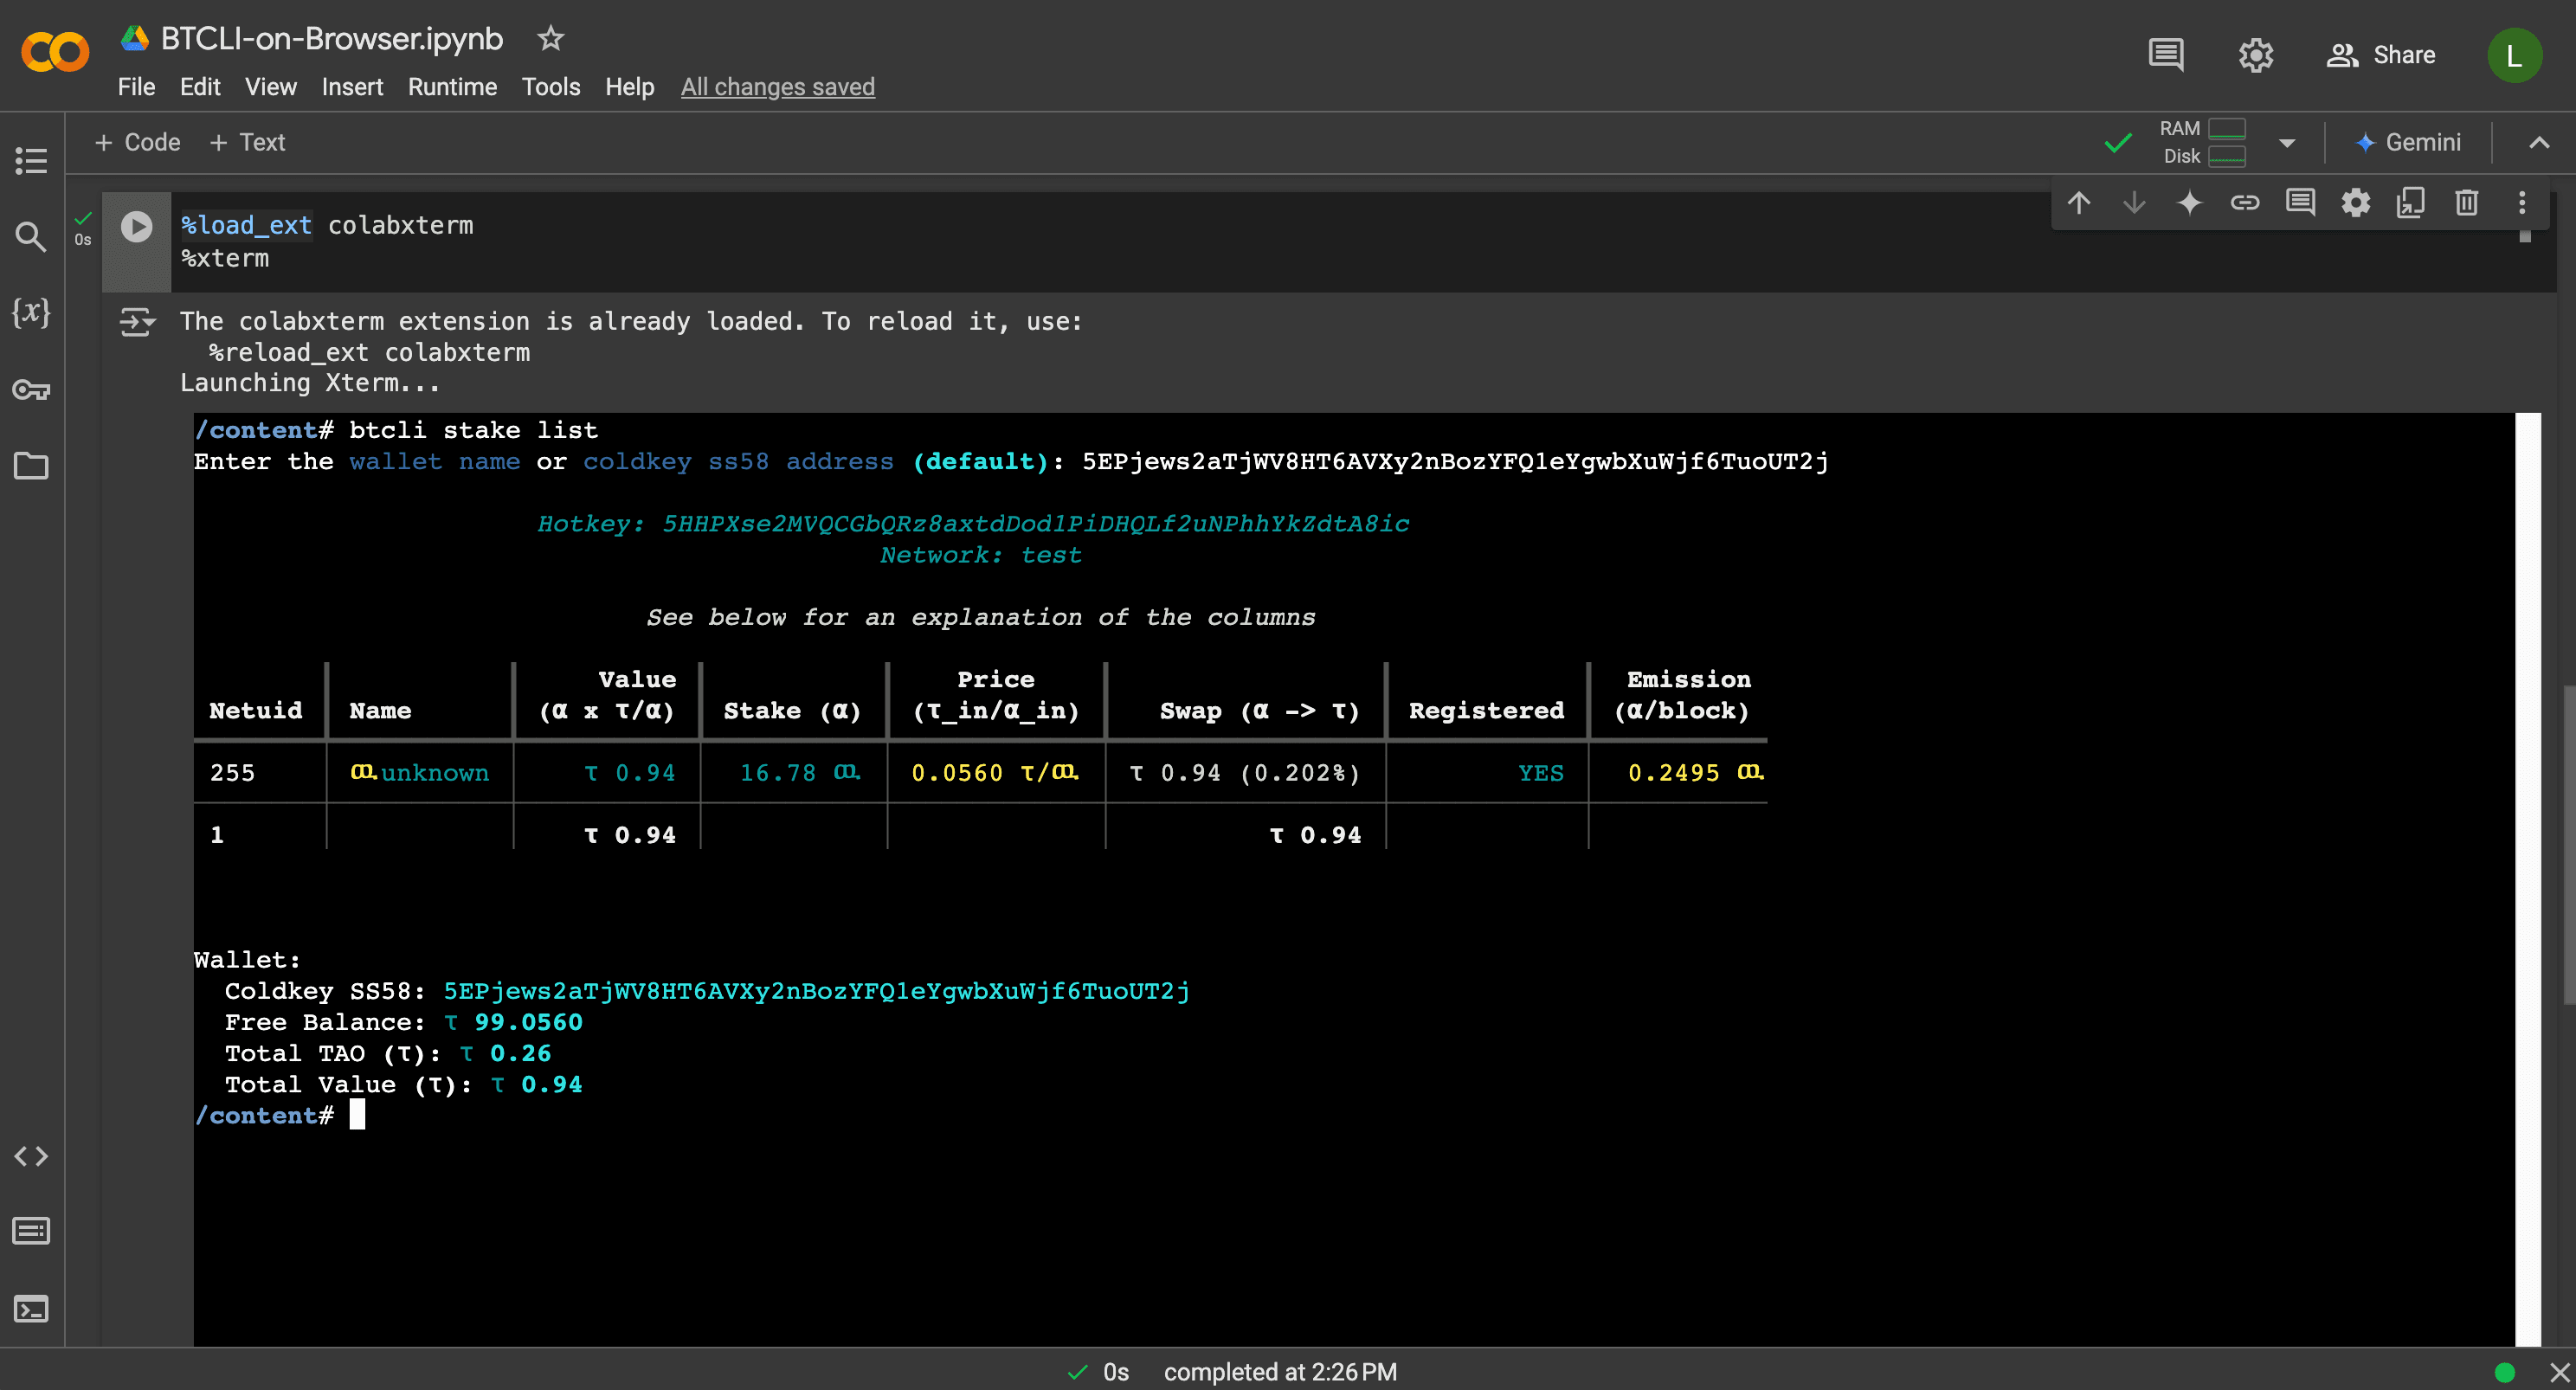
When you will be prompted to enter the name or the ss58-address of your coldkey. In your case you will need to enter the ss58-address of your coldkey, which can be found on the top of the bittensor wallet extension, should you be using it as followed in this guide.
After understanding how much ALPHA you want to unstake enter this amount in raoALPHA.
Congratulations! You are now able to participate in the Dynamic TAO testnet!