Create Bittensor Wallet and store your $TAO

In the following guide, you will learn how to create all different kind's of wallets to store your TAO, from a web-extension wallet to a cold-storage hardware wallet using a spare smartphone.

You can easily create a Bittensor wallet without installing Bittensor using the Bittensor Wallet Chrome Extension. This extension allows you to manage your TAO directly through Google Chrome or other browsers that support Chrome Extensions. However, if you want to participate in the network (e.g., mining, validating), you will need a "Local-Wallet." Follow these steps to set up your wallet using the Chrome Extension:

1. Add the Extension

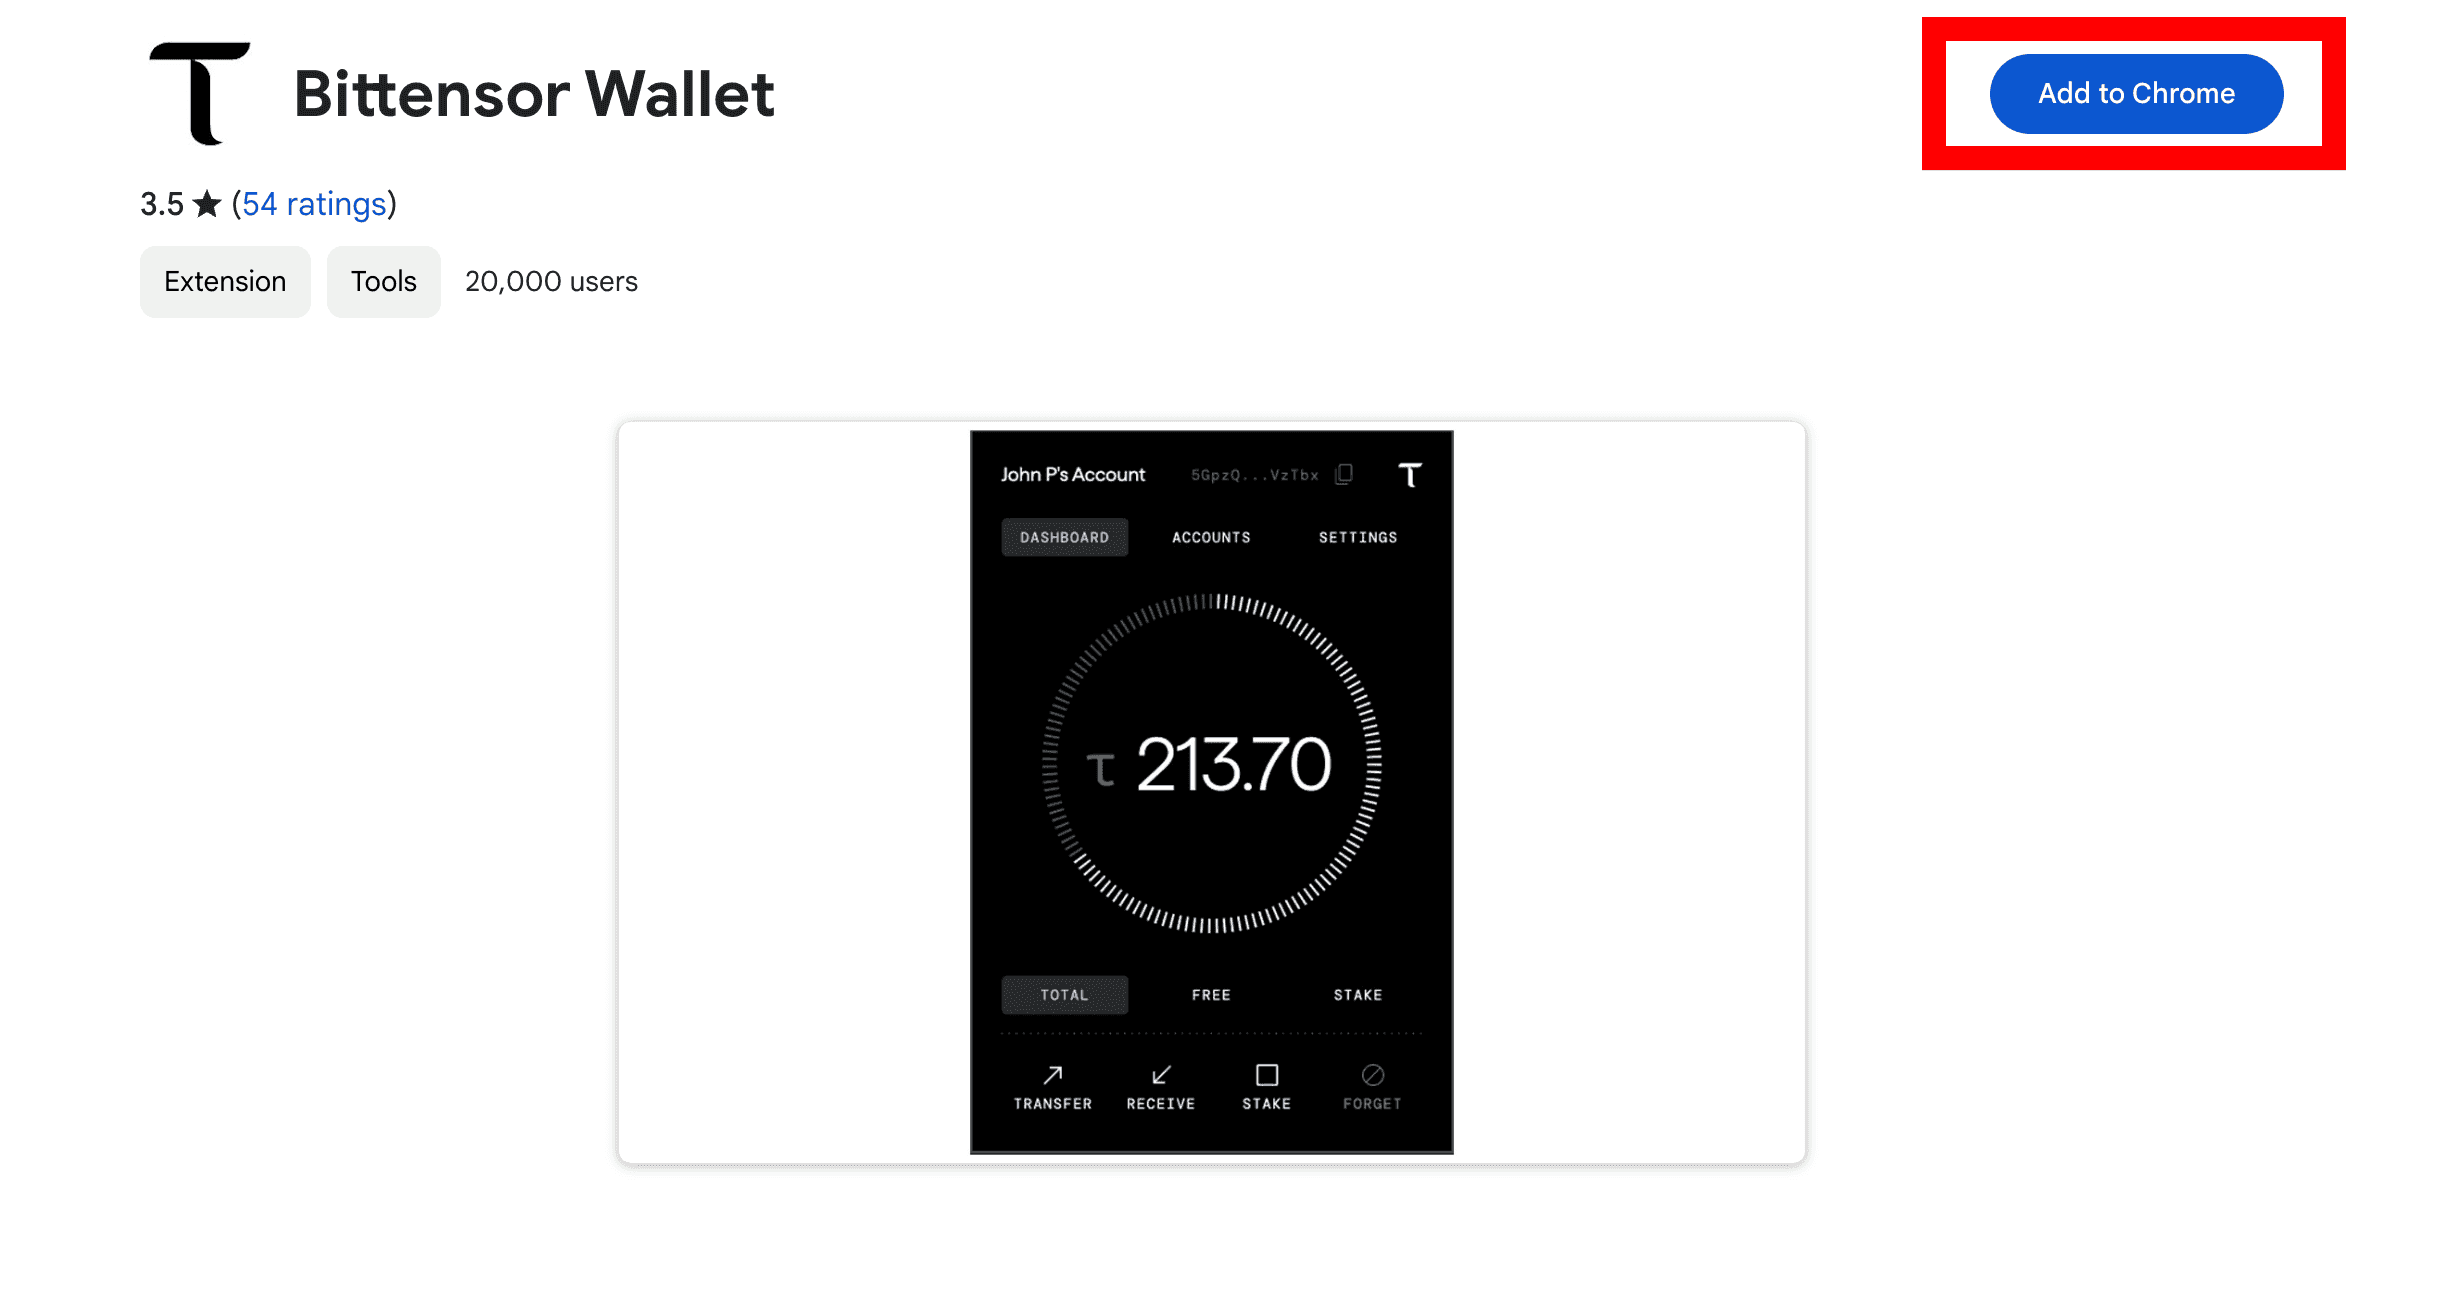
Open Google Chrome (or another browser that supports Chrome Extensions) and click on the "Add to Chrome" button.

Click here to go directly to the "Extension" page: Chrome Extension for Bittensor Wallet

CHROME EXTENSIONS ON MOBILE

The Kiwi Browser is an Android browser that supports Chrome Extensions!

WATCH OUT FOR FAKE EXTENSIONS

Ensure that you are adding the correct and official extension, as there might be fake extensions on the store!

2. Accept the Terms of Service

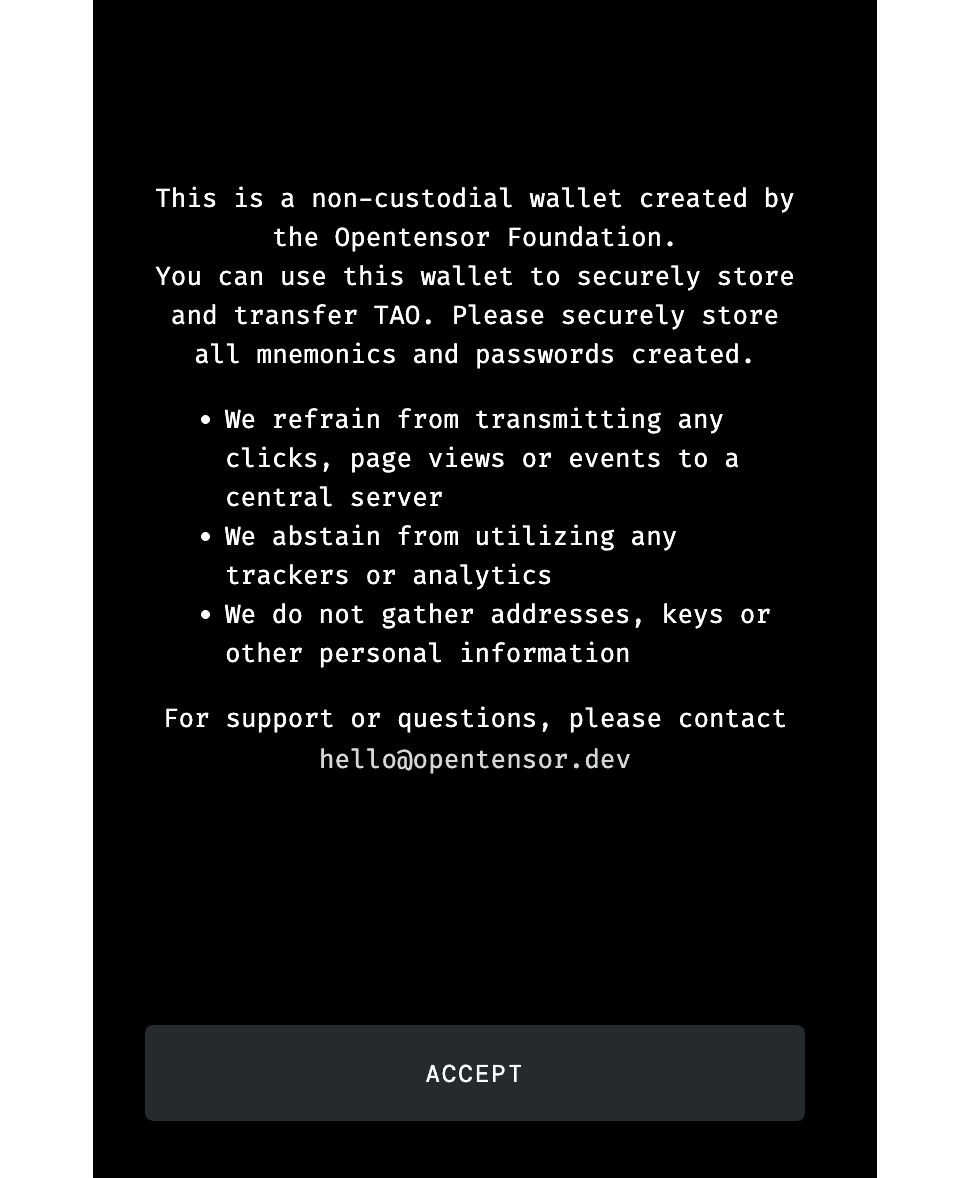
After adding the extension to Chrome, navigate to the "Extensions" button located on the right next to your search bar. When opening the Bittensor Wallet Extension for the first time, you will see a screen where you can simply click "Accept."
3. Begin Wallet Creation

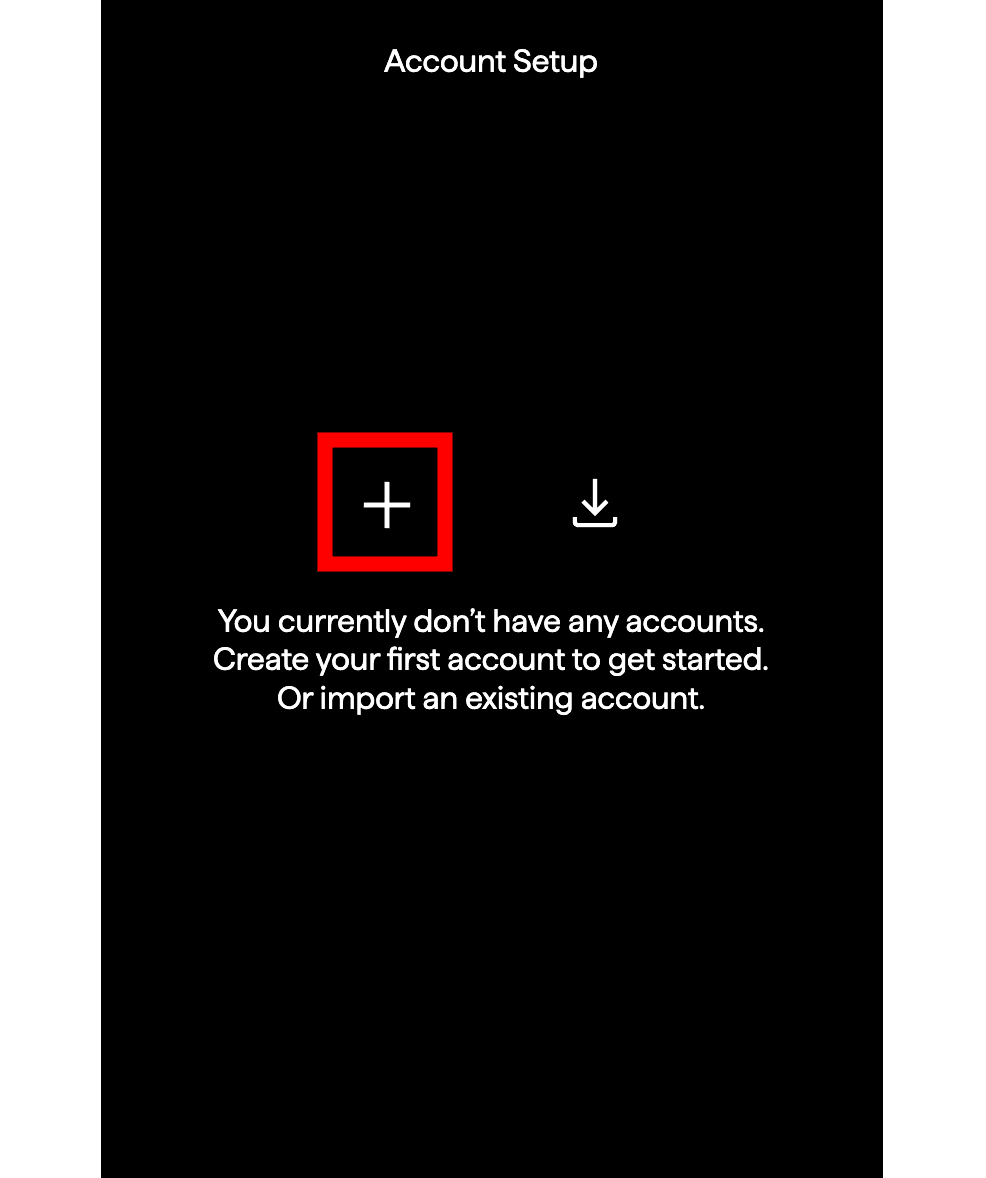
After accepting the extension's 'Terms of Service,' you can either create or import your Bittensor Wallet. For this guide, we will go through the steps of creating the wallet by clicking on the "+" symbol.
4. Write down the Mnemonic Seed

A new tab will open from the extension, displaying two key pieces of information generated by the extension:

  • Wallet Address: A 48-hexadecimal character string that usually starts with a '5.' This address is required to send/receive $TAO using your wallet.
  • Mnemonic Seed: Mnemonic Seed: A list of 12 generated words in a specific order. This list, also known as a mnemonic or seed phrase, is highly critical and secret information.

STORE YOUR MNEMONIC SAFELY

Write down your mnemonic/seed phrase and store it in a safe place, preferably offline. Anyone with access to this list of 12 words could gain full control of your wallet and manage your tokens.
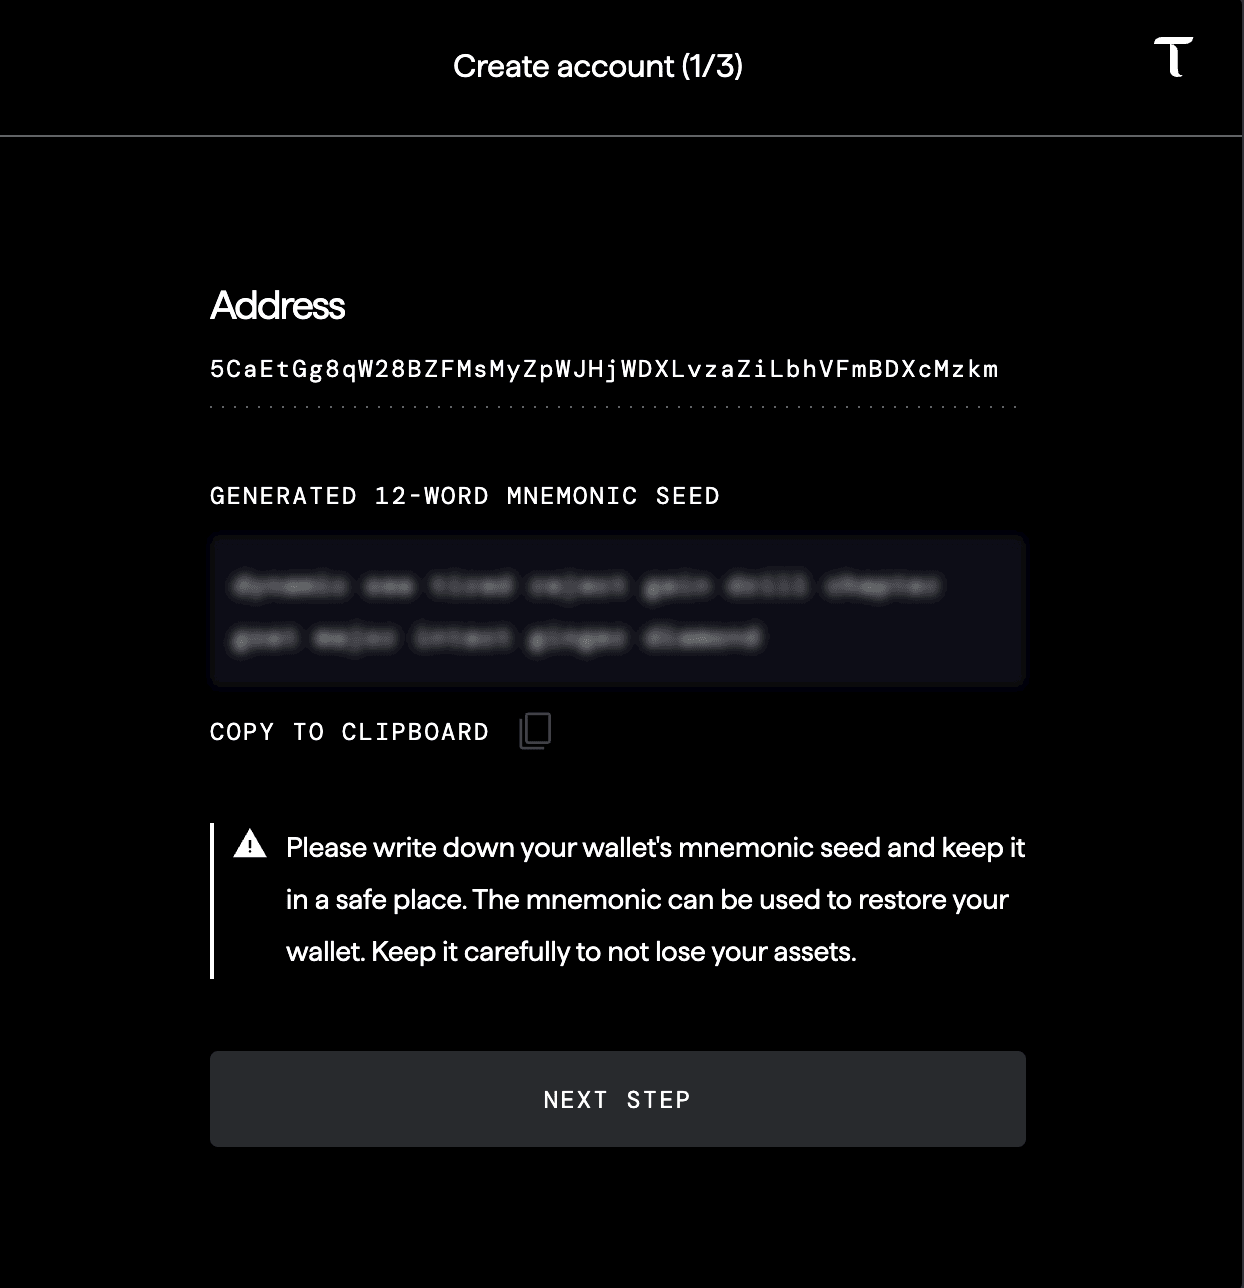
After safely storing the mnemonic/seed phrase, click "Next Step." You will be asked to provide 2 random words from the seed phrase to ensure that you have reliably stored the list.
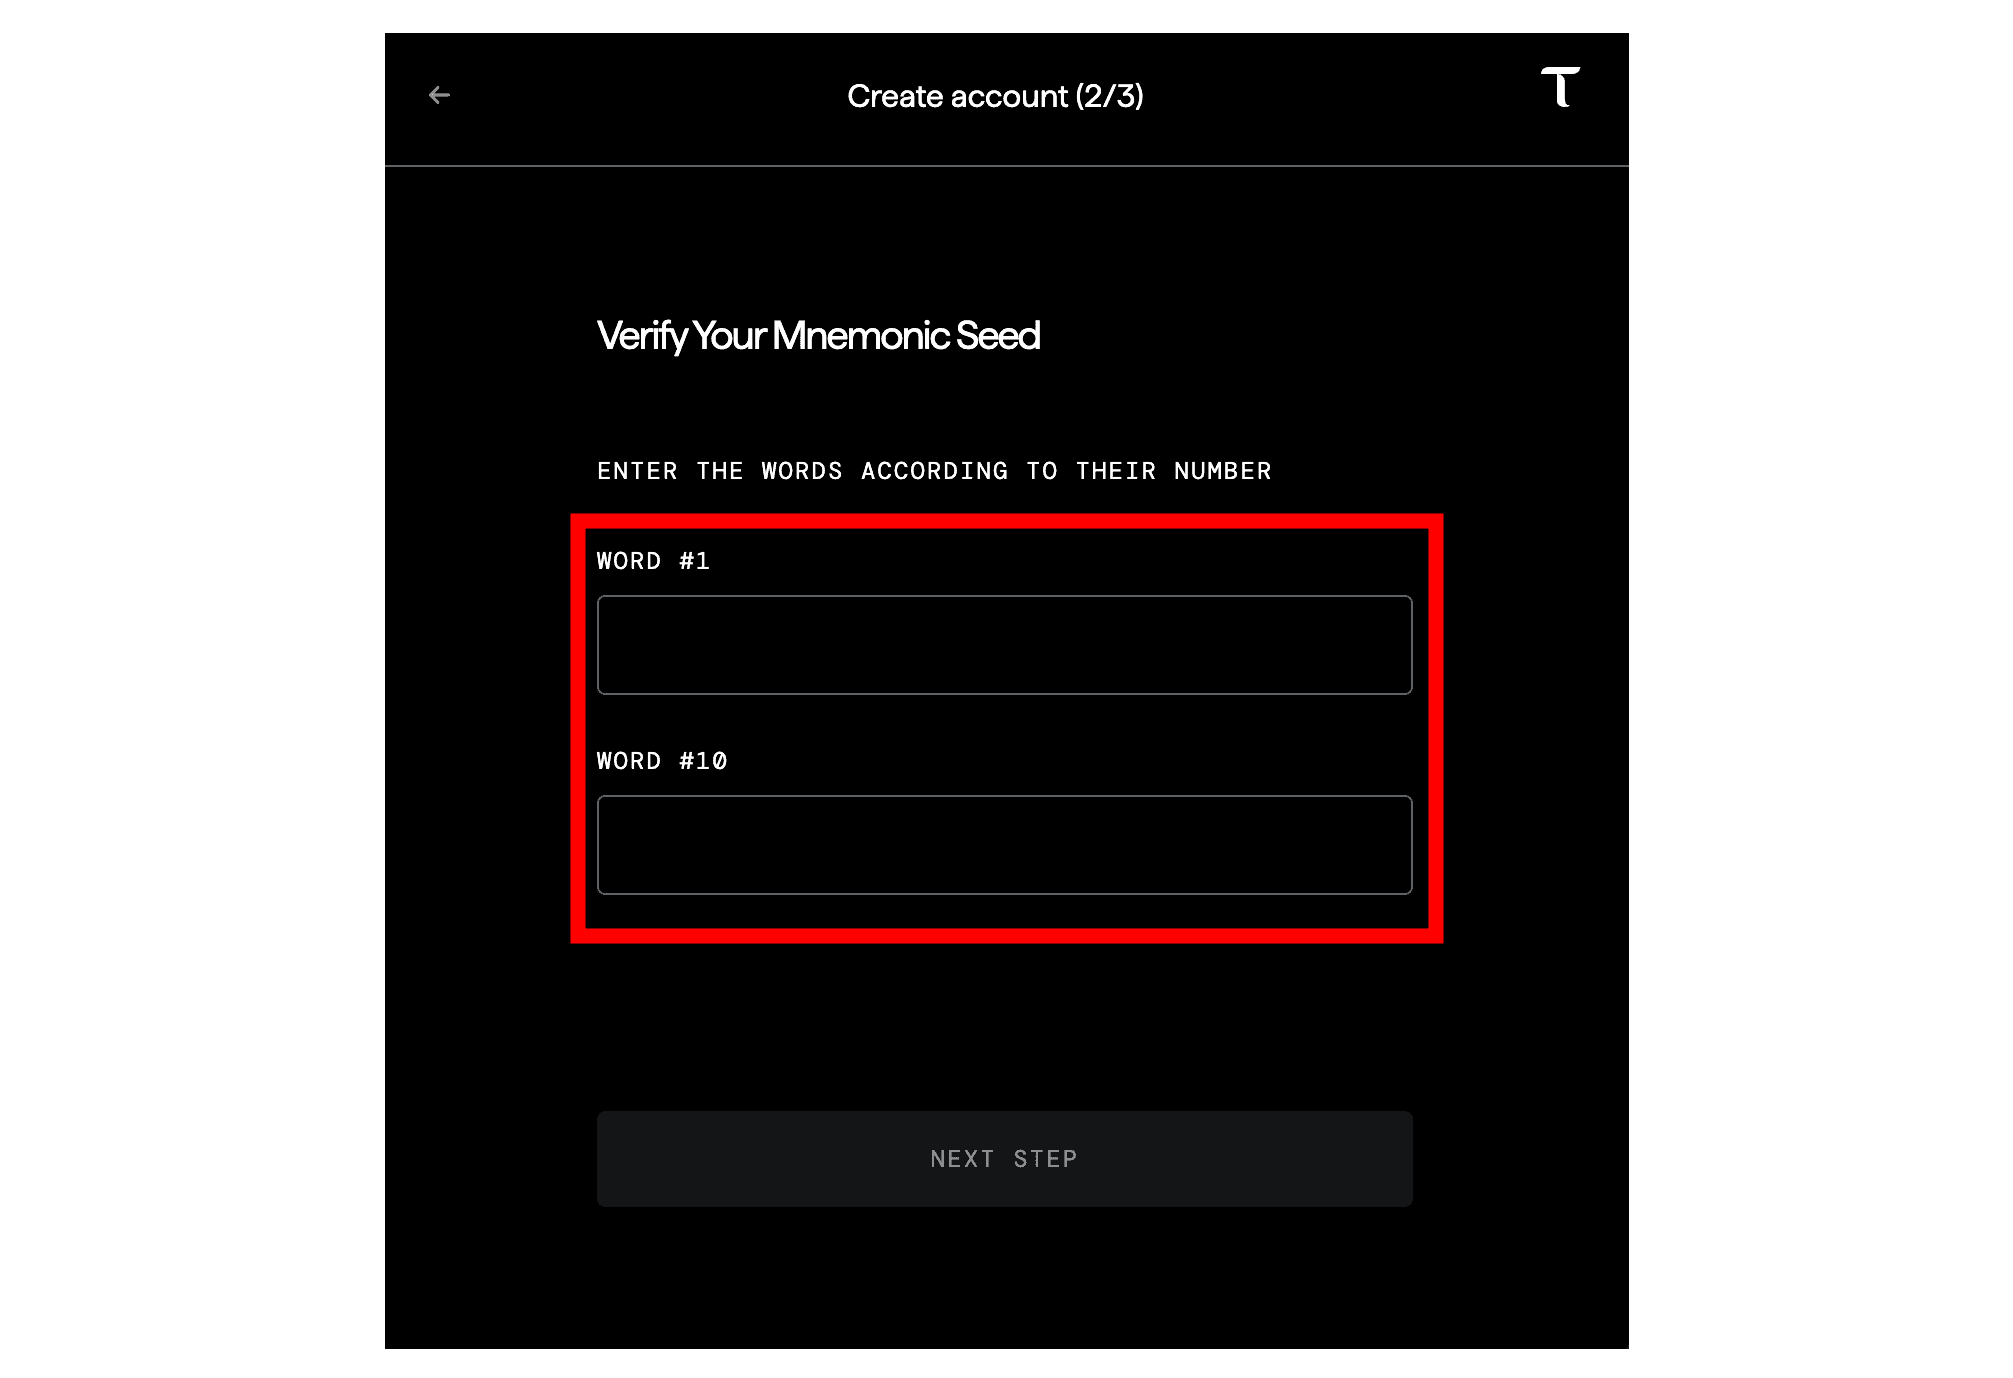
5. Confirm your Mnemonic Seed

Before using your wallet, you need to provide the following information:

  • Wallet Name: A local description of your wallet, which is not persistent but useful if you have multiple wallets in the extension.
  • Password: A local password used to sign all transactions (e.g., staking , unstaking, withdrawals). This password is not persistent across devices.

DON'T FORGET YOUR PASSWORD

Write down your password, as you will not be able to perform any transactions with your wallet without it.
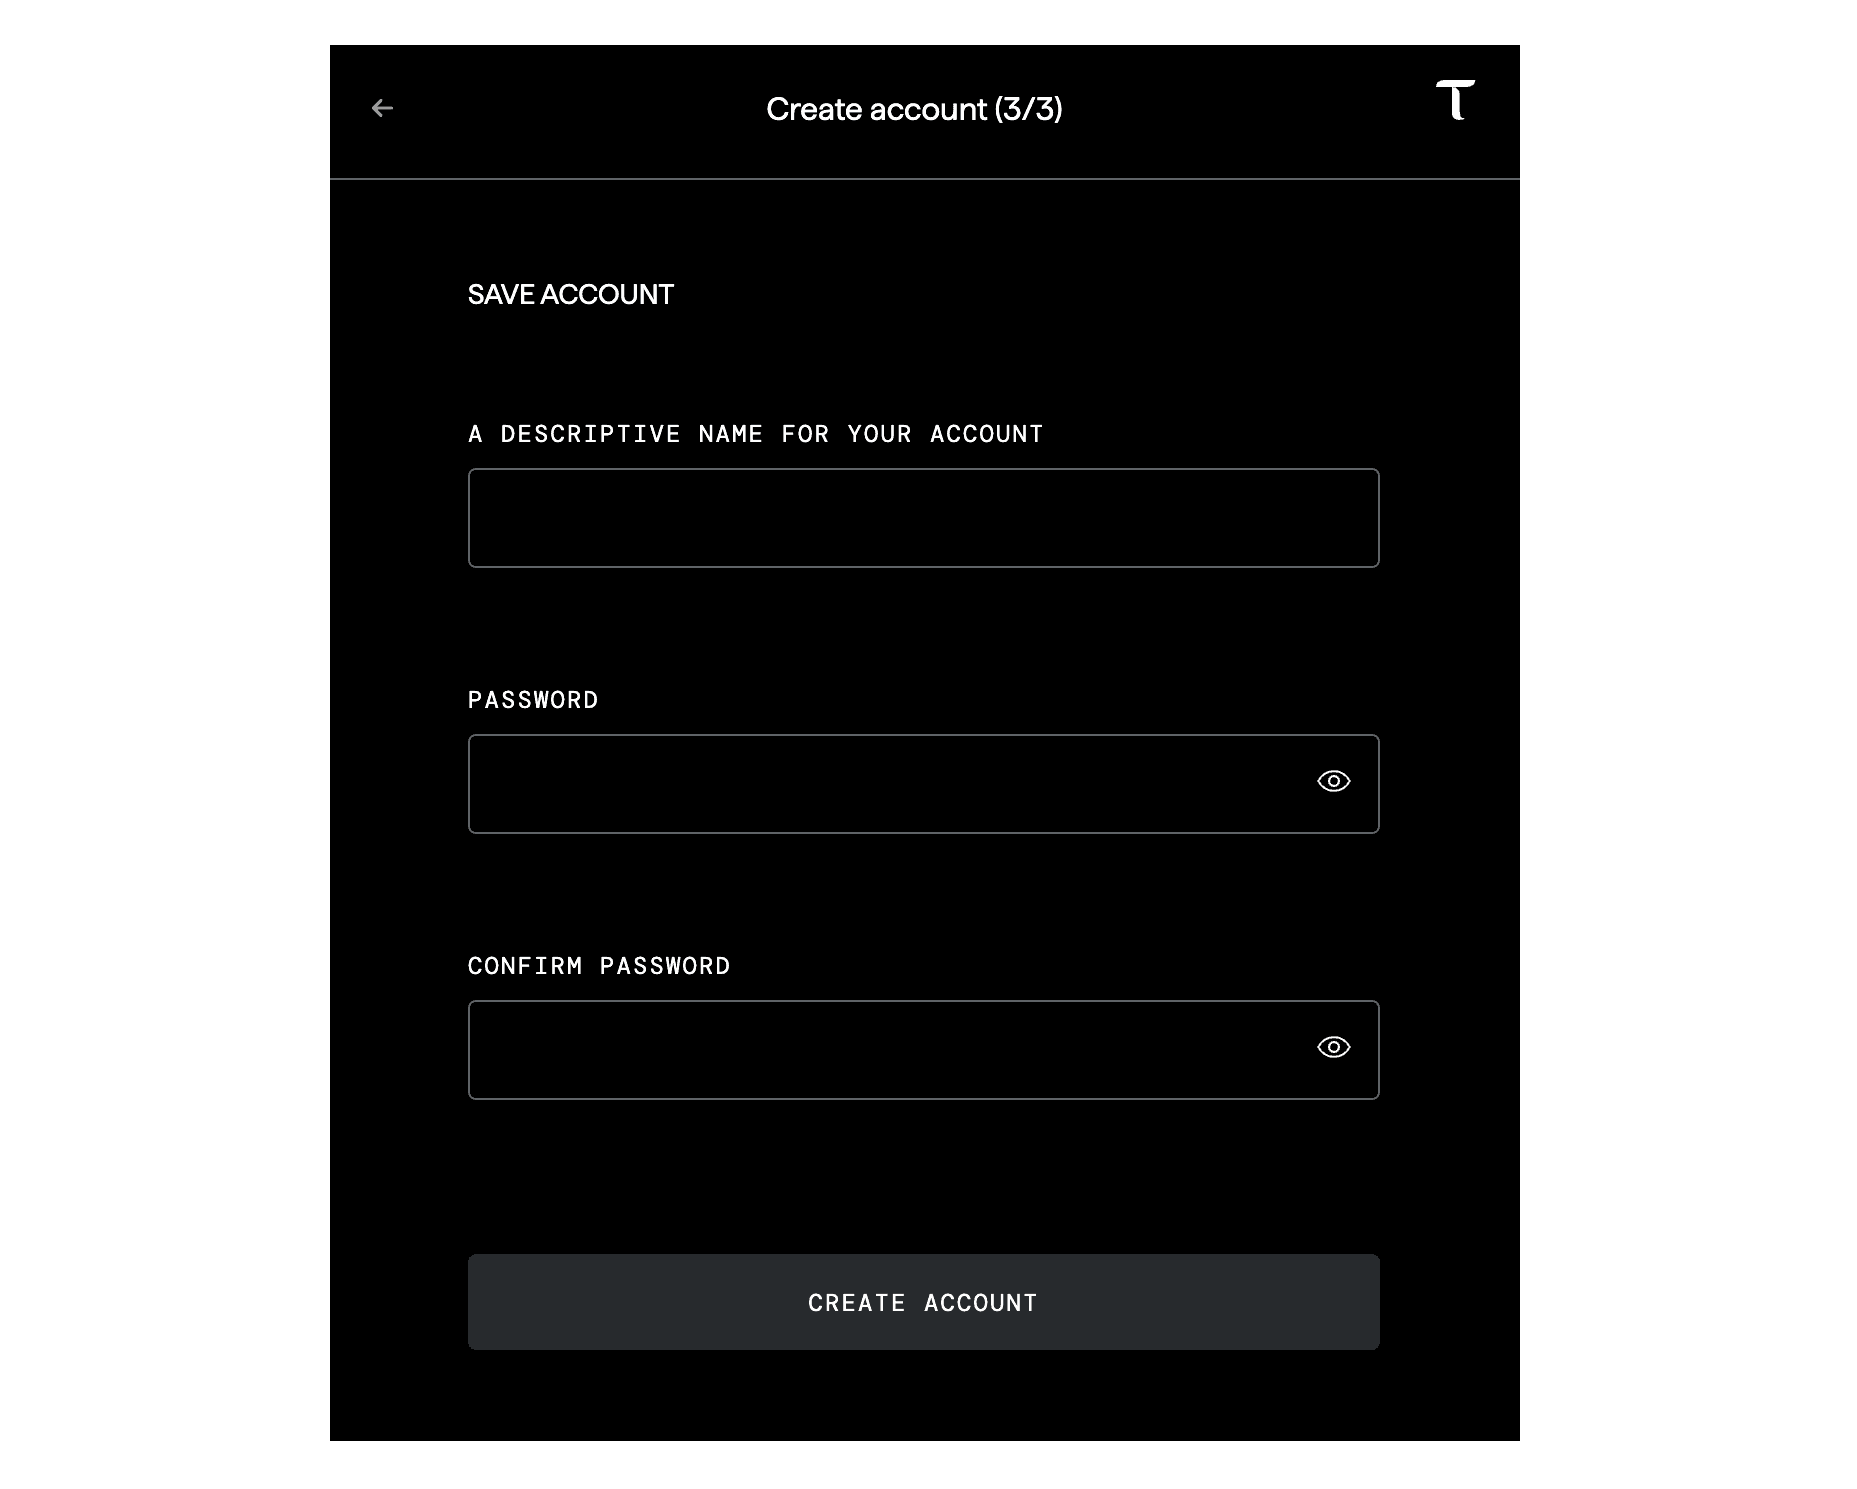
6. Provide Wallet Name and Password

After providing the required information, click on "Create Account." You may close the tab and click on the extension again. This time, you will be able to see the balance of your newly created wallet. From now on, you can freely use your wallet for any transactions.
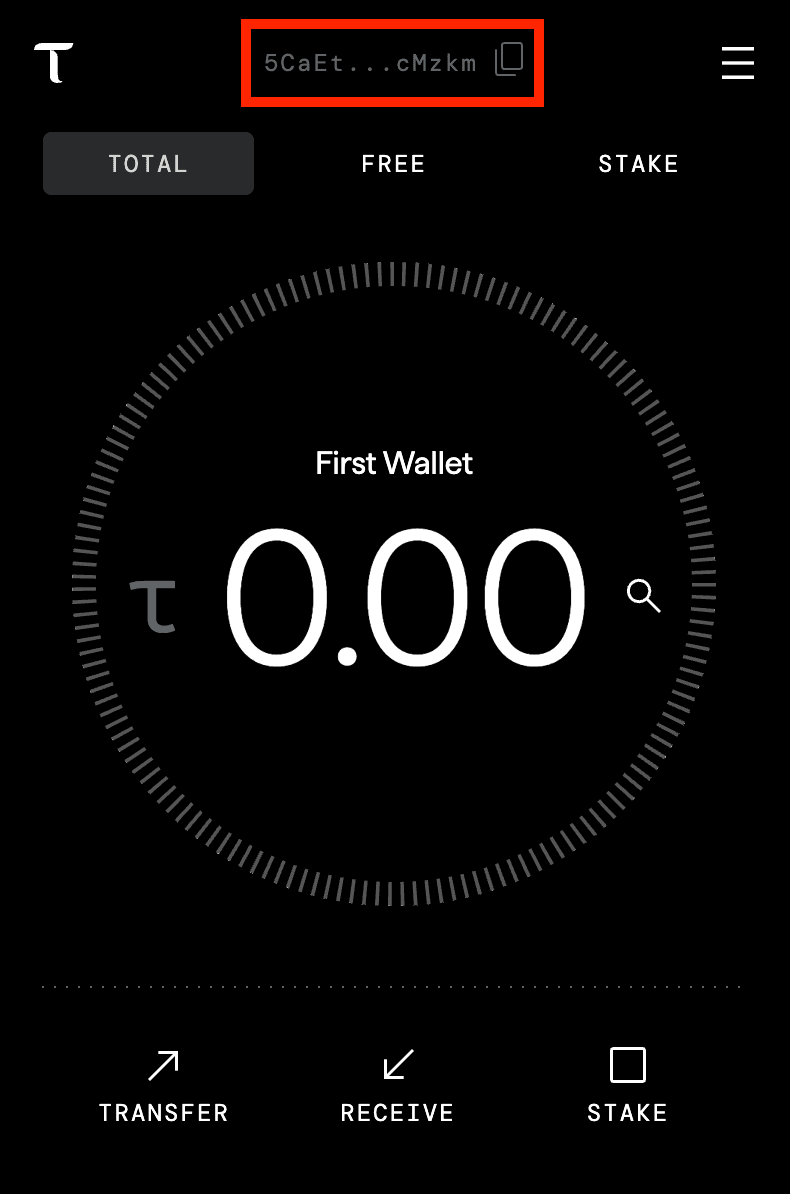
7. Use your Wallet

Congratulations! You have successfully created your Bittensor wallet using the Extension.

KNOW THE SELECTED WALLET

You can identify which wallet you have selected by the wallet name and wallet address shown at the top.

Leave Comment

Sign In

Comments (1)

Please note that comment translations may not be accurate!

IamBananas

4d ago

I staked to Roundtable using this wallet and now it's not allowing me to unstake or stake to another... Read More
Another way to easily create a Bittensor wallet without installing Bittensor is by using a compatible mobile wallet. These mobile wallets allow you to manage your TAO without any issues. You should only create a wallet using such mobile wallets if you simply want to send/receive TAO. For participating in the network (e.g., mining, validating), you will need a "Local-Wallet." Follow these steps to set up your wallet using the Nova Wallet:

1. Find and Install the Nova Wallet

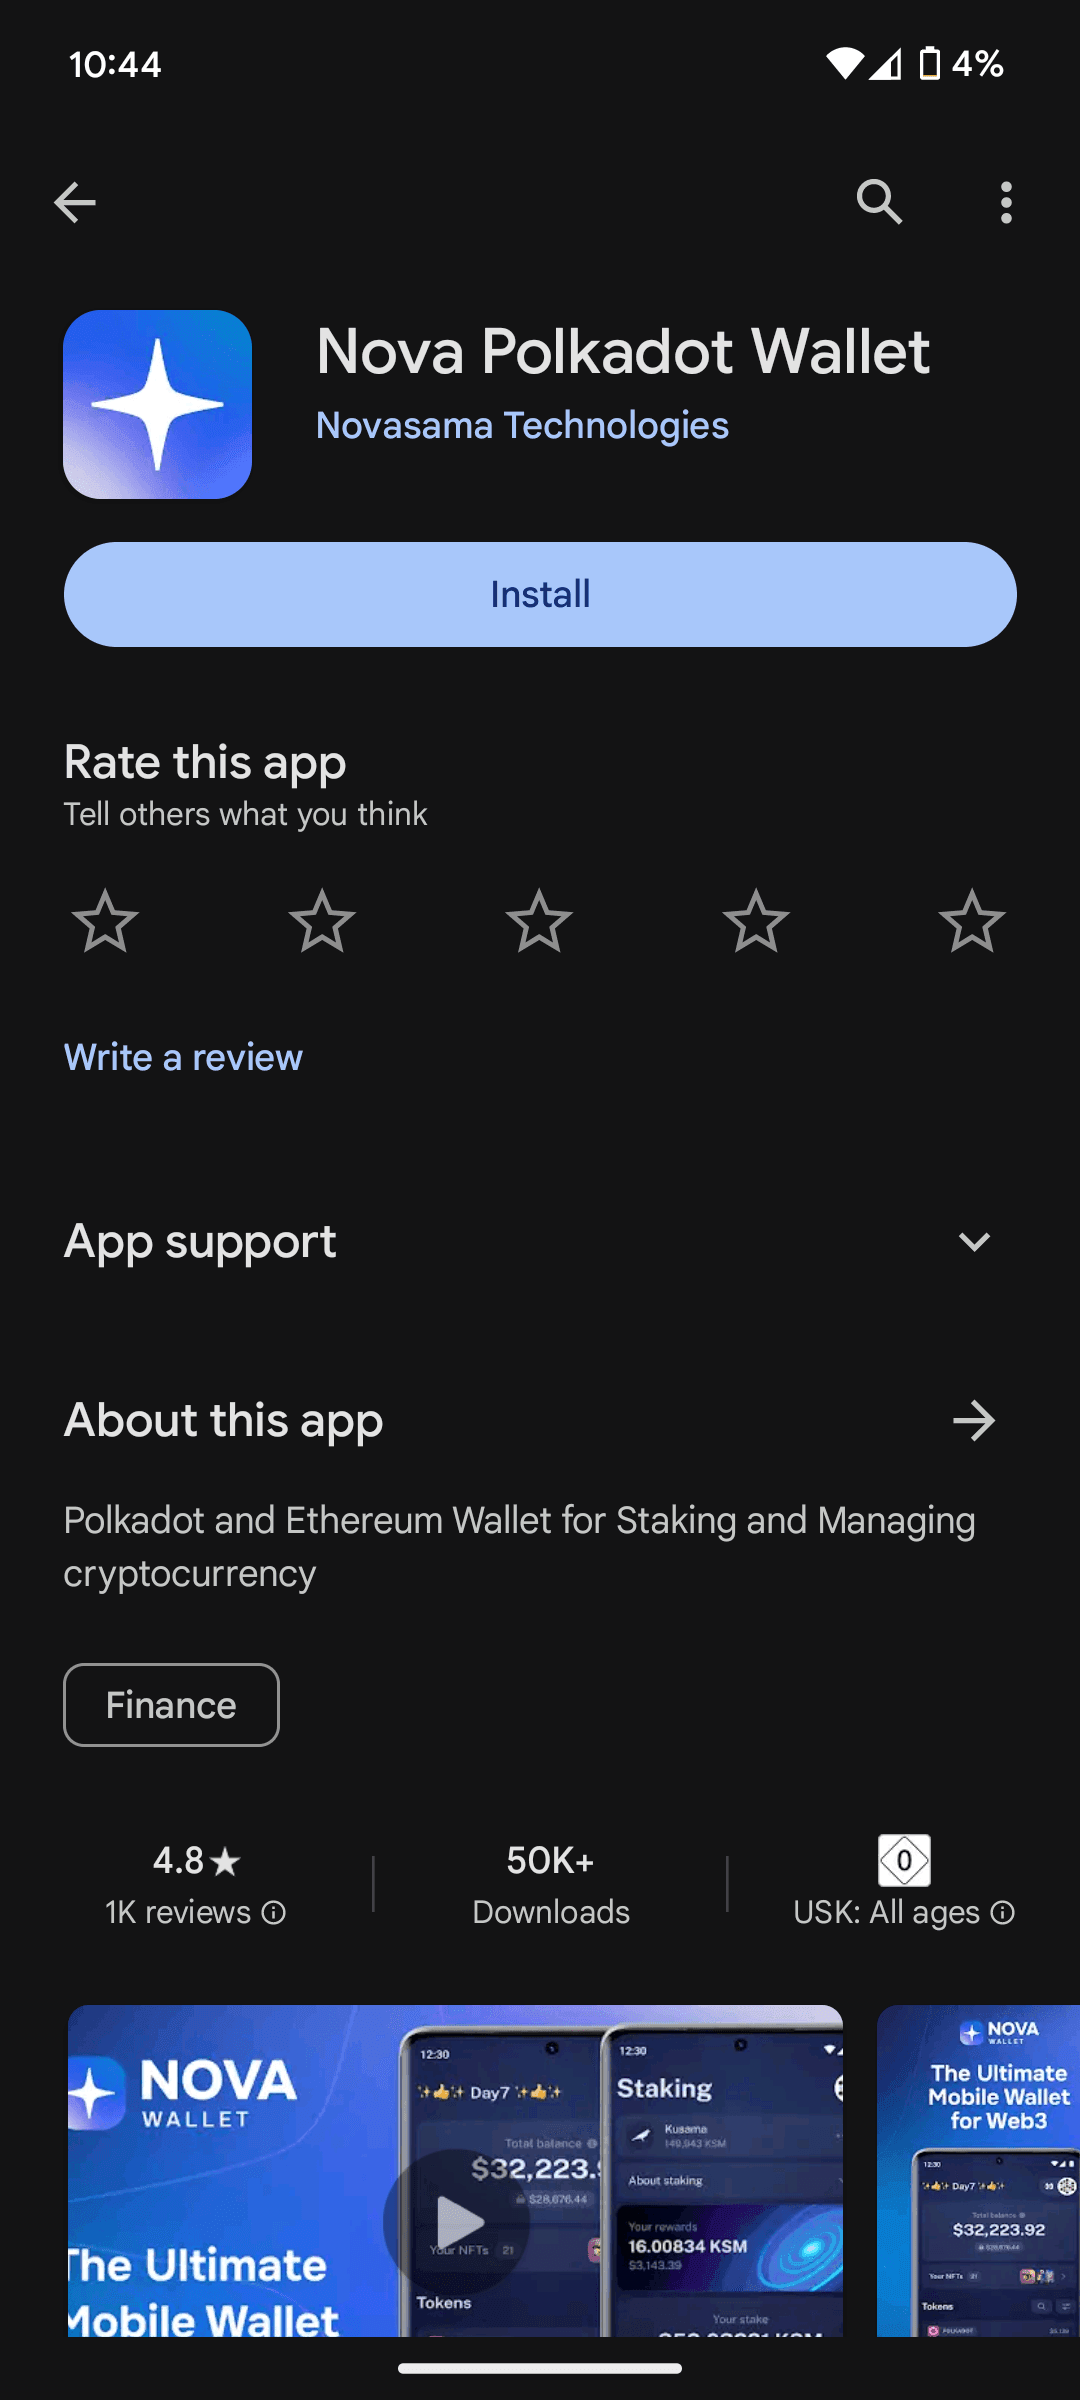
First, go to the 'Play Store' or 'App Store' and search for "Nova Wallet."

MOBILE WALLETS OF CHOICE

There are multiple options for mobile wallets, such as the 'Nova' Wallet-App and the 'Subwallet'-App. In this guide, I will be using the Nova Wallet.

After finding the correct app (as shown above), install it. Then, you can begin creating your wallet.

2. Create a new Wallet

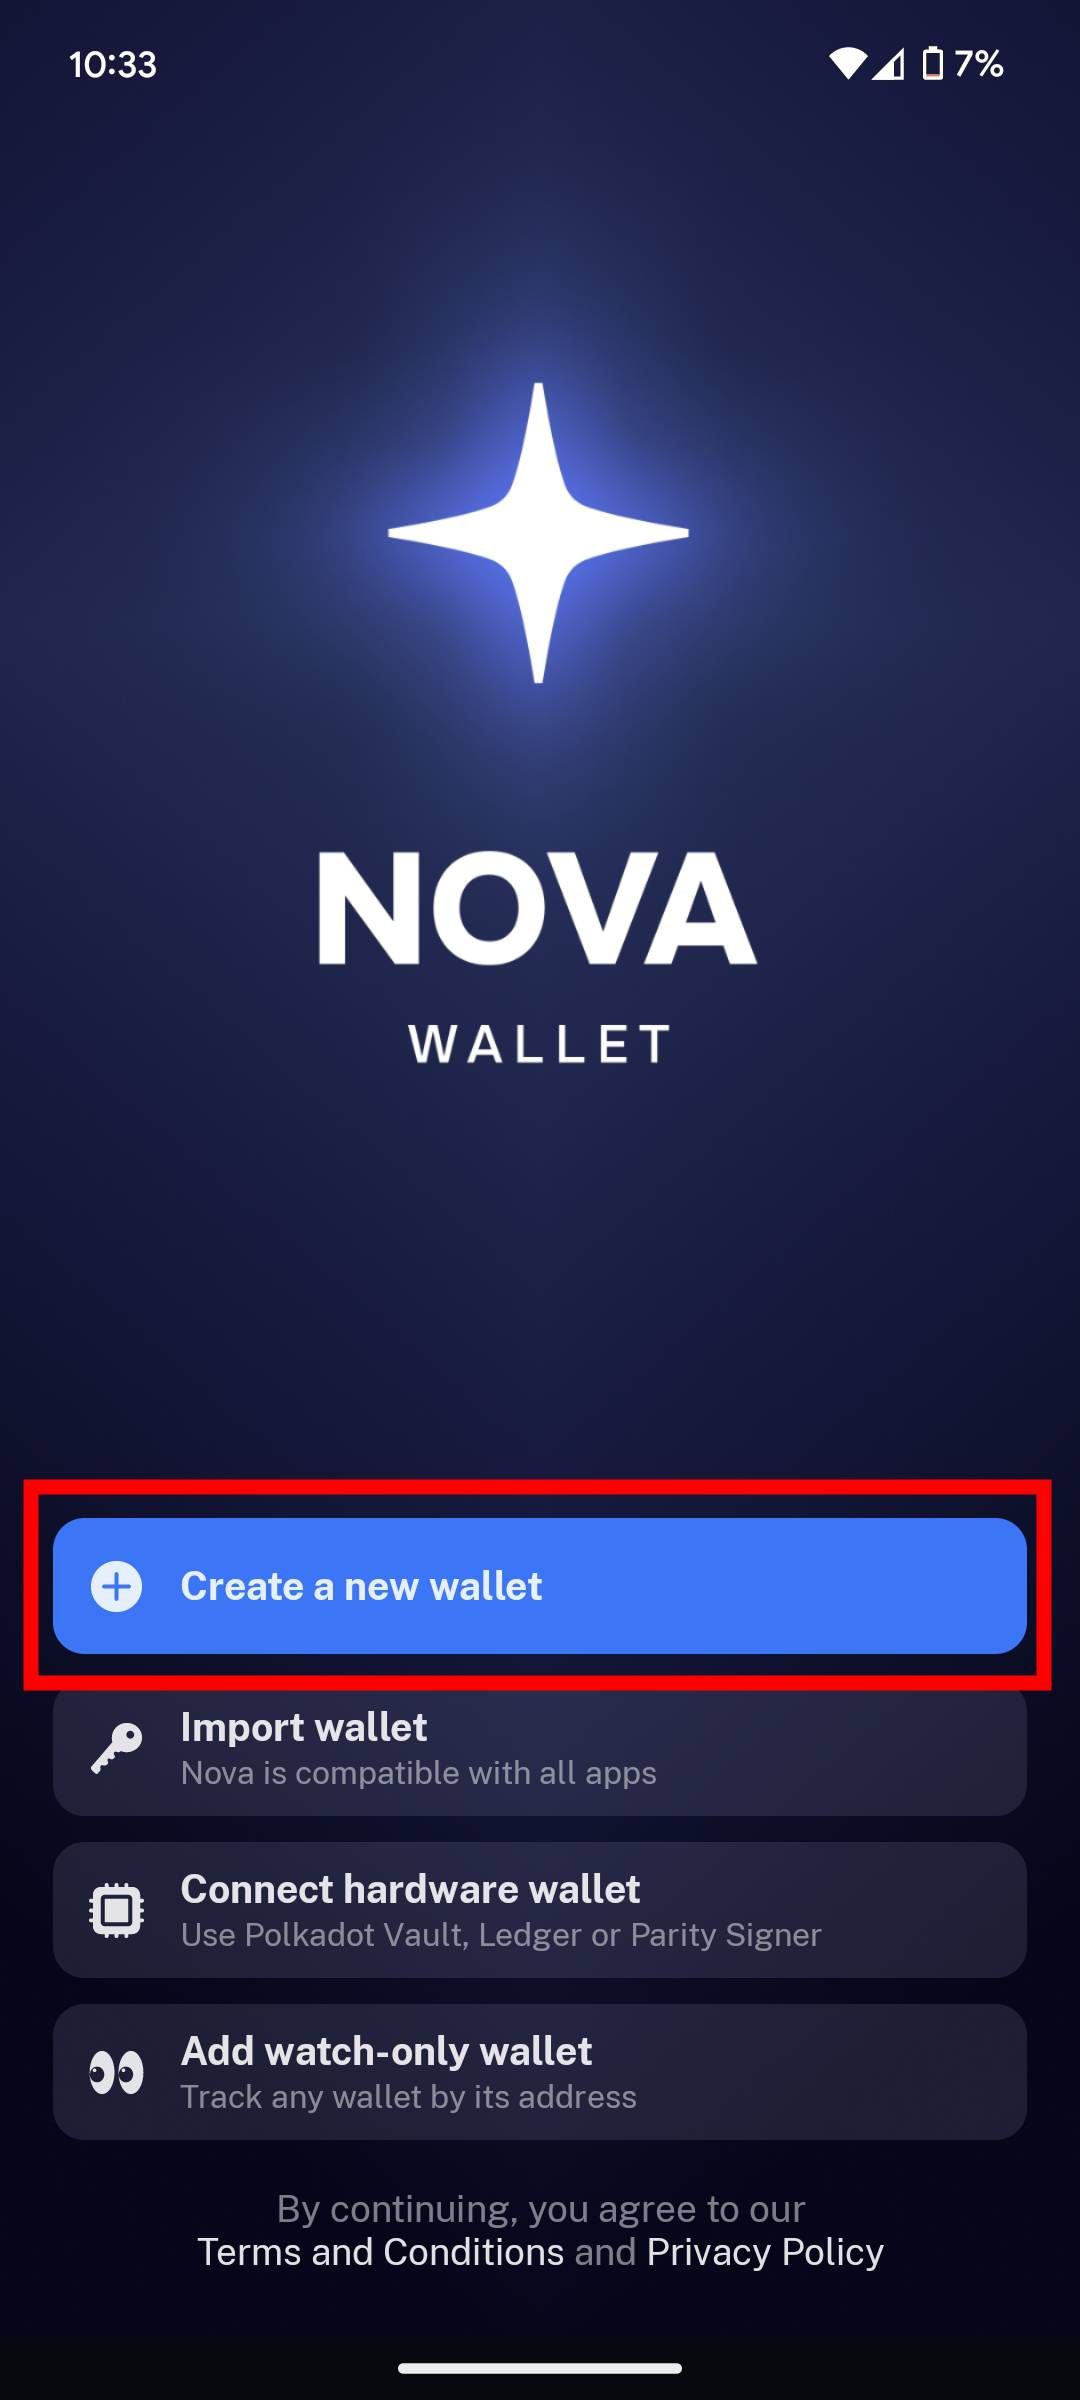
Once opened, you will find four options to choose from:

  • Create a new Wallet: Choose this option to create your wallet.
  • Import Wallet: If you already have a wallet, you can import it here using the mnemonic/seed phrase .
  • Connect Hardware Wallet: This procedure will be explained further in the 'Cold-Storage' section.
  • Add Watch-Only Wallet: Useful for adding any wallet to track the balance/transactions (only the public wallet address is required).


Choose "Create a new Wallet" from the menu.

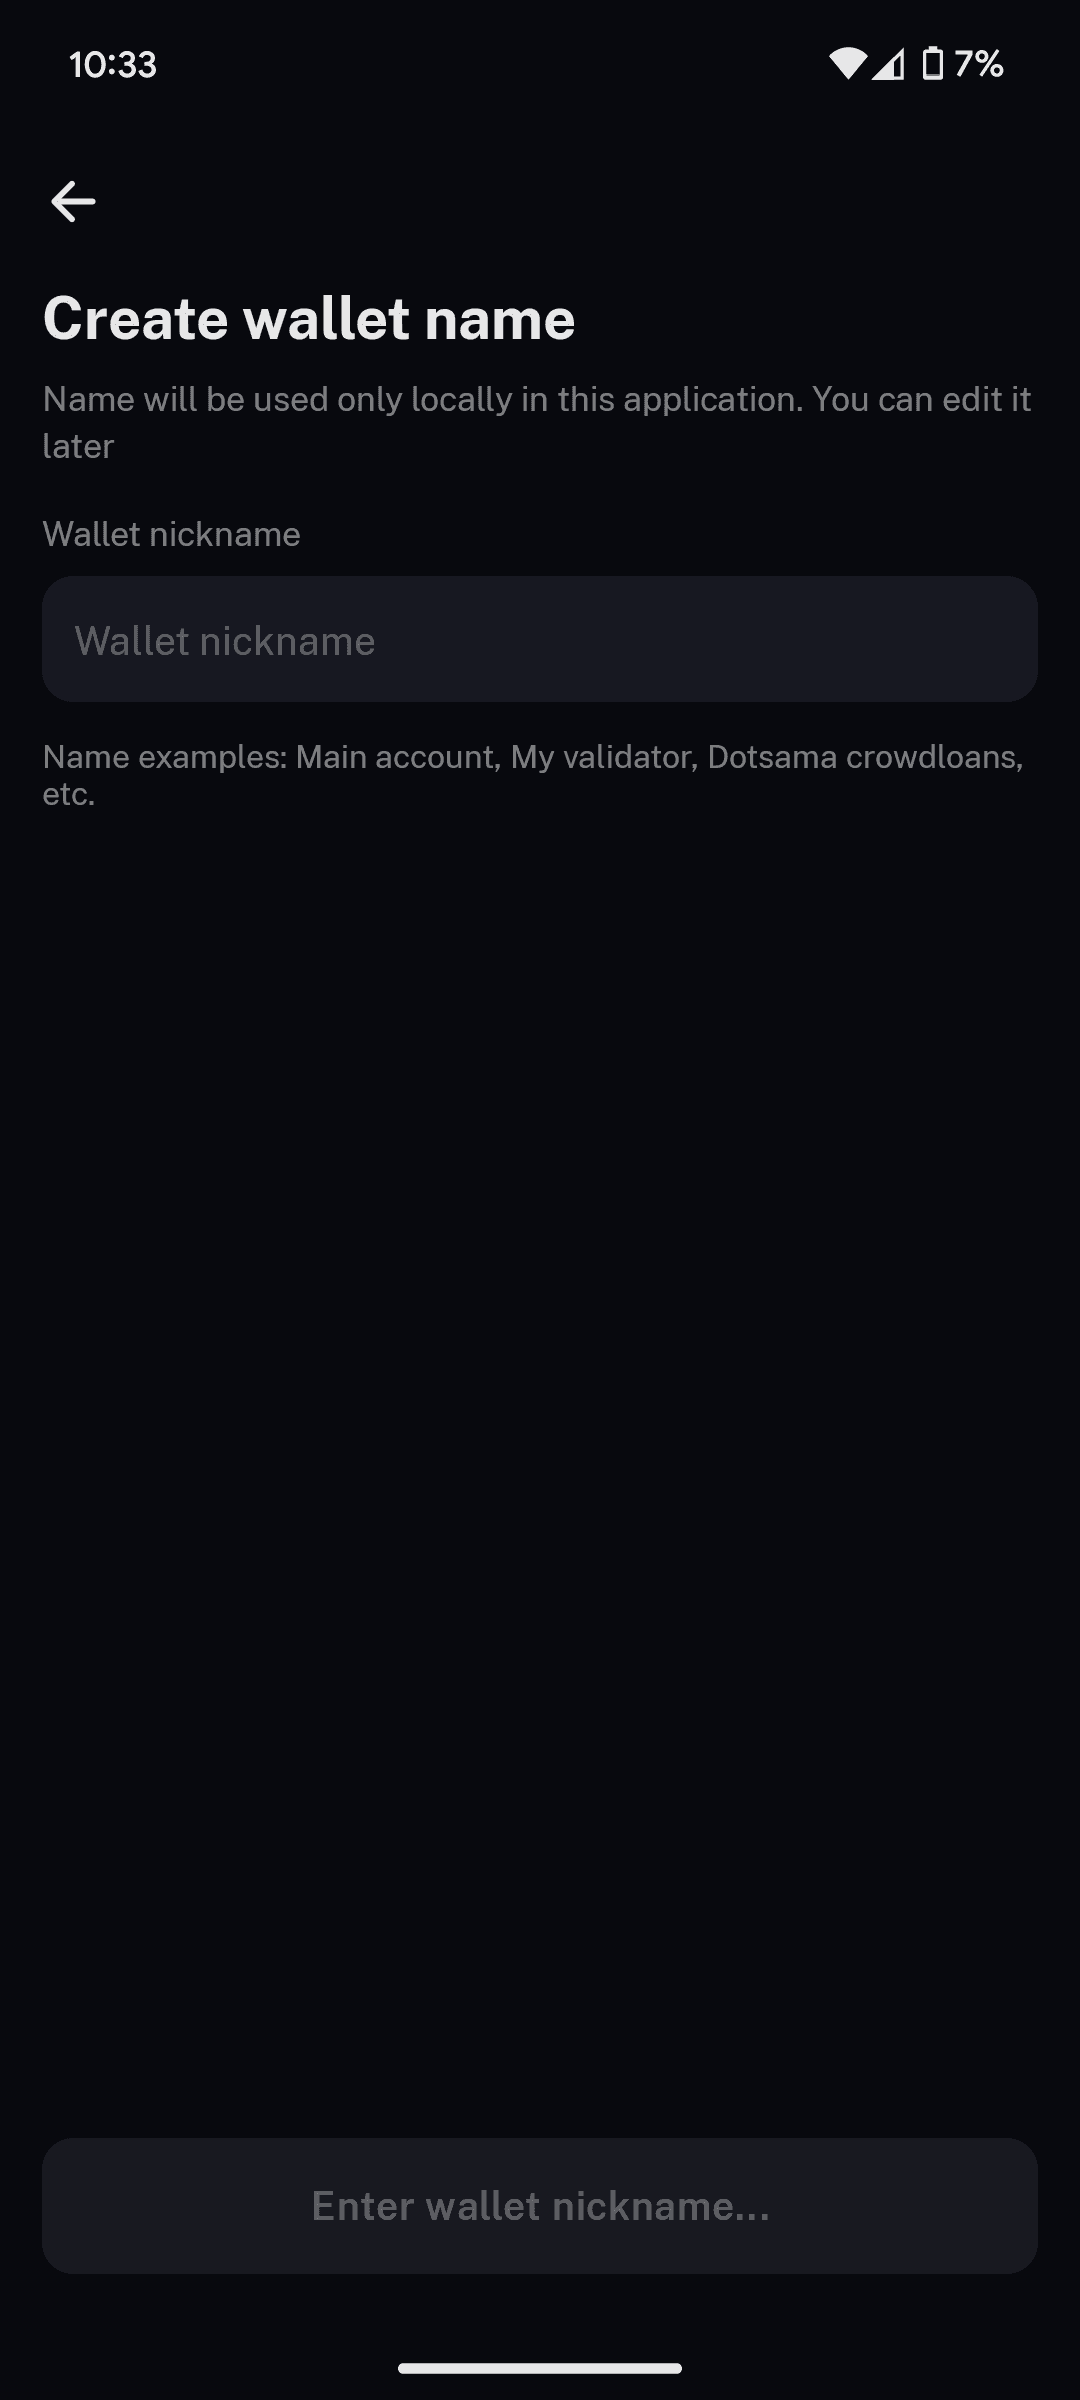
3. Choose a Wallet Name

To create your wallet, first provide a wallet name. This information is not persistent and is only needed to identify your wallet if you have multiple wallets stored later on.

After choosing a wallet name, click the button to continue.

4. Write down the Mnemonic Seed

You will now see a warning pop-up mentioning the mnemonic/seed phrase. This is critical information, and you should store it only in a safe place, without access by others.

After securely storing your 12-word seed phrase, continue to the next step.

NEVER SHARE YOUR MNEMONIC

Anyone with access to your mnemonic/seed phrase gains full control of your wallet and can manage your tokens.

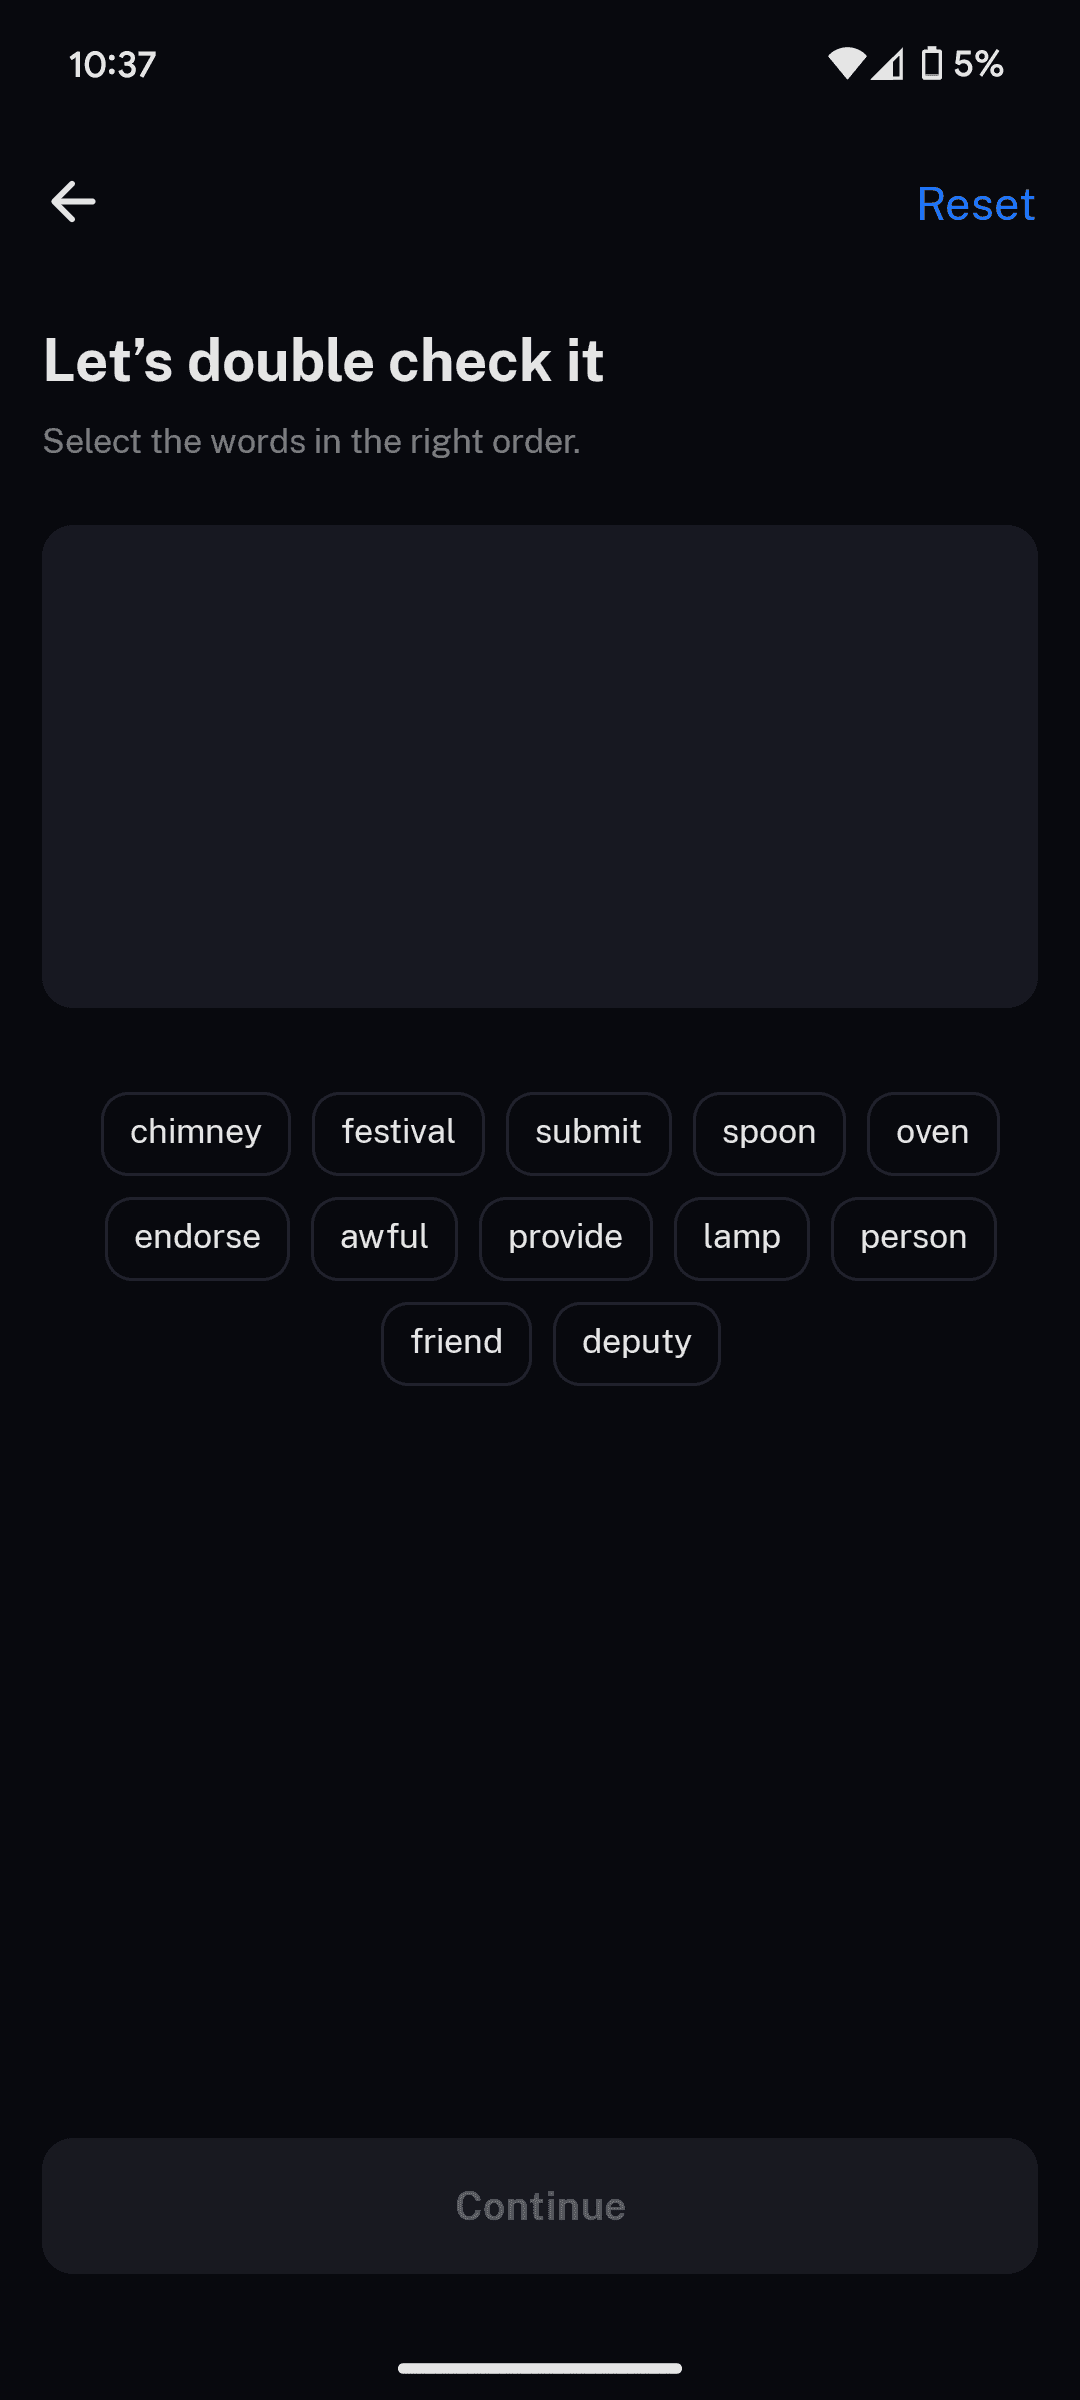
5. Repeat your Mnemonic Seed

For security reasons, you will be asked to repeat the mnemonic/seed phrase. Click the words in the correct order to proceed.

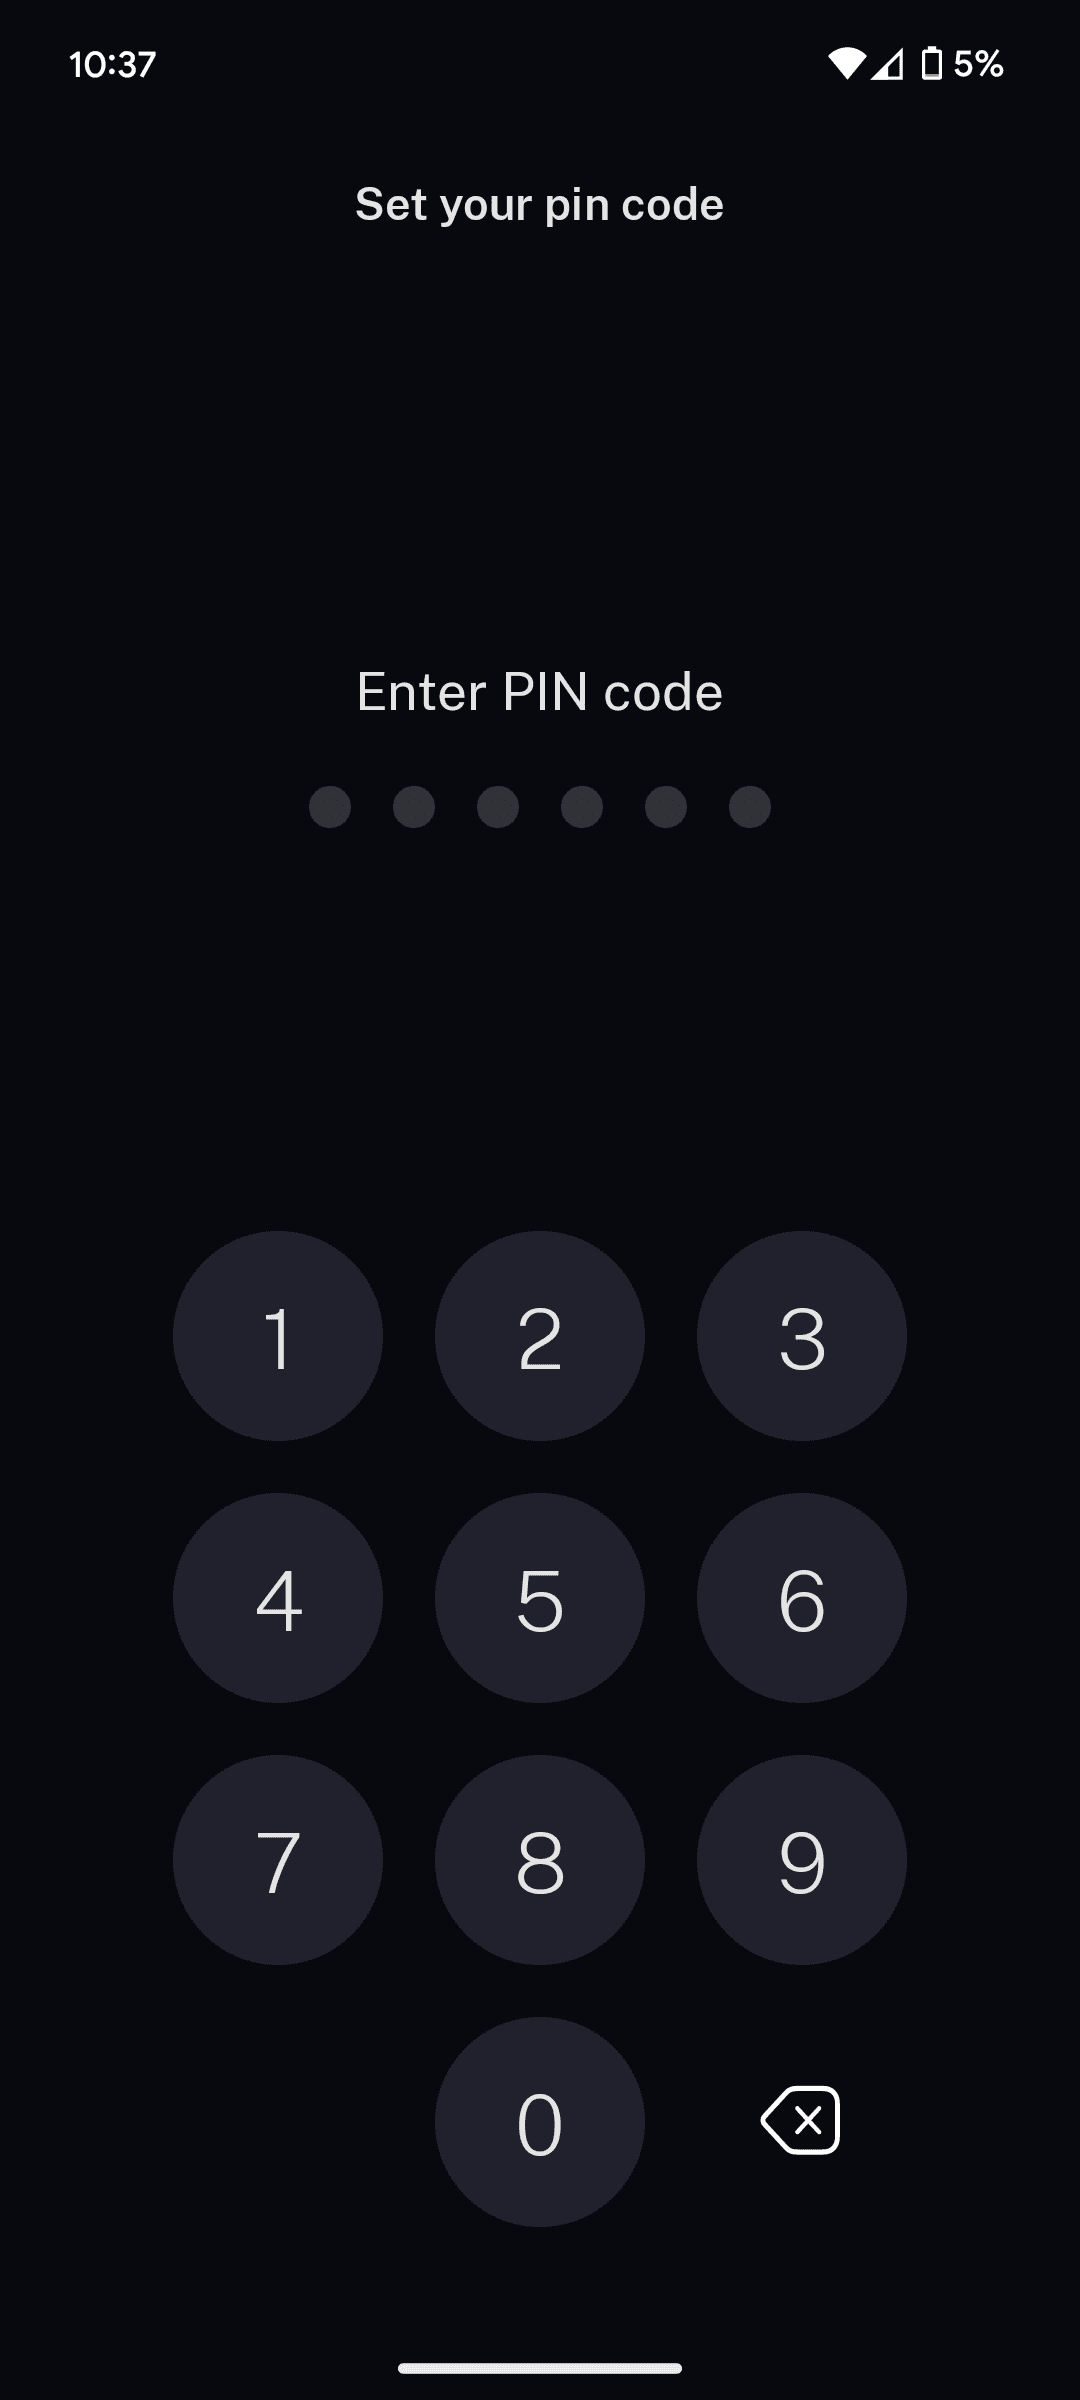
6. Set up your Security PIN

As the last step before using your created wallet, set up a Security PIN. This acts as an additional way to secure access to your wallet.

An optional feature is to enable 'bio-metric unlock,' which allows you to unlock the app securely with your fingerprint or face ID. You can accept it.

7. Check your Wallet Address

After creating your wallet, you will see many assets/tokens, each with its own wallet address. The wallet in the Nova-Wallet acts like a collection of multiple wallets.


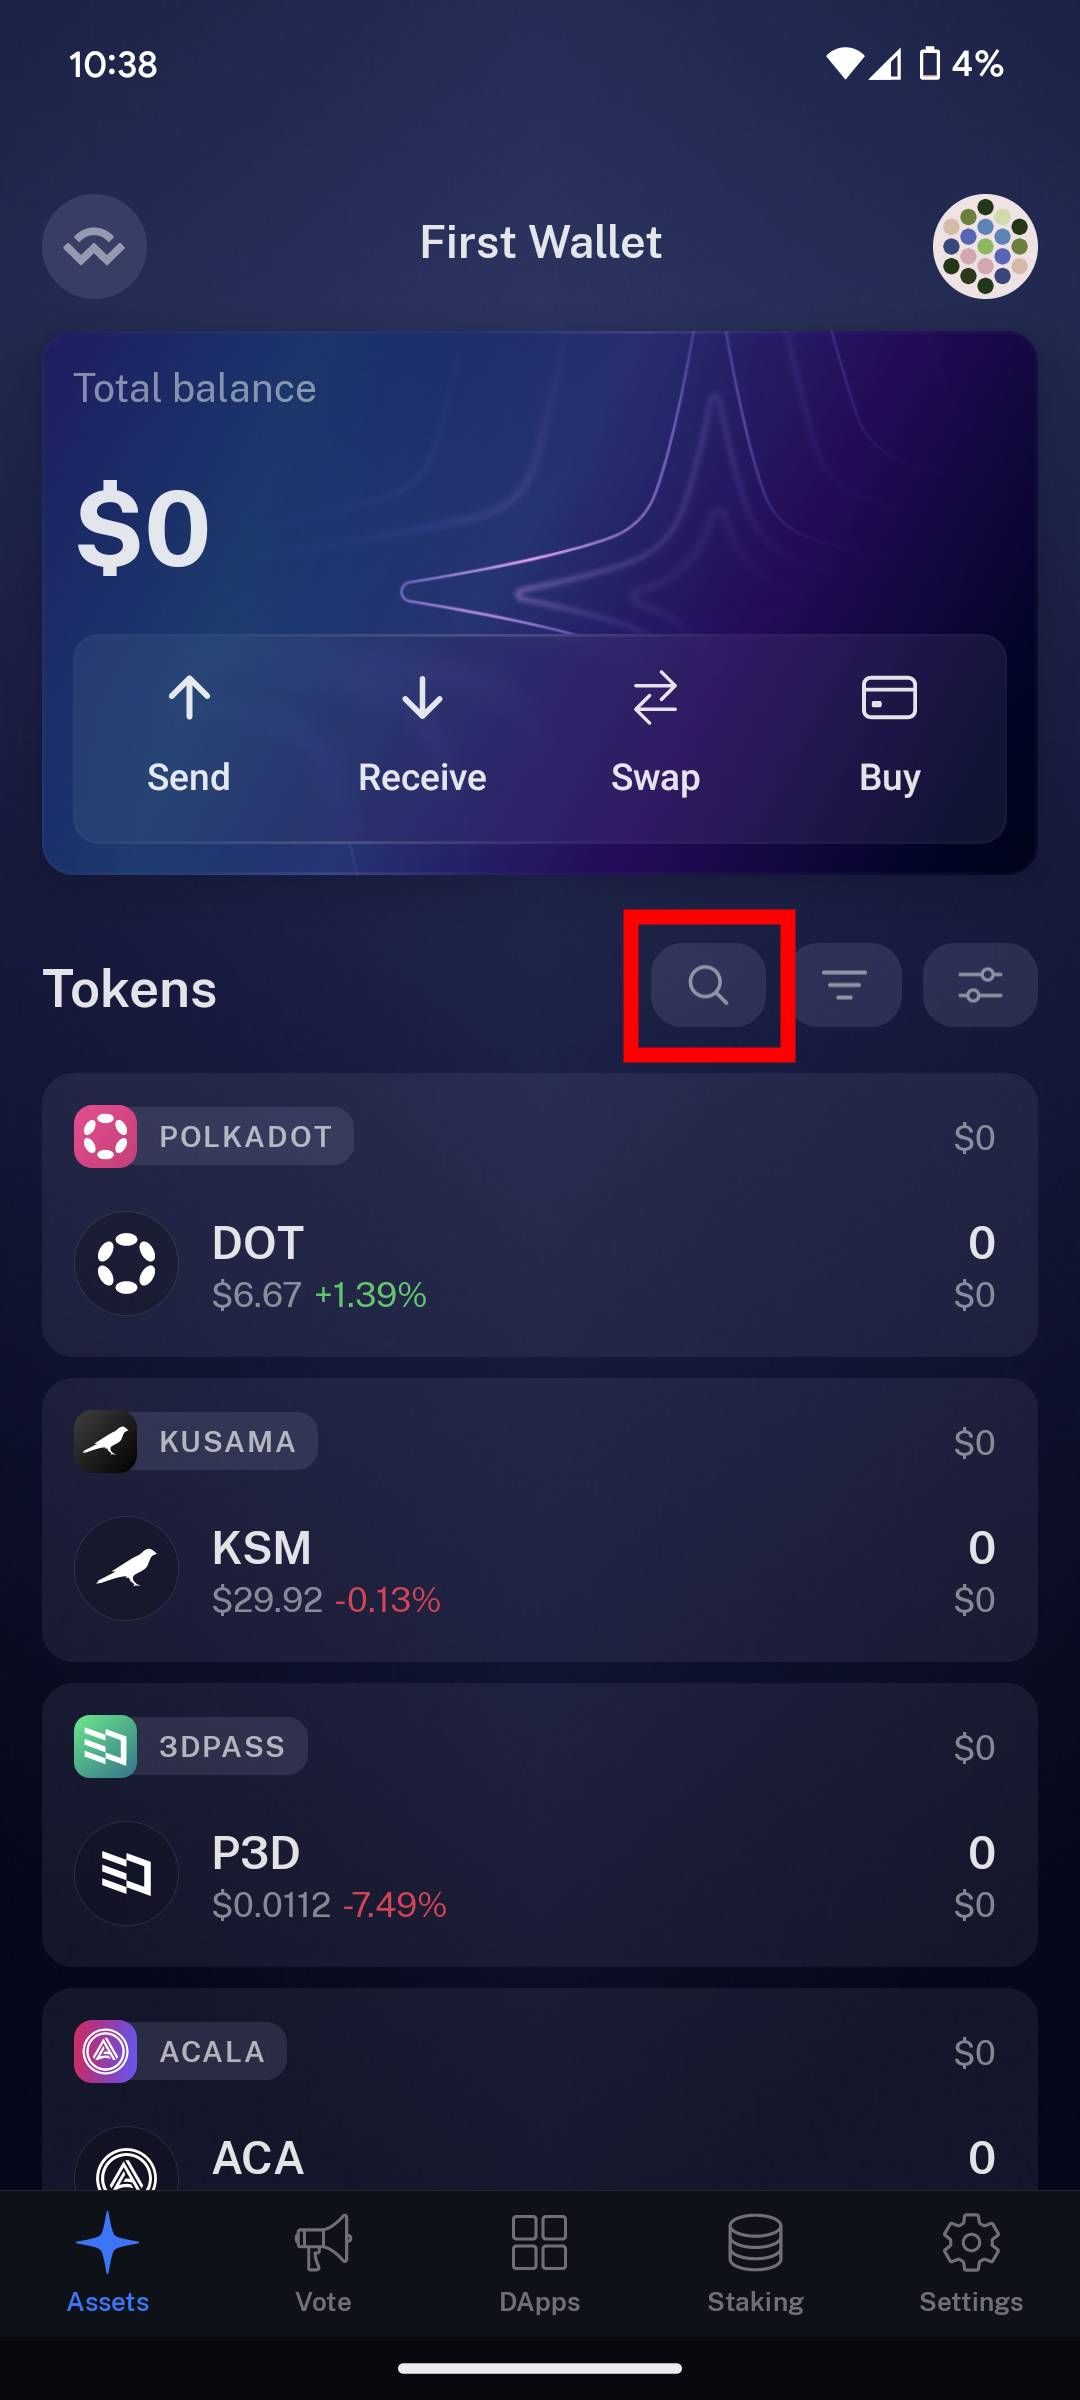
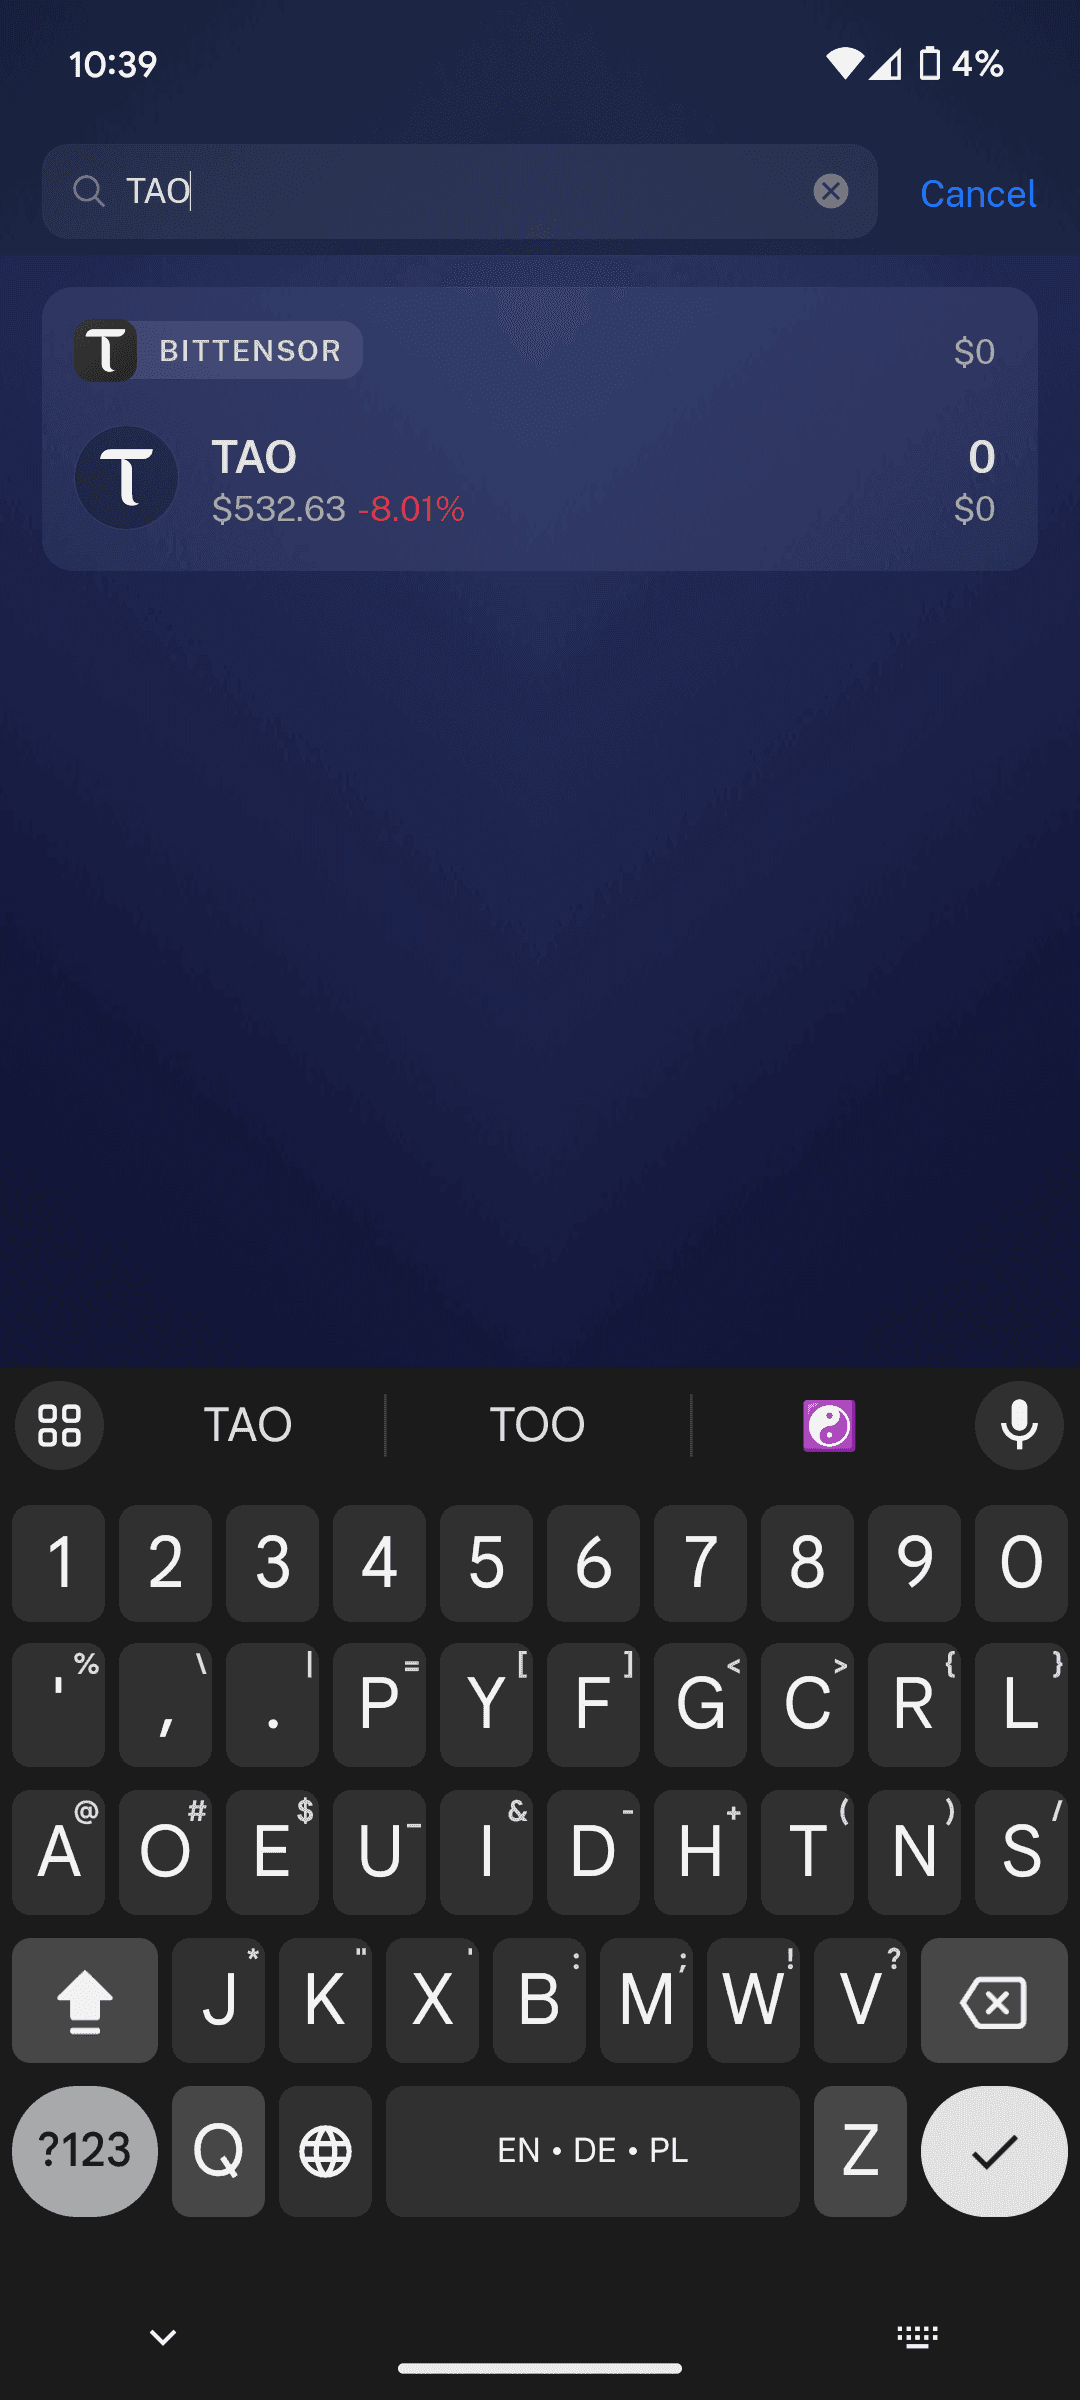
To find the wallet address of your Bittensor wallet, click on the "magnifying-glass" icon and type in "TAO."

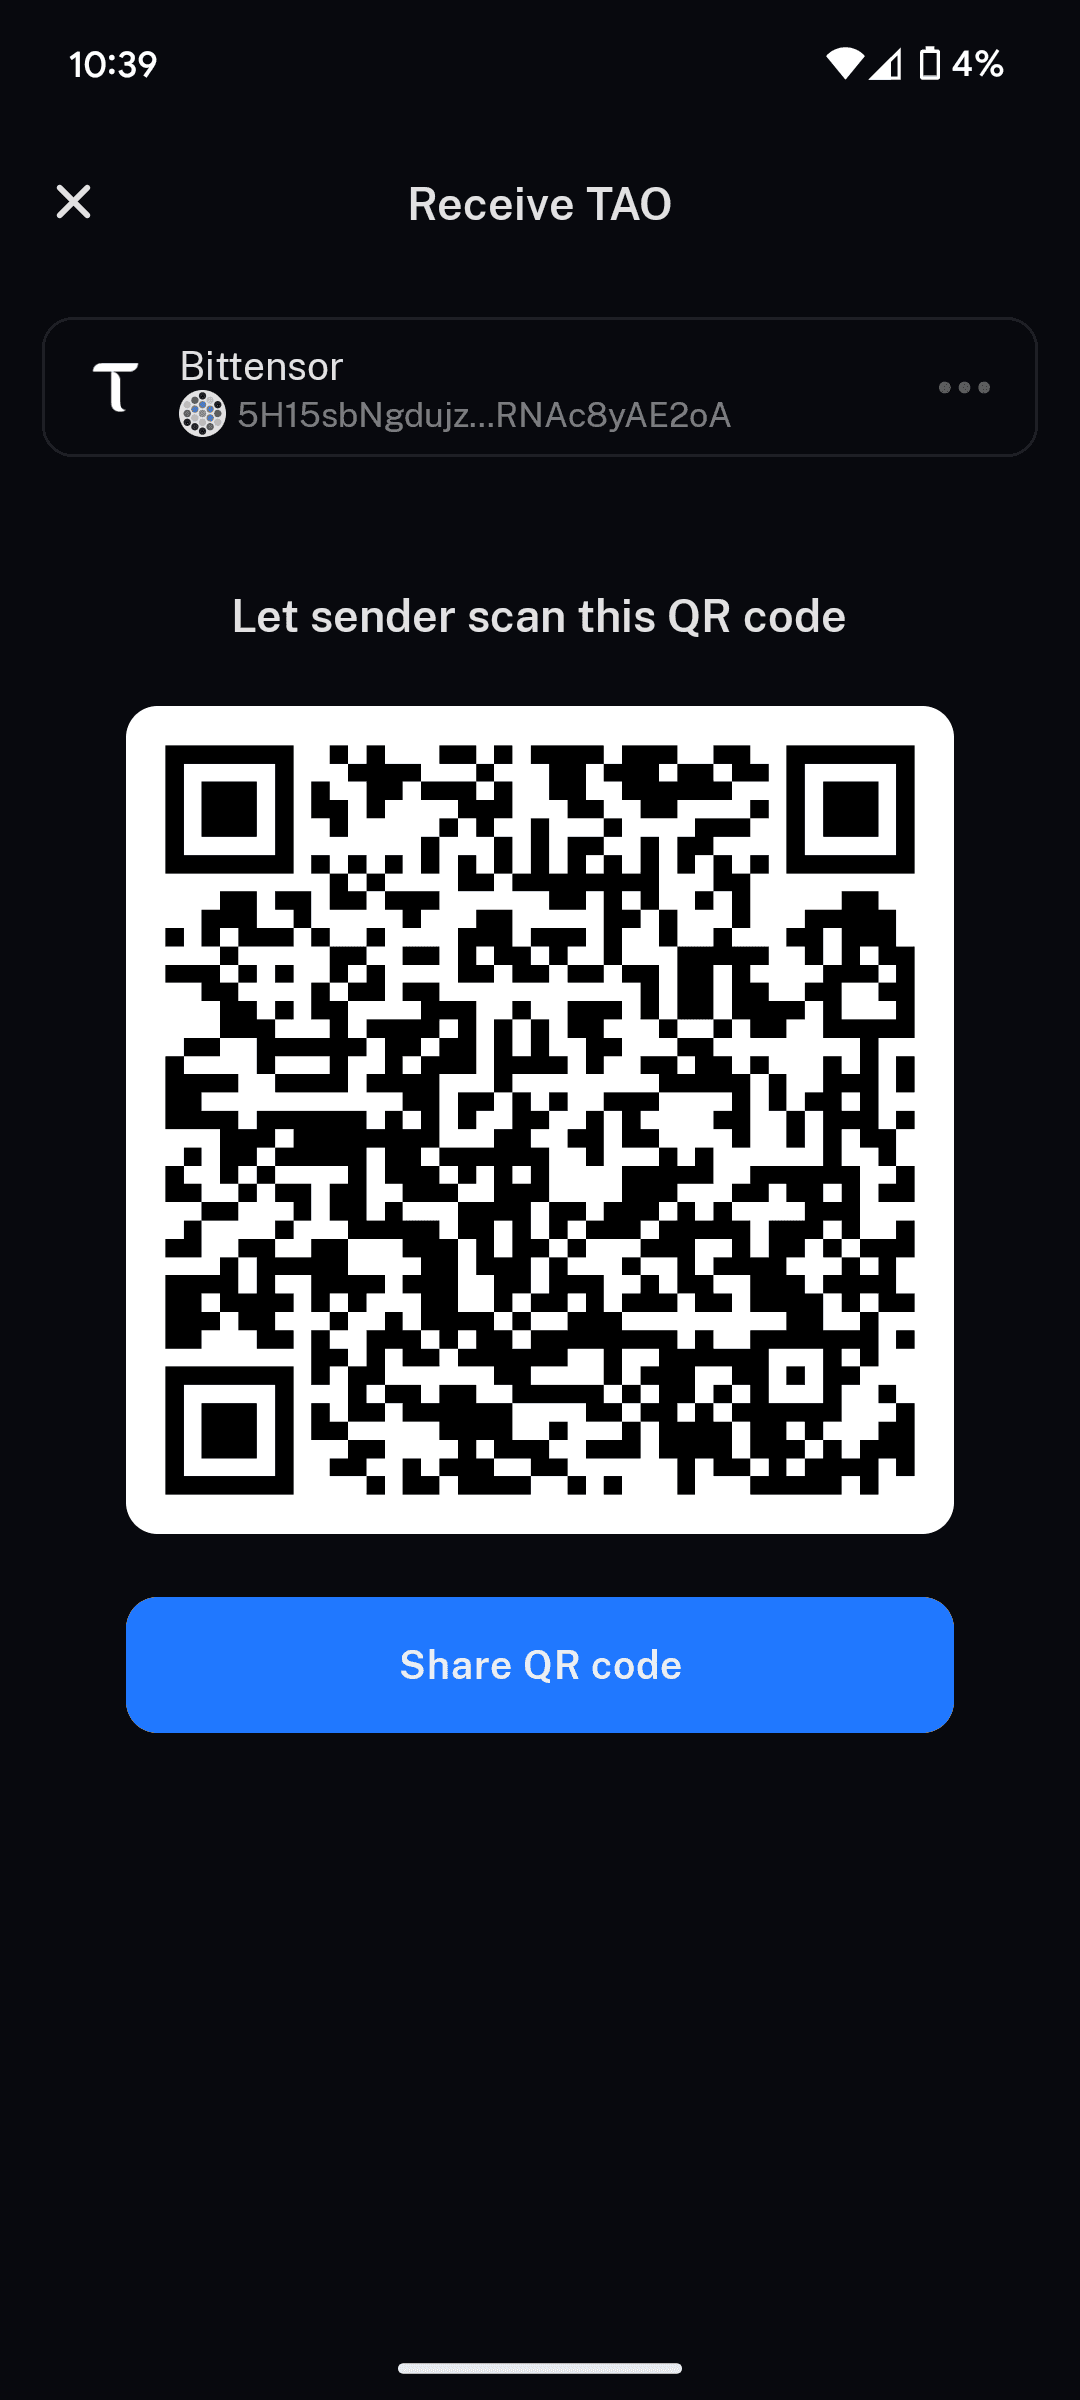
You will then see the wallet address at the top and a QR code that holds the wallet address as information. This allows others to quickly scan it and send you TAO tokens.

The wallet address is a unique identifier for your Bittensor wallet, typically consisting of a long string of characters. It is used to receive TAO tokens from others and can be shared publicly without compromising the security of your wallet.

Congratulations! You have successfully created a Mobile-Wallet using the "Nova Wallet"-App.

Leave Comment

Sign In

Comments (1)

Please note that comment translations may not be accurate!

IamBananas

4d ago

I staked to Roundtable using this wallet and now it's not allowing me to unstake or stake to another... Read More
Nothing is more secure than a separate device, with only one use-case being a 'Bittensor-Wallet'. With a spare smartphone (preferably factory-reset) you can create your own cold-storage hardware wallet, keeping it completely offline and away from possible vulnerabilities. Through the following setup you will always need to scan QR-Codes using your hardware wallet to sign any transaction, allowing the most secure option. Follow these steps to setup your hardware wallet:

1. Factory-Reset Vault Smartphone

To reduce any risks through already installed apps its best to factory-reset the device dedicated to your wallet. From now on I will refer to it as the 'vault smartphone'.

USE A SEPERATE DEVICE

Its required to have a separate smartphone for this setup, its not recommended to use your main device, as it cannot be kept always offline and through this enables vulnerabilities.

2. Install the Polkadot Vault - App

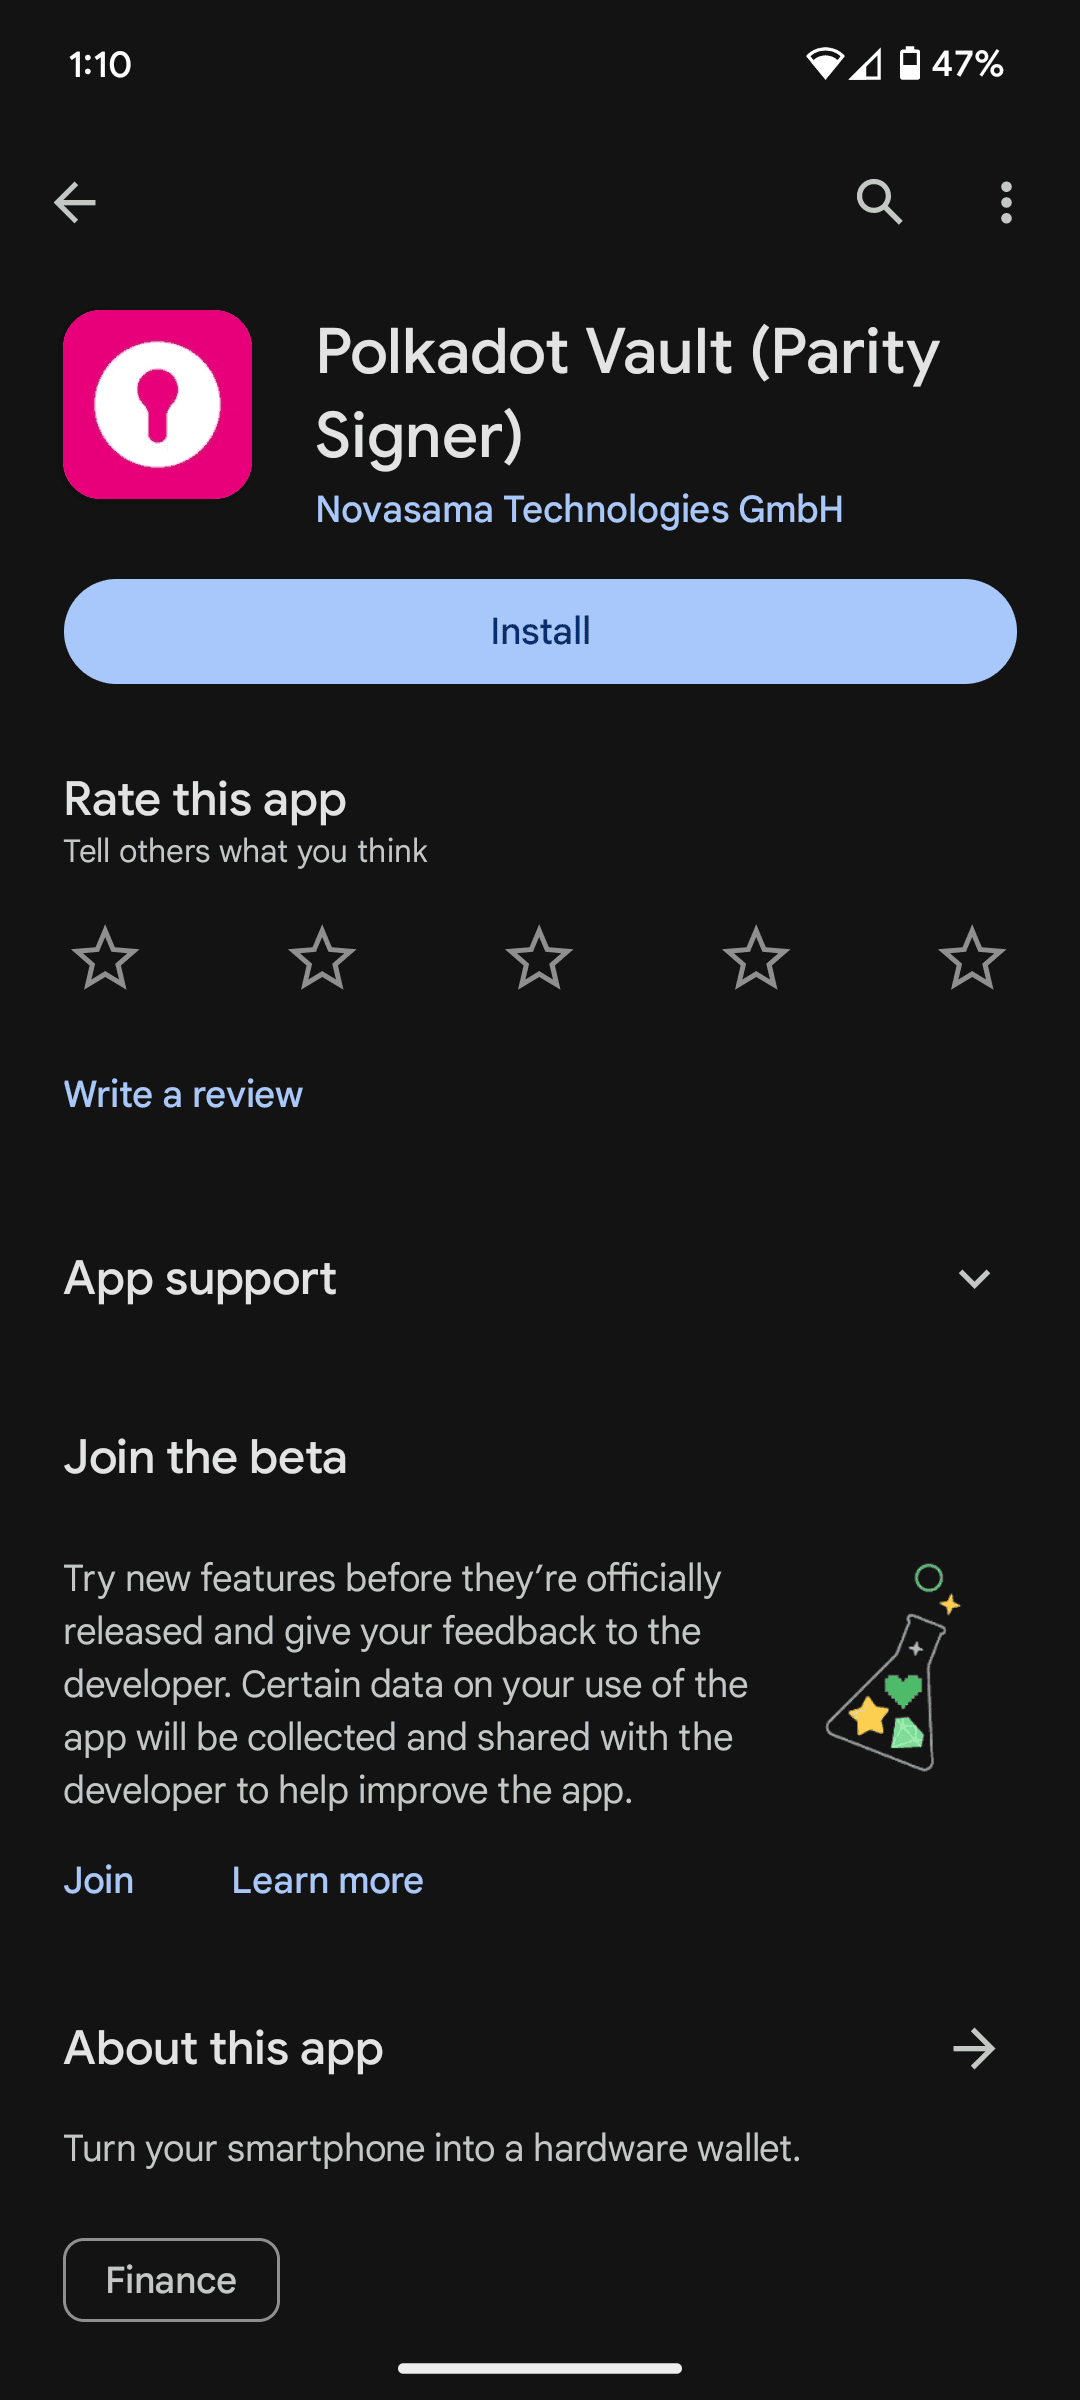
Go to the 'Play Store' or 'App Store' and search for "Polkadot Vault".

After finding the correct app (as shown above), install it. Then, you can begin creating your hardware wallet.

3. Accept 'Terms of Service' & Enable Air-Gap Mode

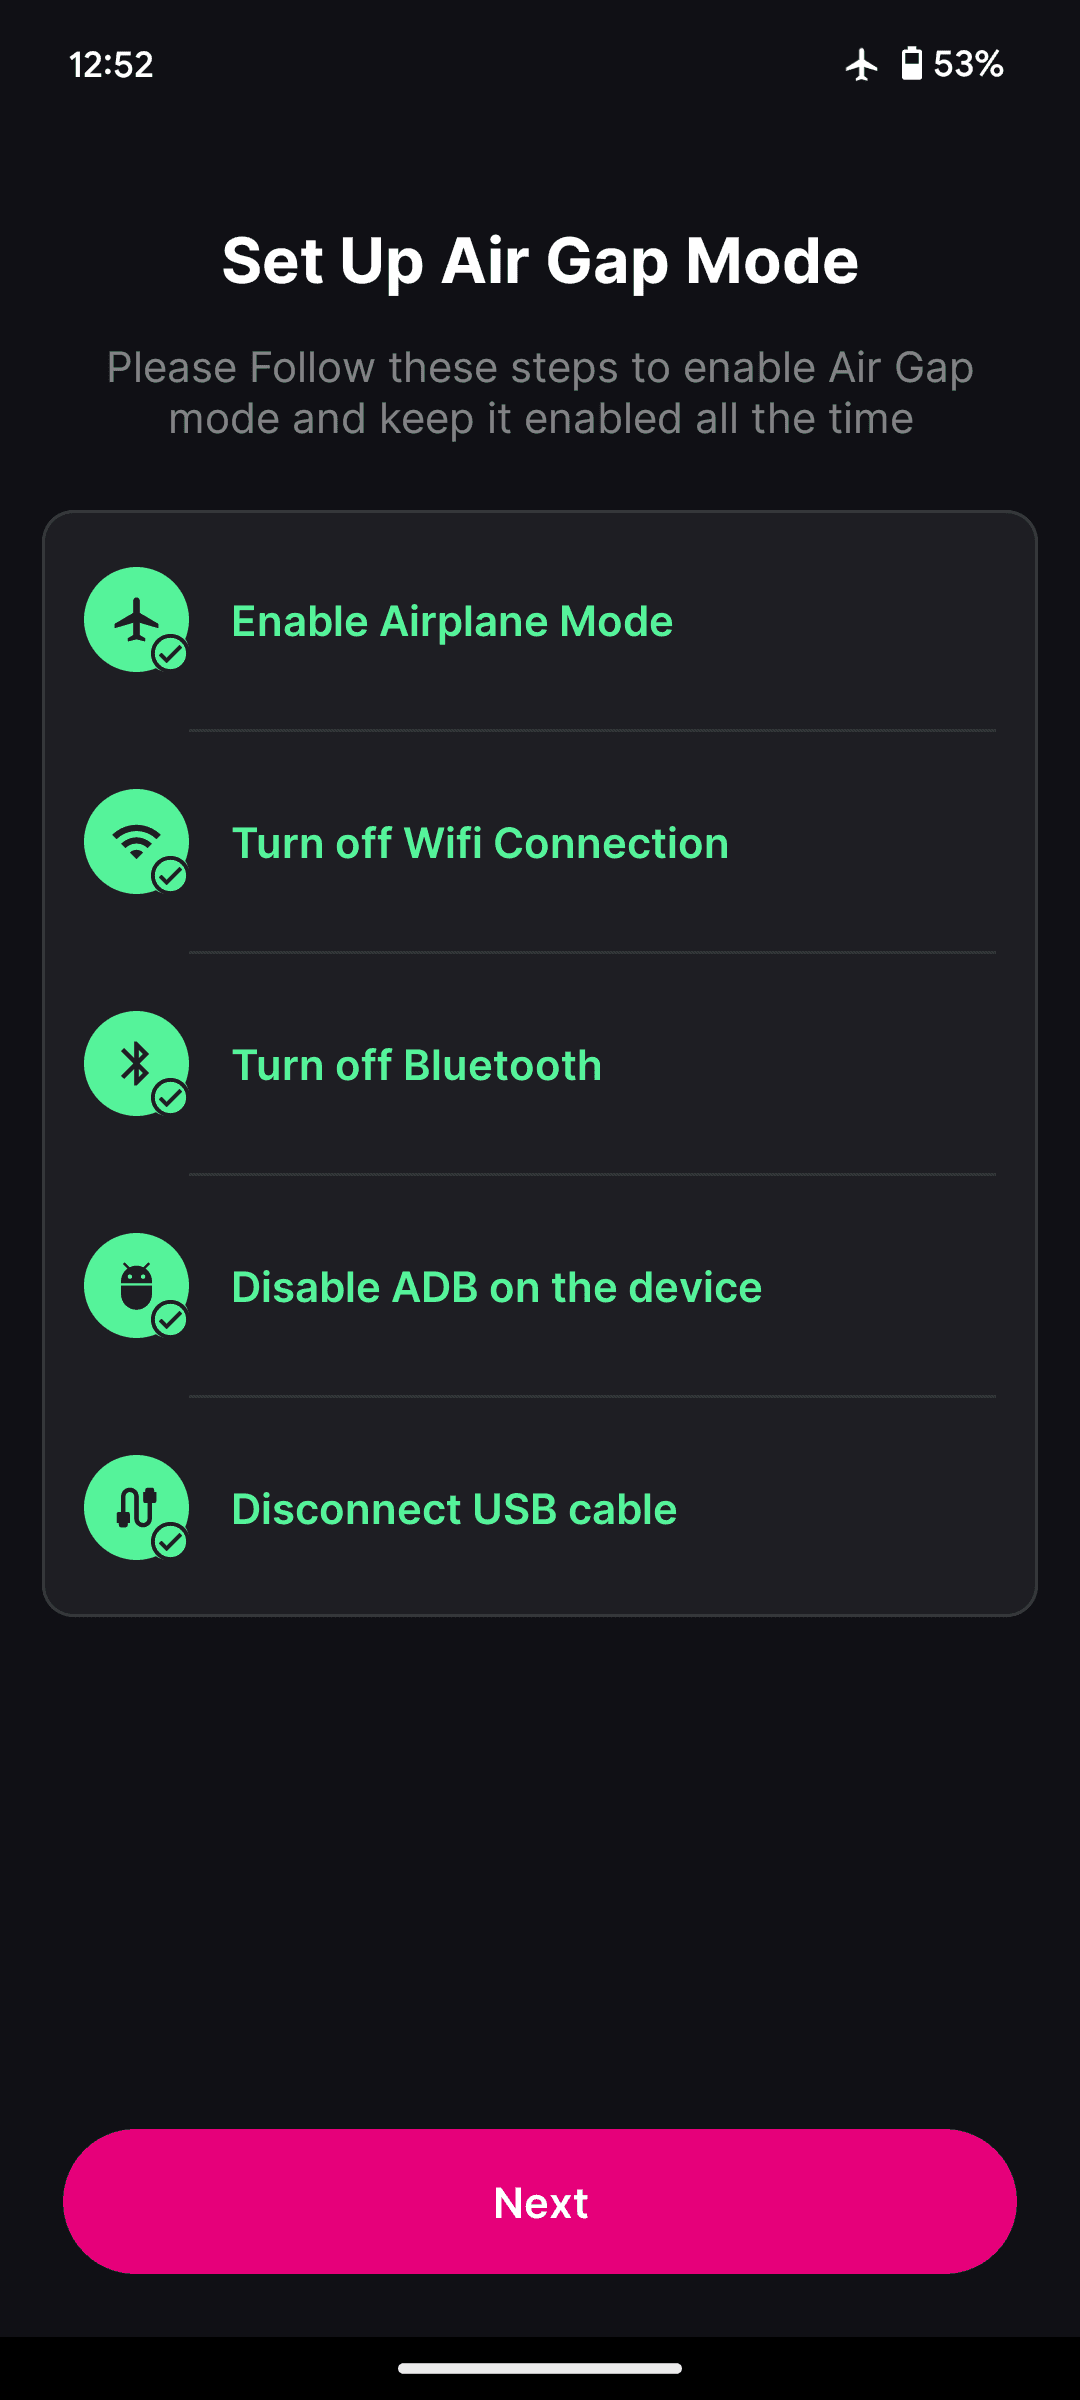
Once the app is opened you will be asked to accept the 'Terms of Service' and the 'Privacy Policy'. The first thing you have to set up will be the so called 'Air-Gap Mode', this refers to your device being completely offline and disconnected from the network.

CUT YOUR DEVICE FROM THE INTERNET

You should from this point on keep you device offline and never enable WIFI/disable the Airplane Mode.

If you don't have a screen-lock set up, a prompt will pop up asking you to set it up (e.g. passcode, pattern, fingerprint etc.).

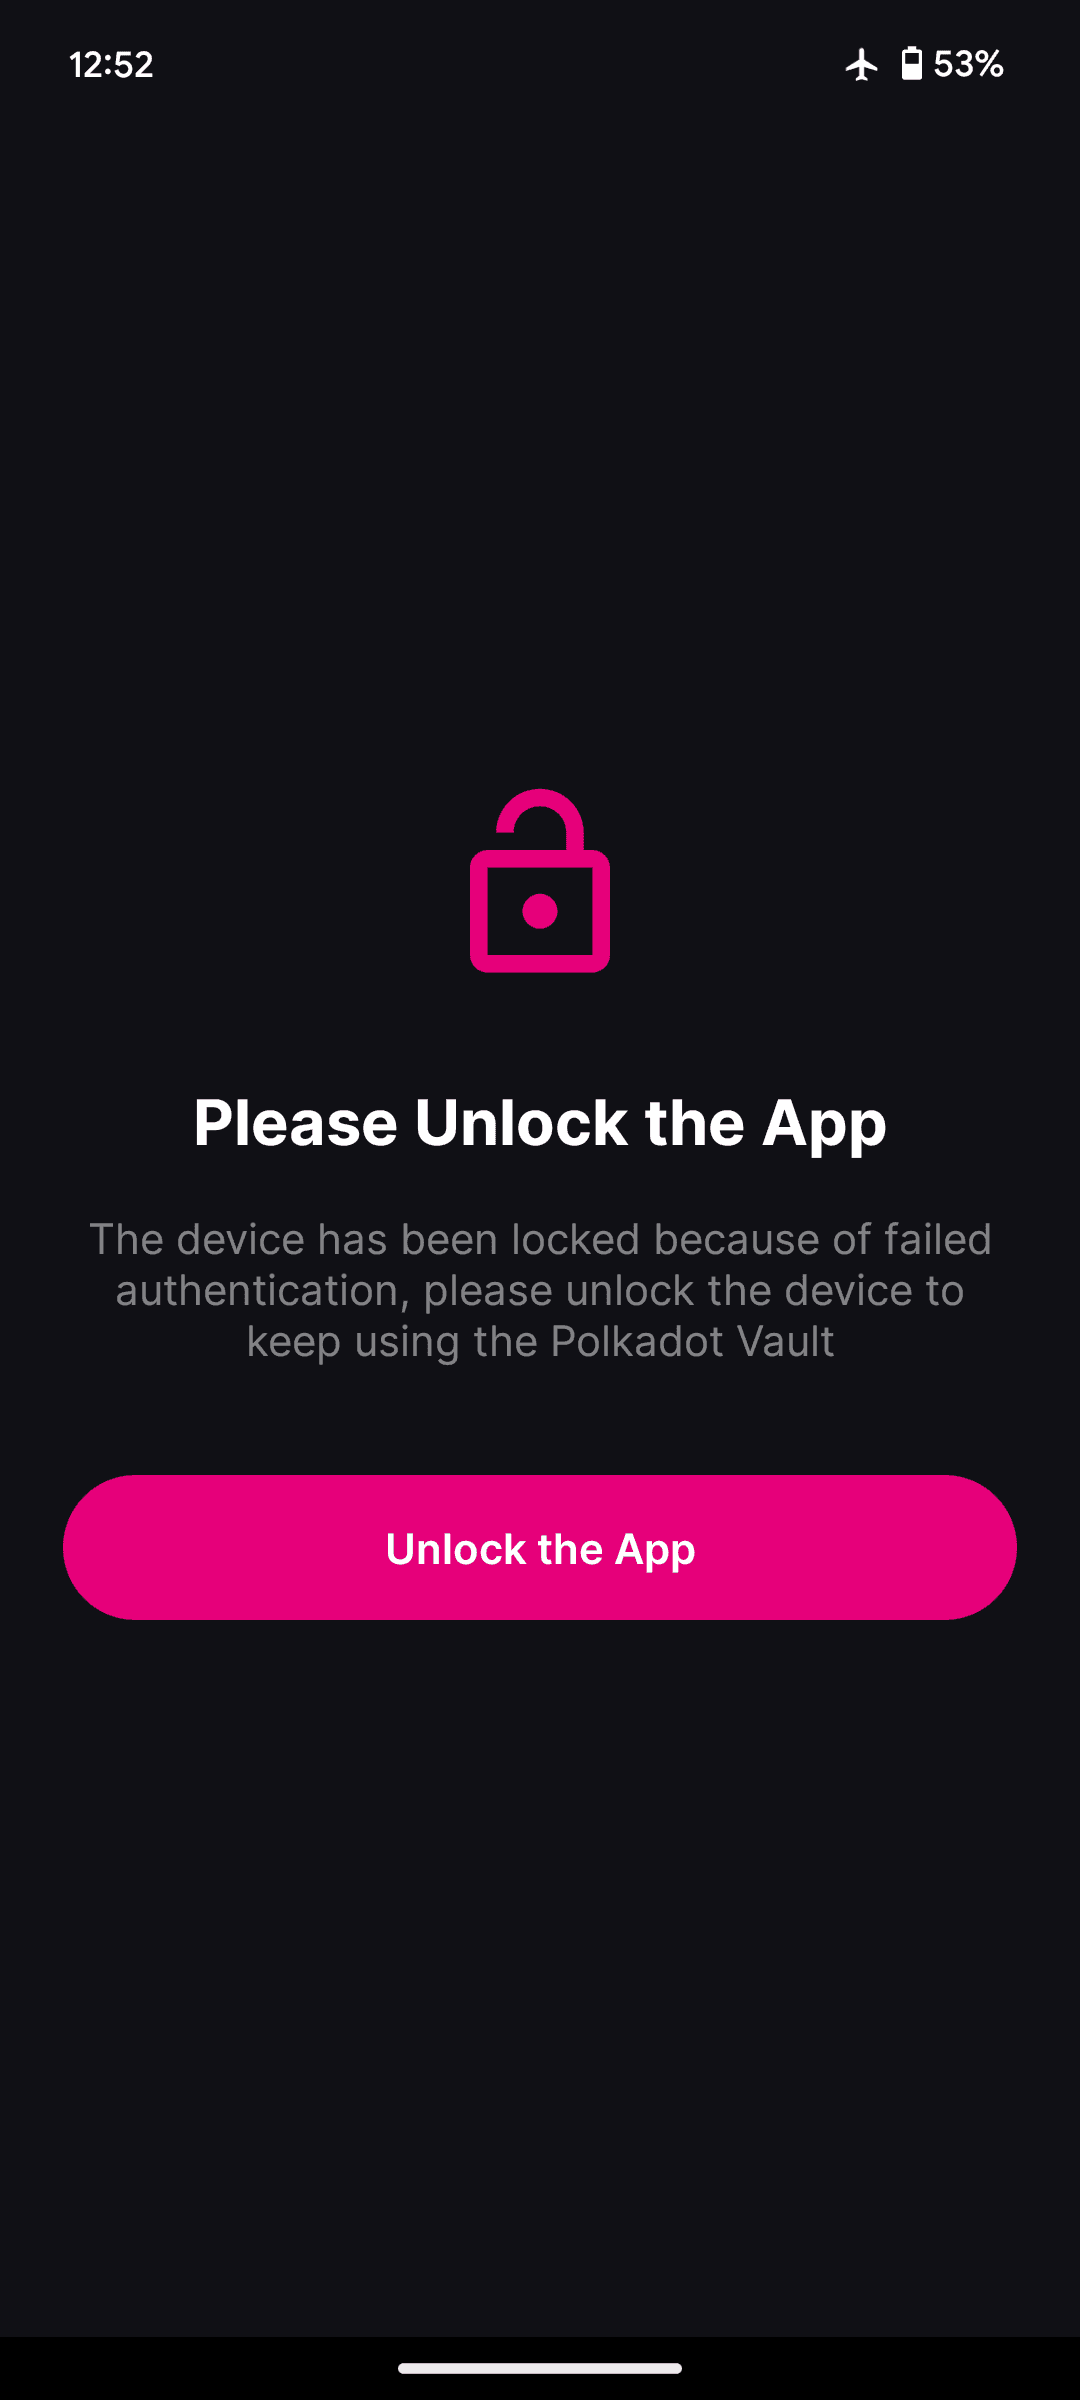
Should you already have one like me in this scenario, it will ask you unlock the app using the set up screen-lock.

4. Create Key-Set

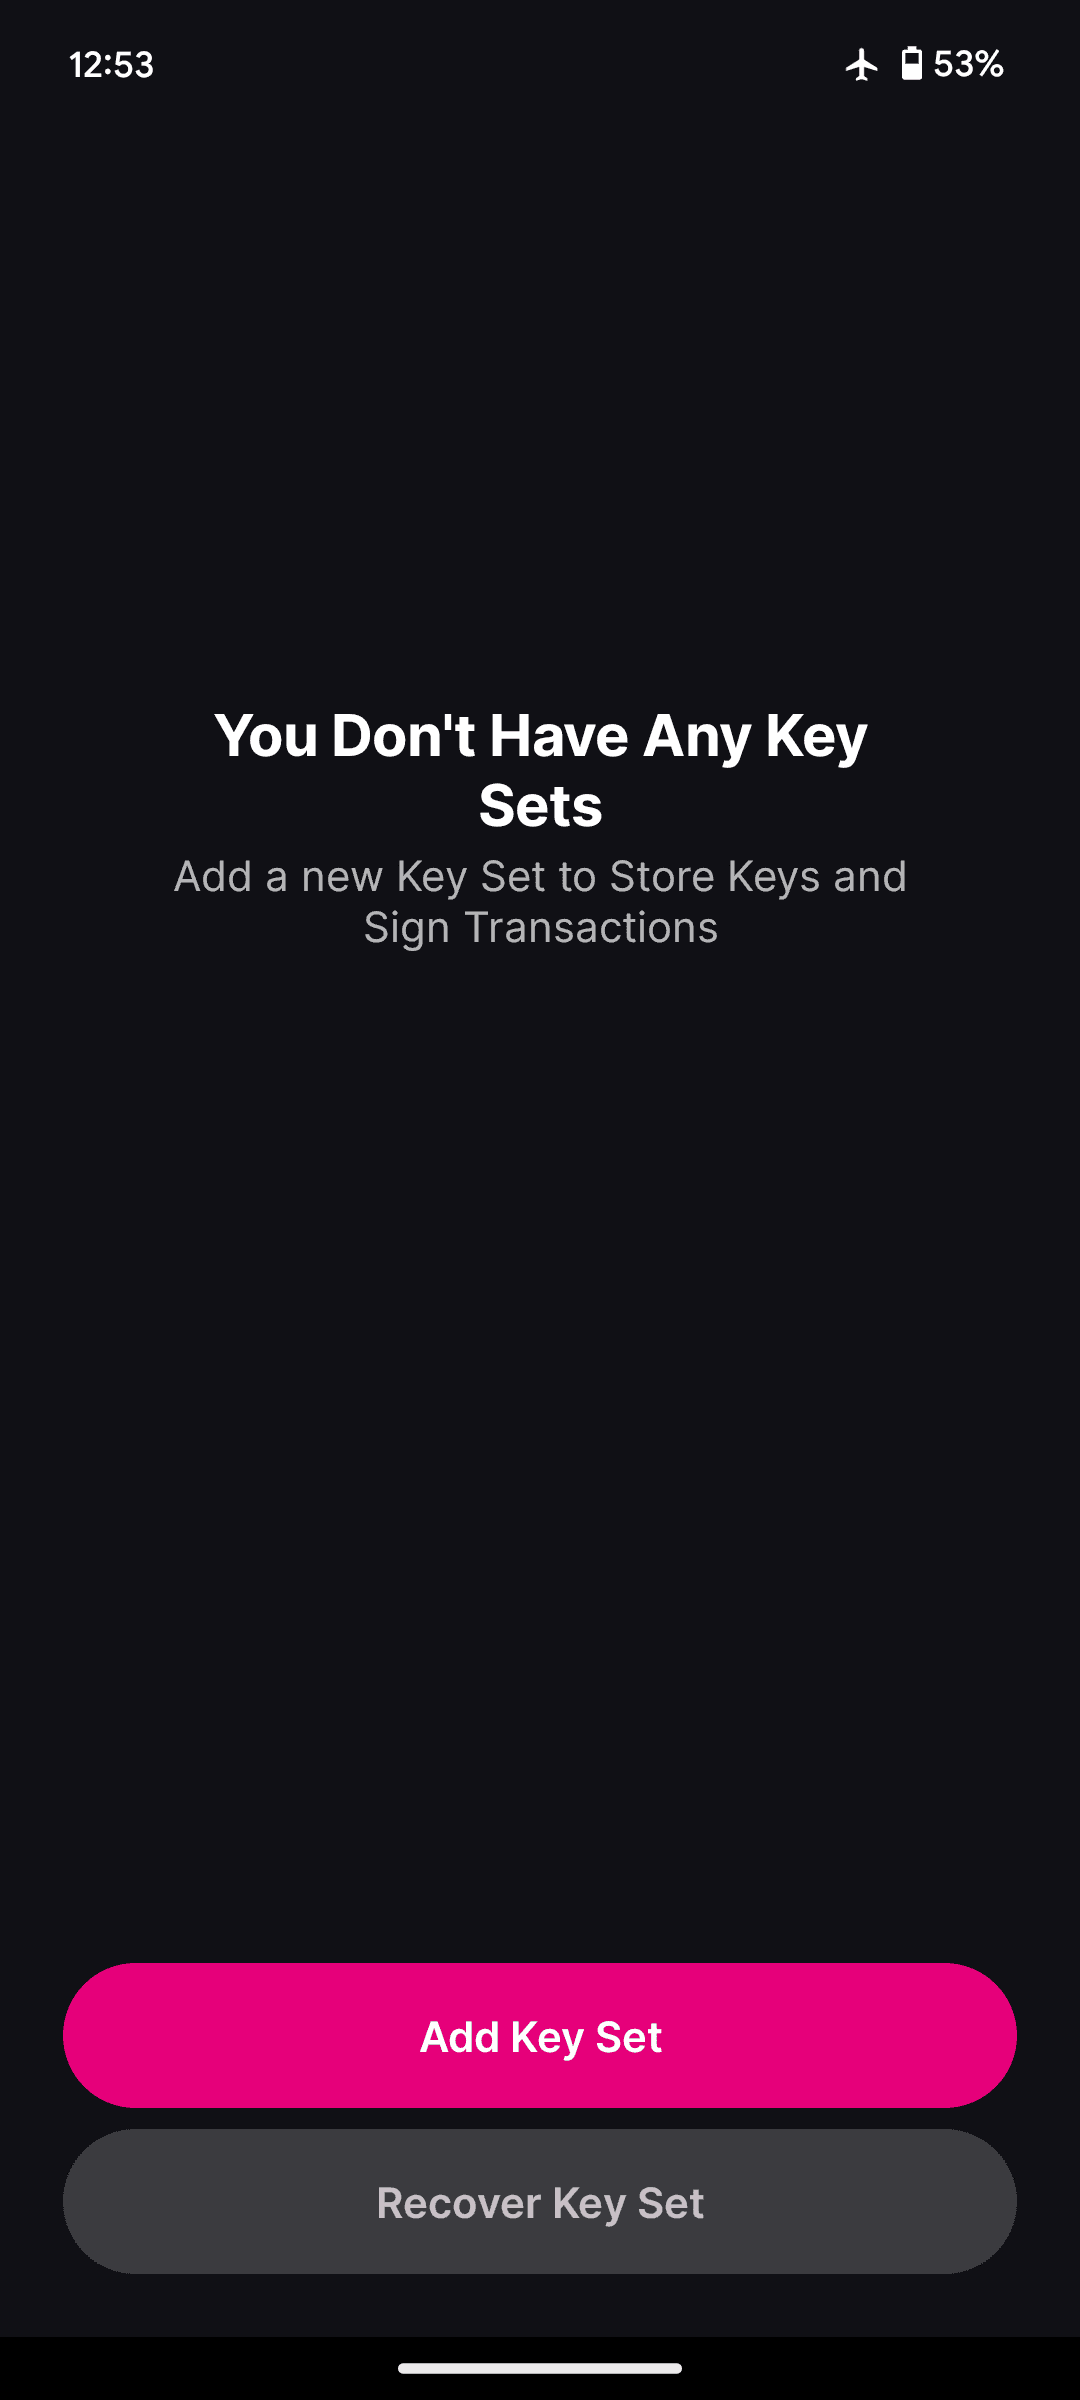
Next you will be asked to create a key set, in there we will store our cold-key (our wallet). Select the "Add Key Set" option.

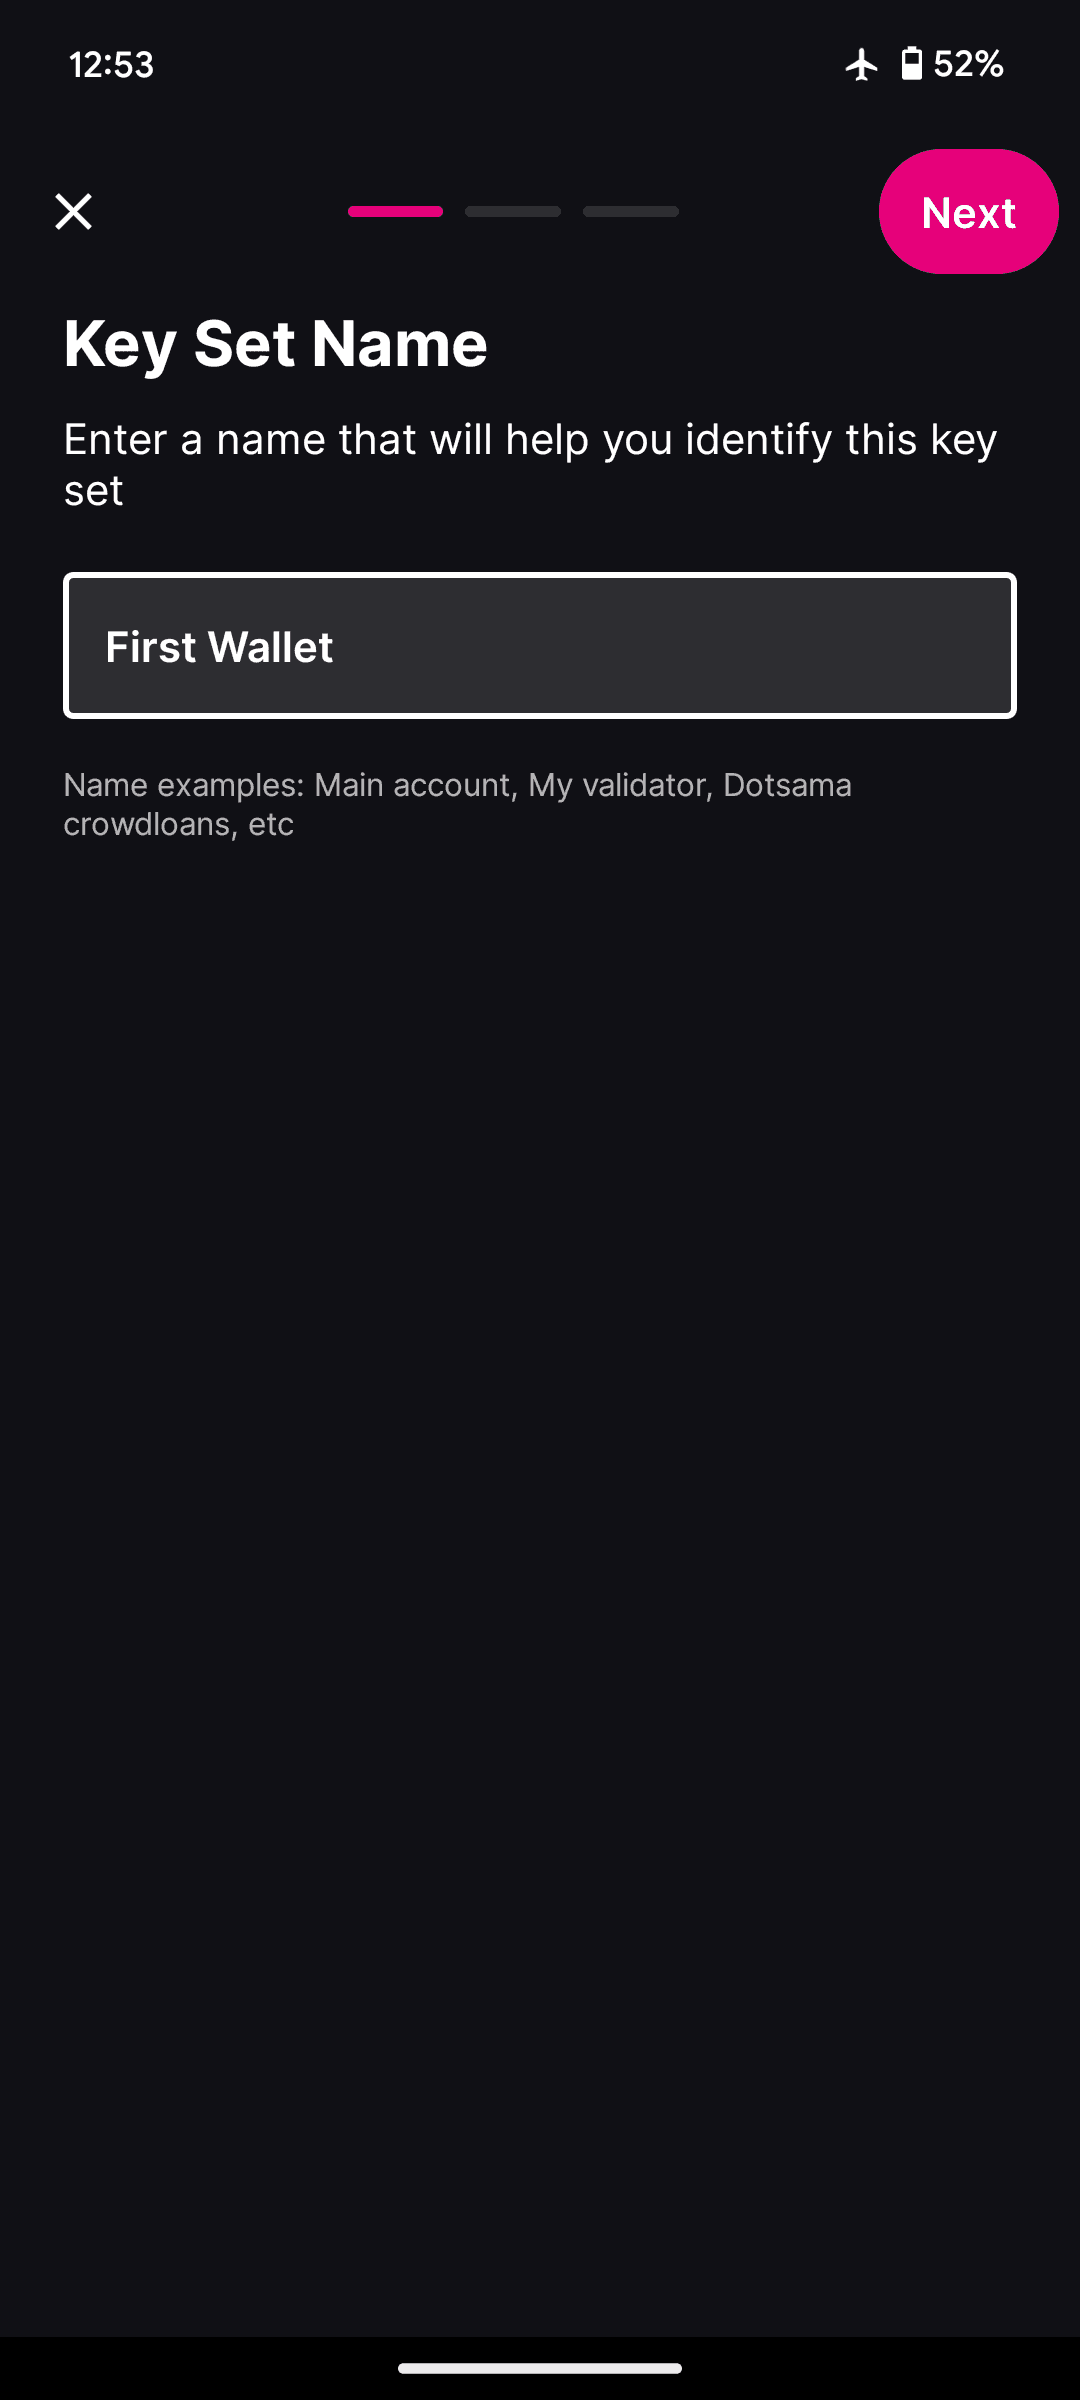
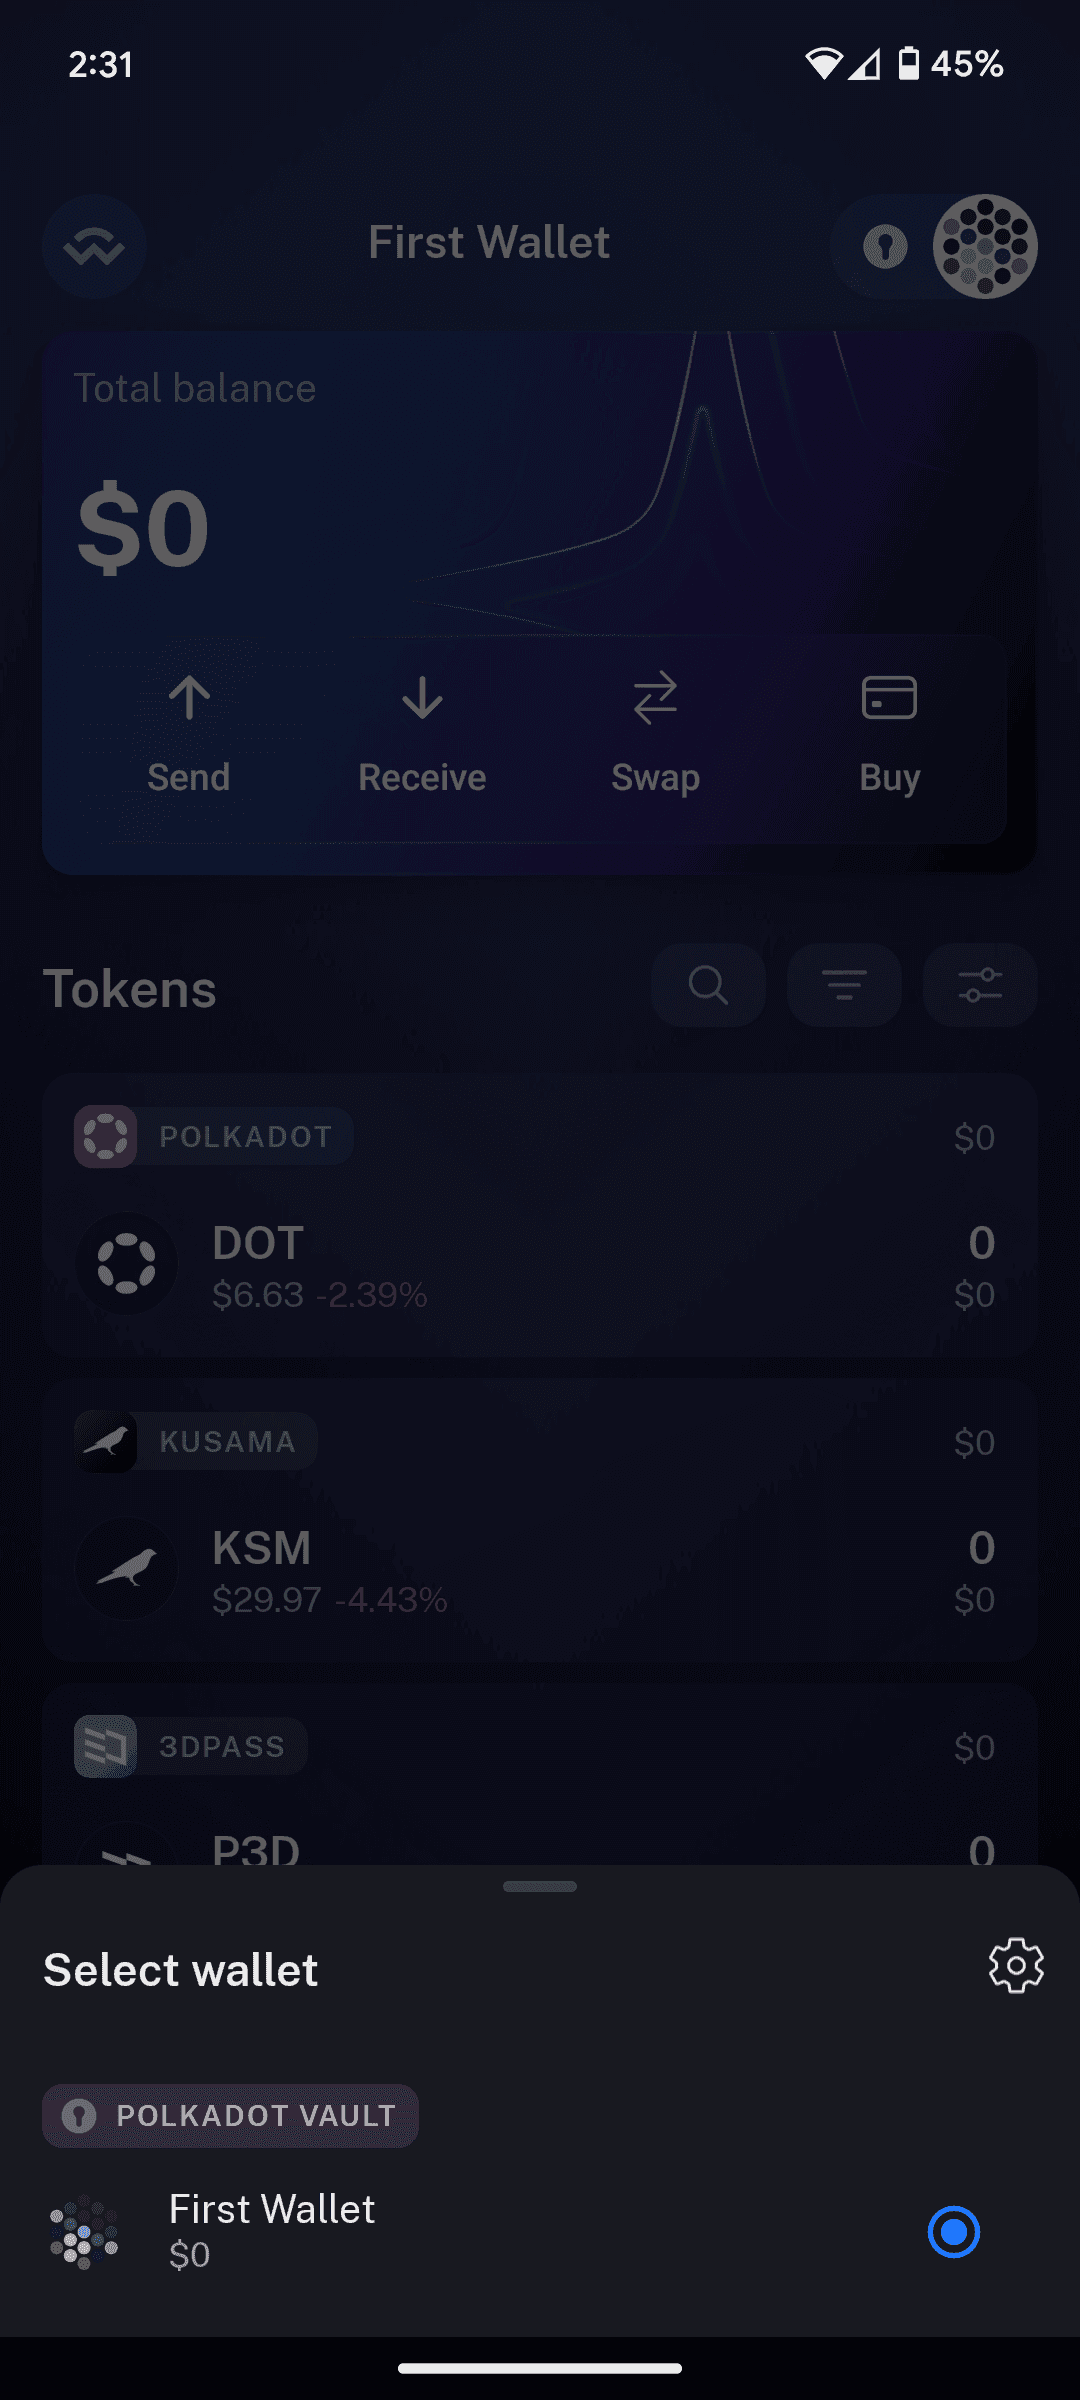
Following that you have to give it a name, it could be everything from 'First Wallet' to 'Hardware Wallet'.

5. Write down the Mnemonic Seed

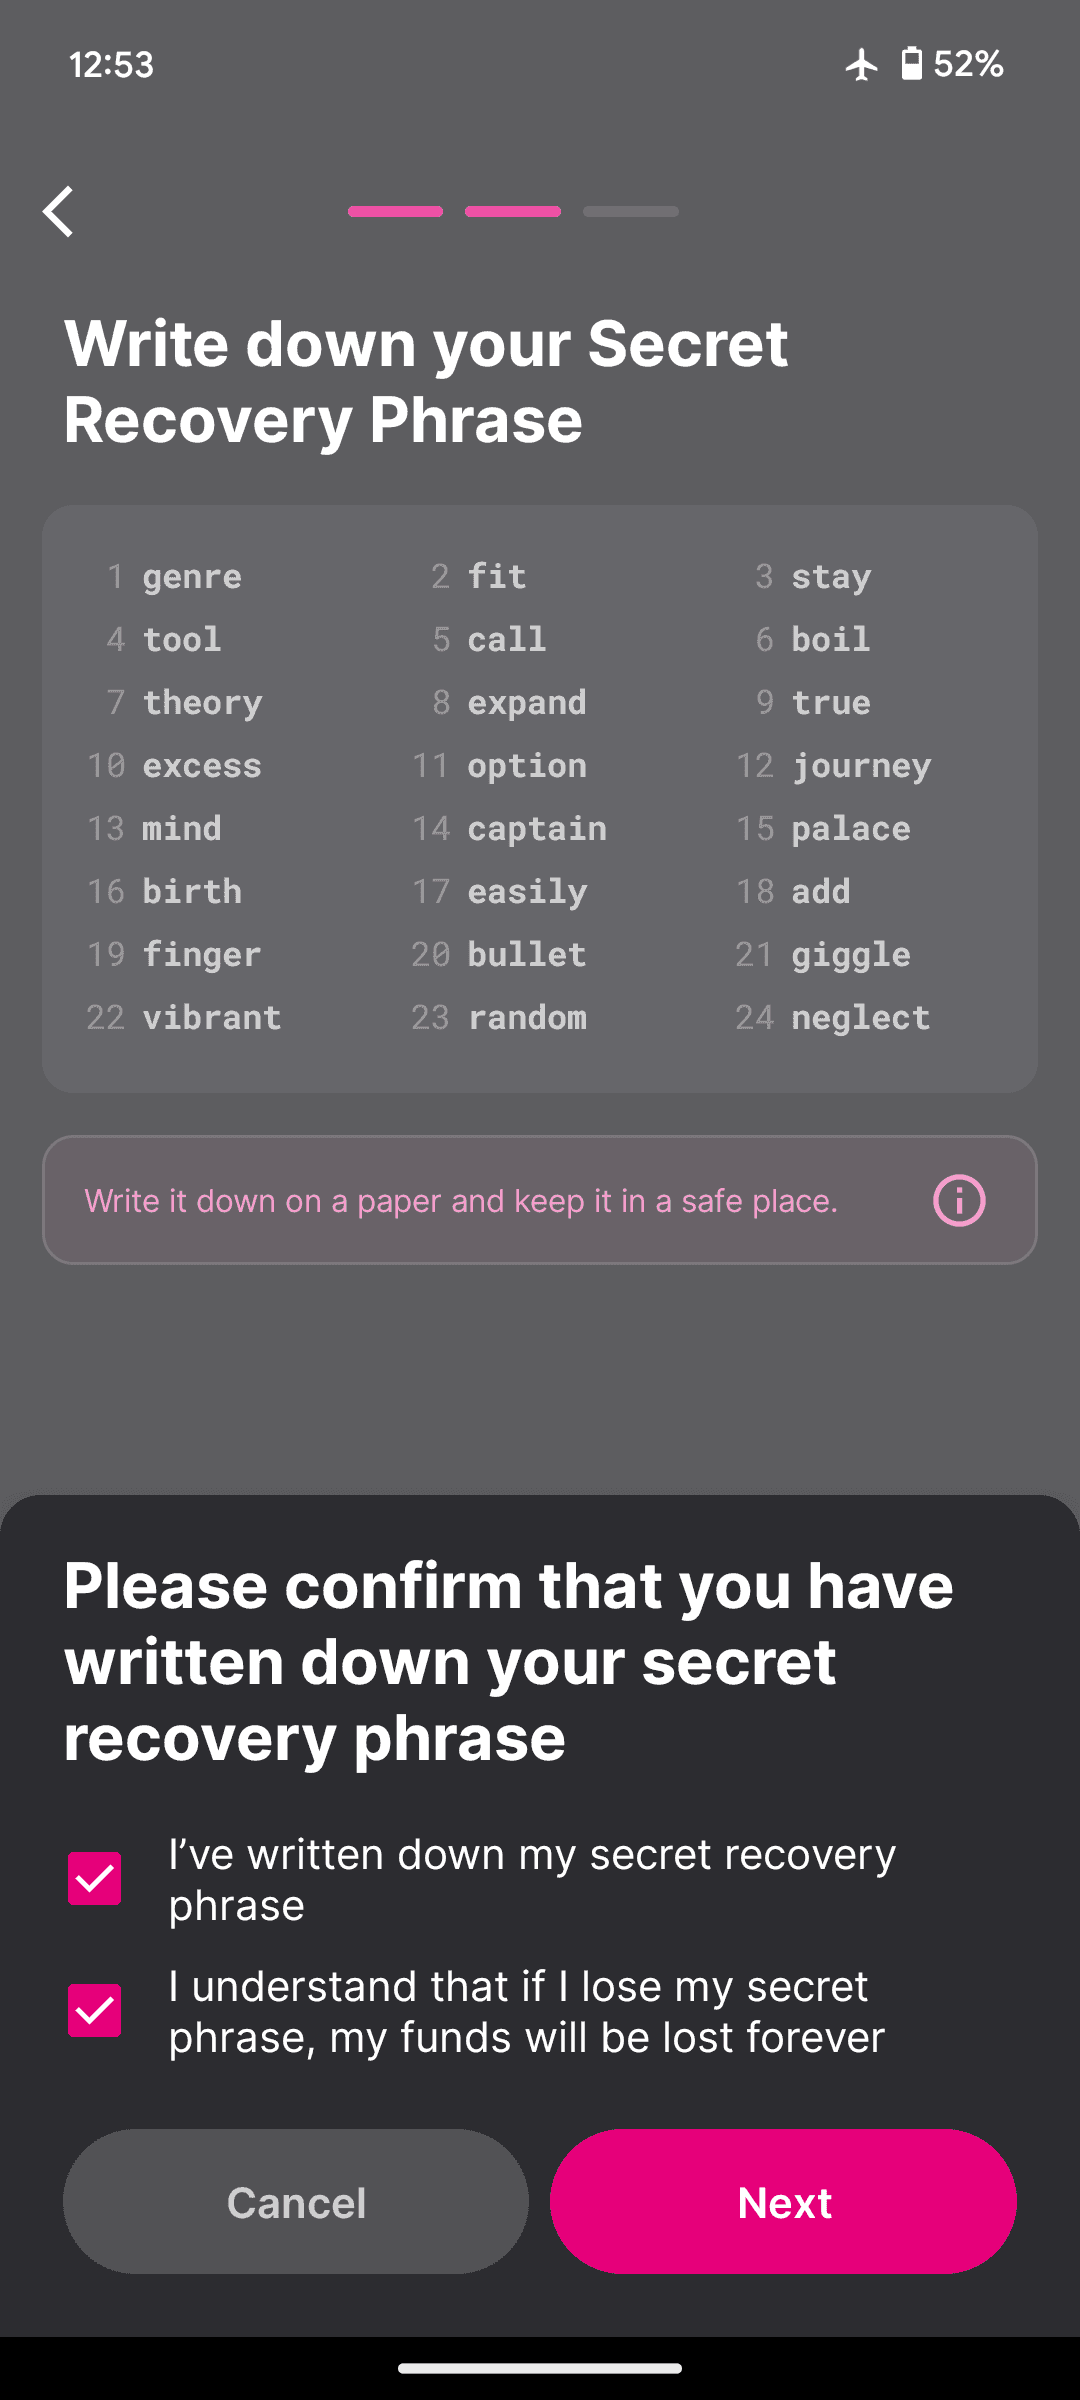
Now you will be shown the mnemonic/seed phrase of your wallet, its a list of 24-words in a specific order. This is a critical information and needs to be stored in a safe place.

NEVER SHARE YOUR MNEMONIC

Anyone with access to your mnemonic/seed phrase gains full control of your wallet and can manage your tokens.

After safely storing your mnemonic/seed phrase, you will be prompted to confirm being aware of the need to write down your seed phrase and that in case of losing this information your wallet will be lost forever.

6. Skip Key Creation

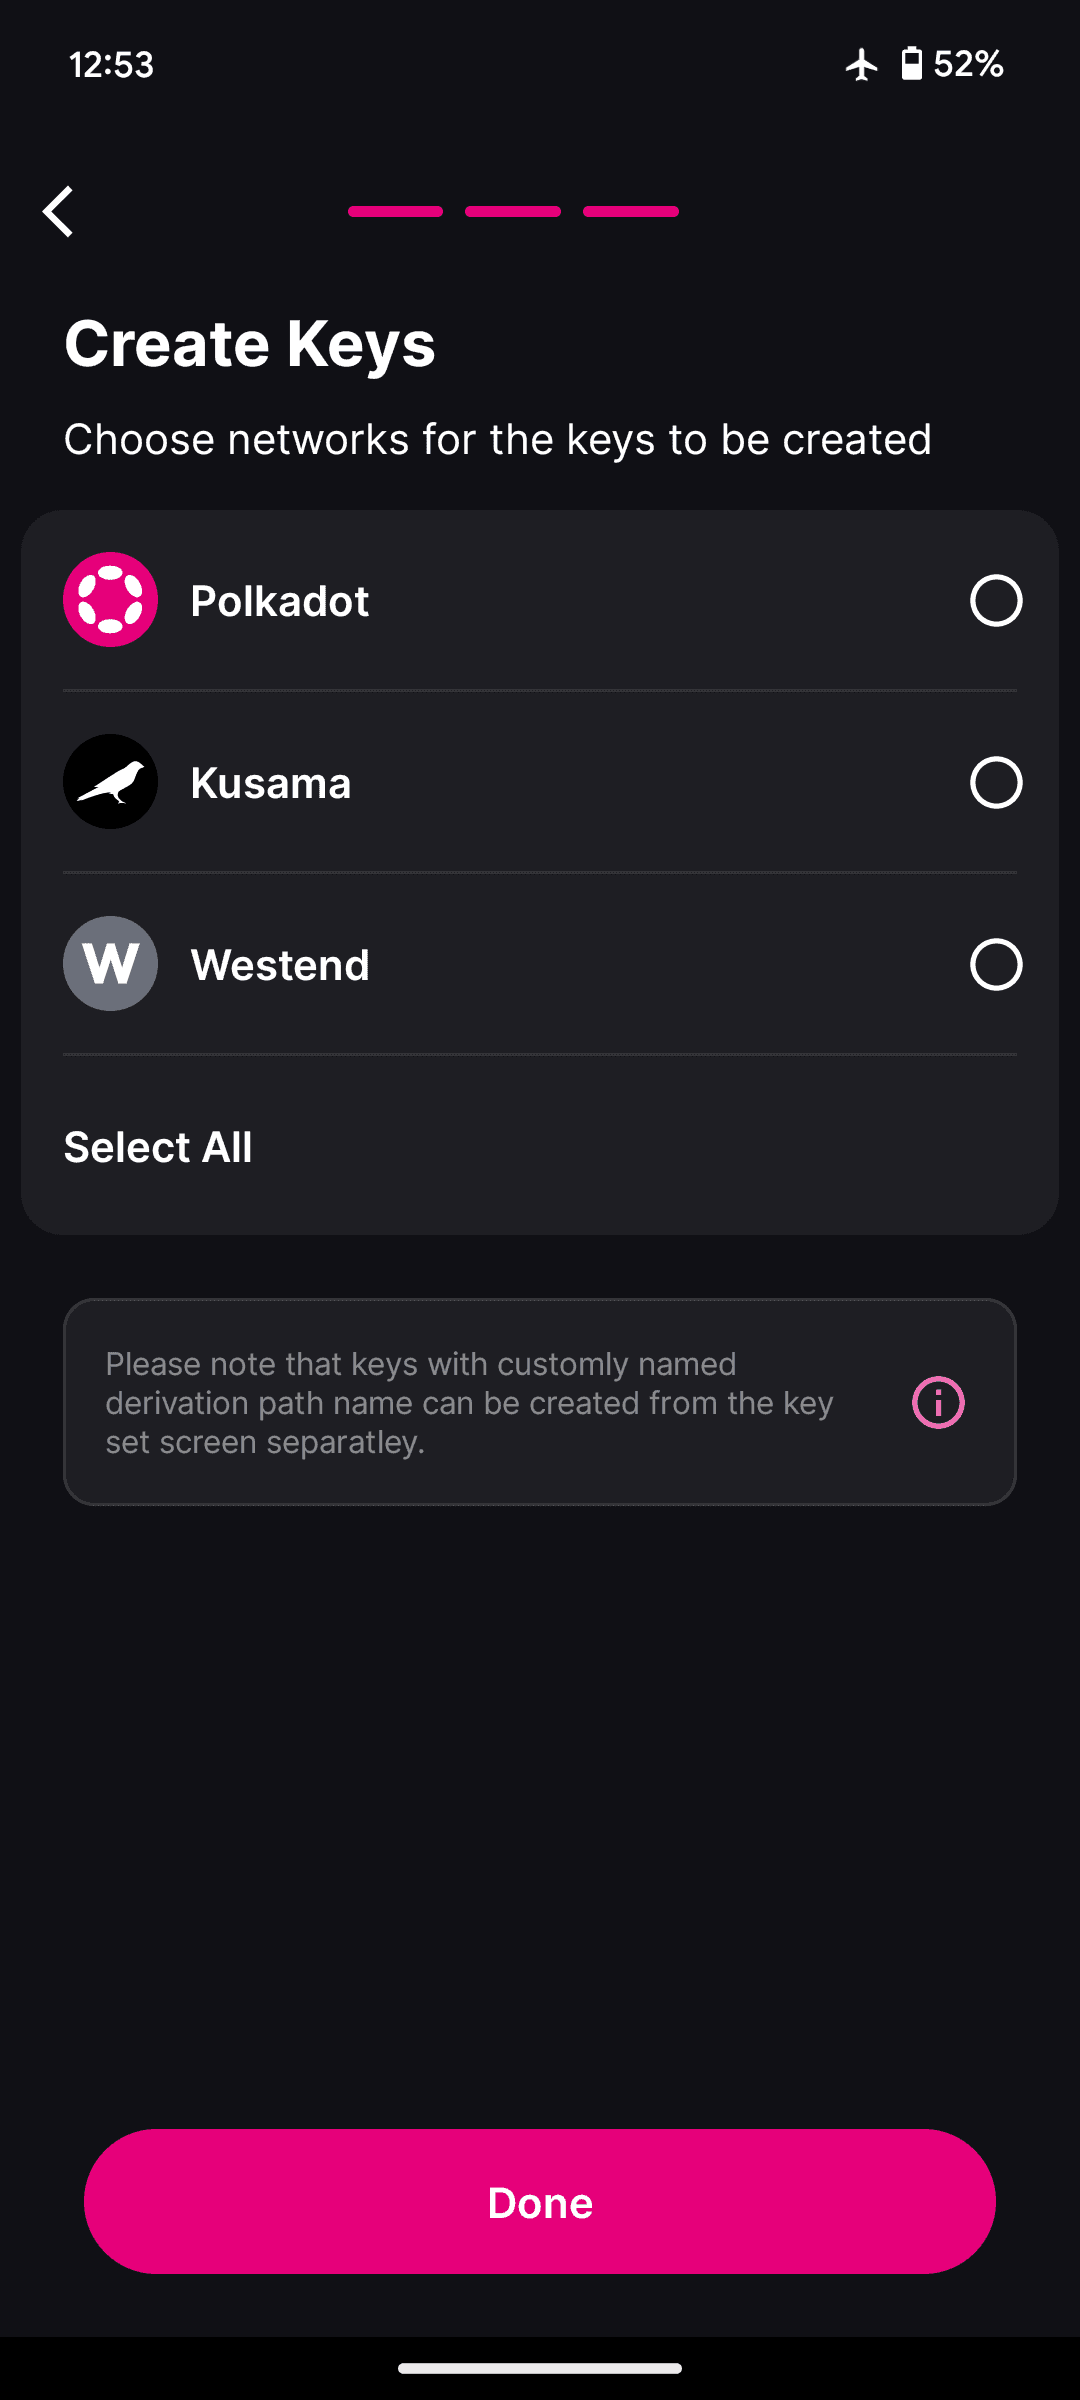
In the following screen you can deselect all options and simply continue. You will be asked, if you are sure to continue with an empty key set. That's fully okay as we need to add the Bittensor network first.

7. Add the Bittensor Network

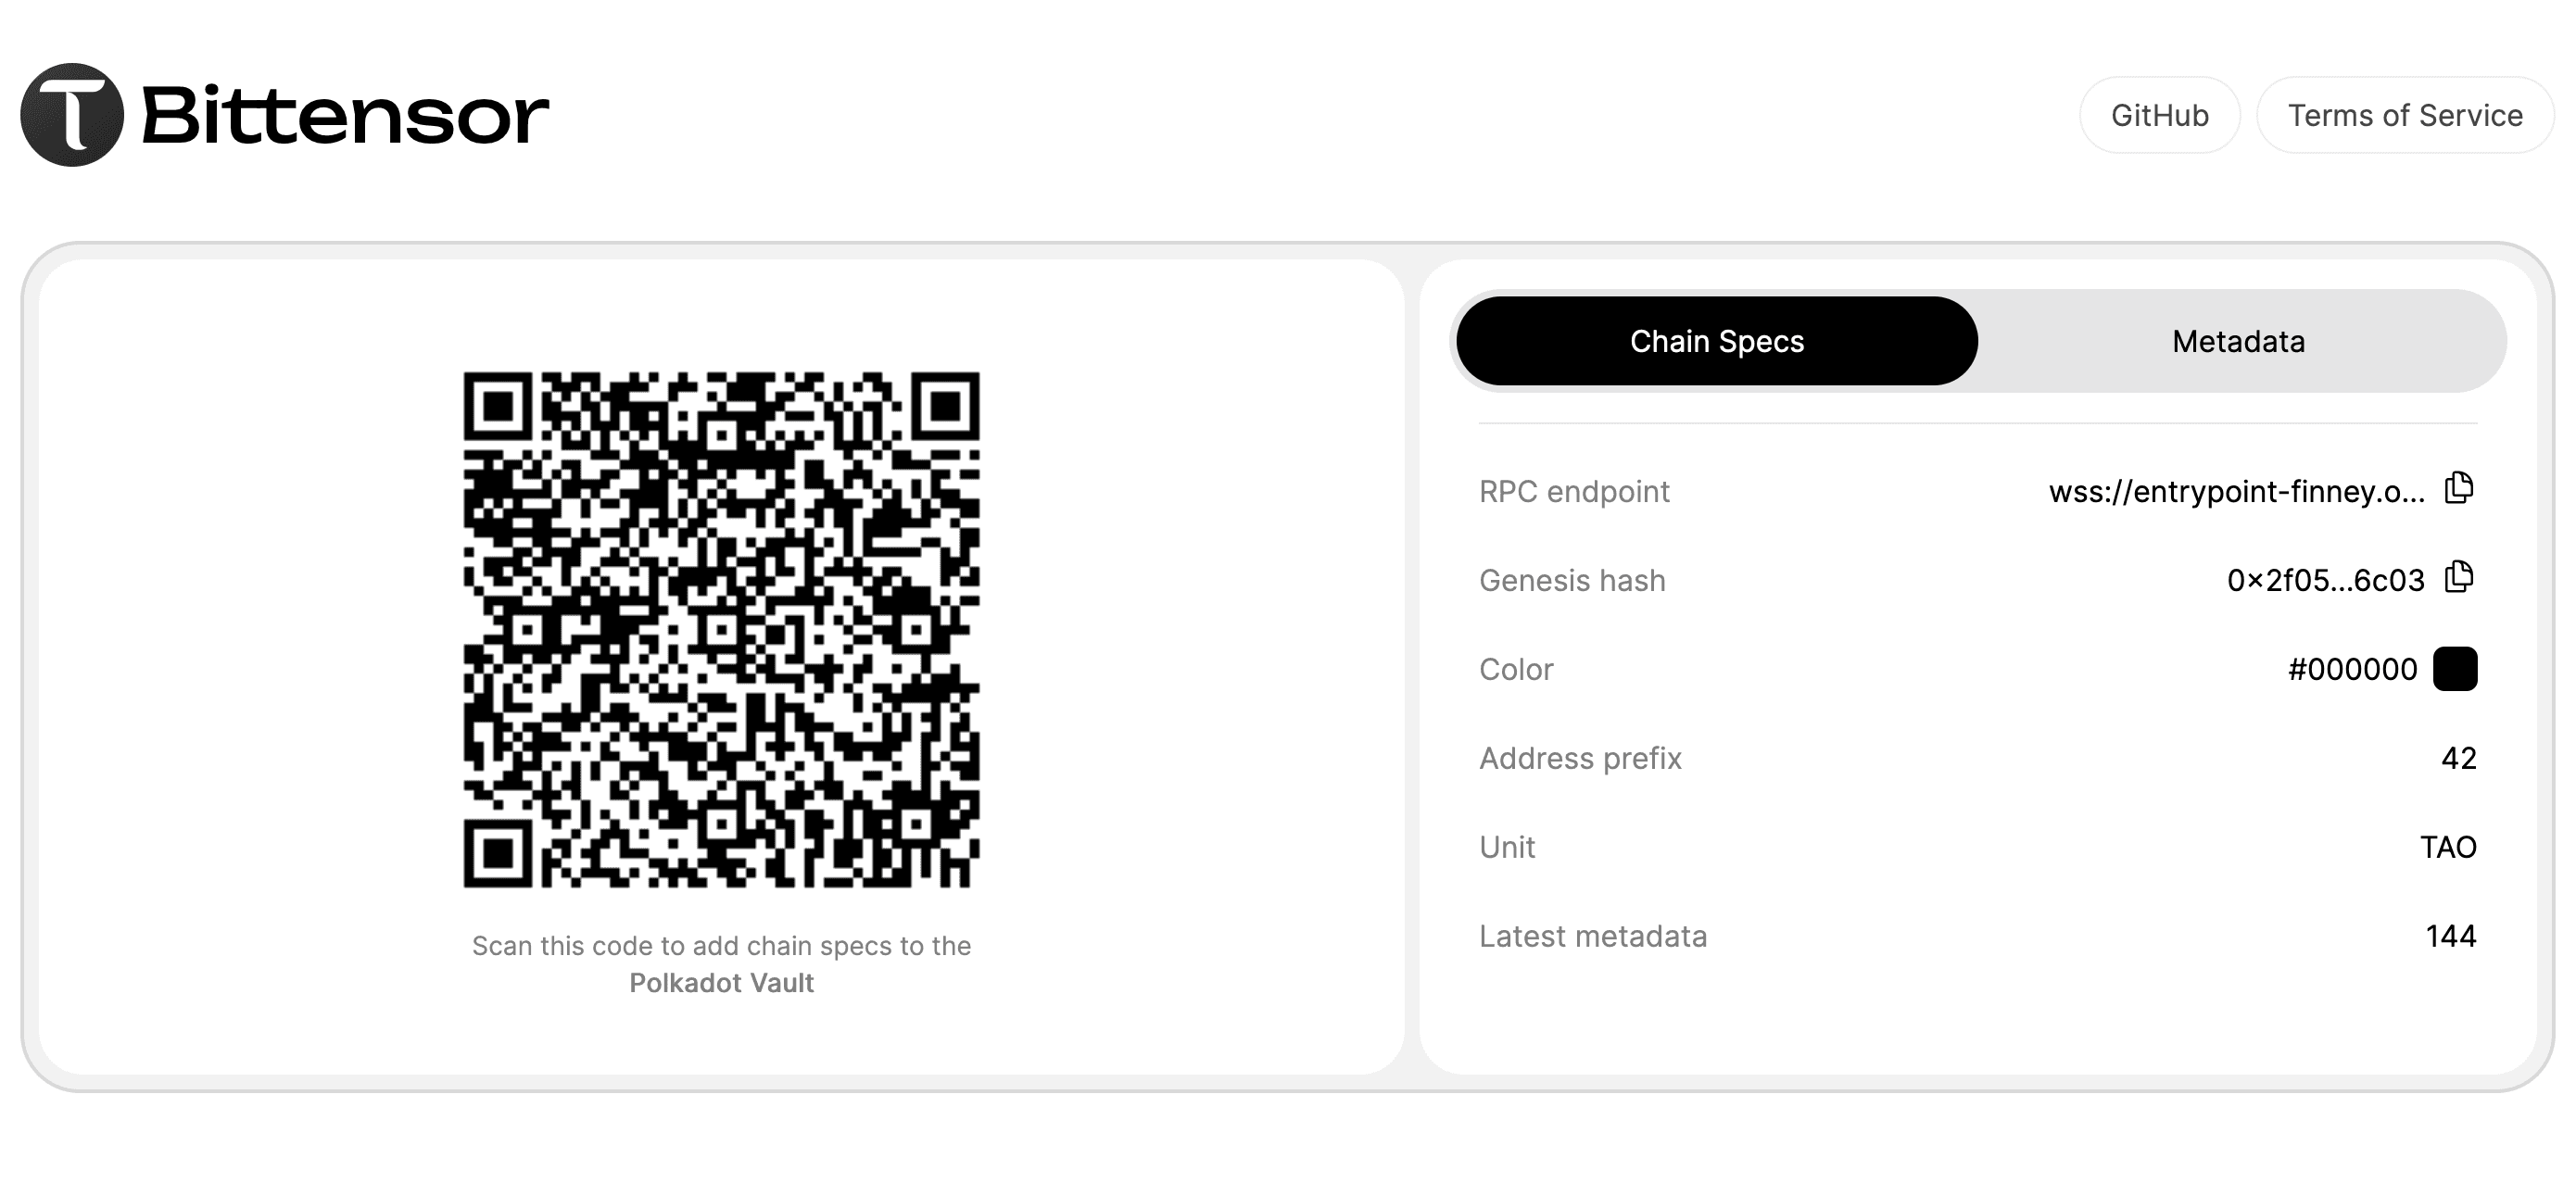
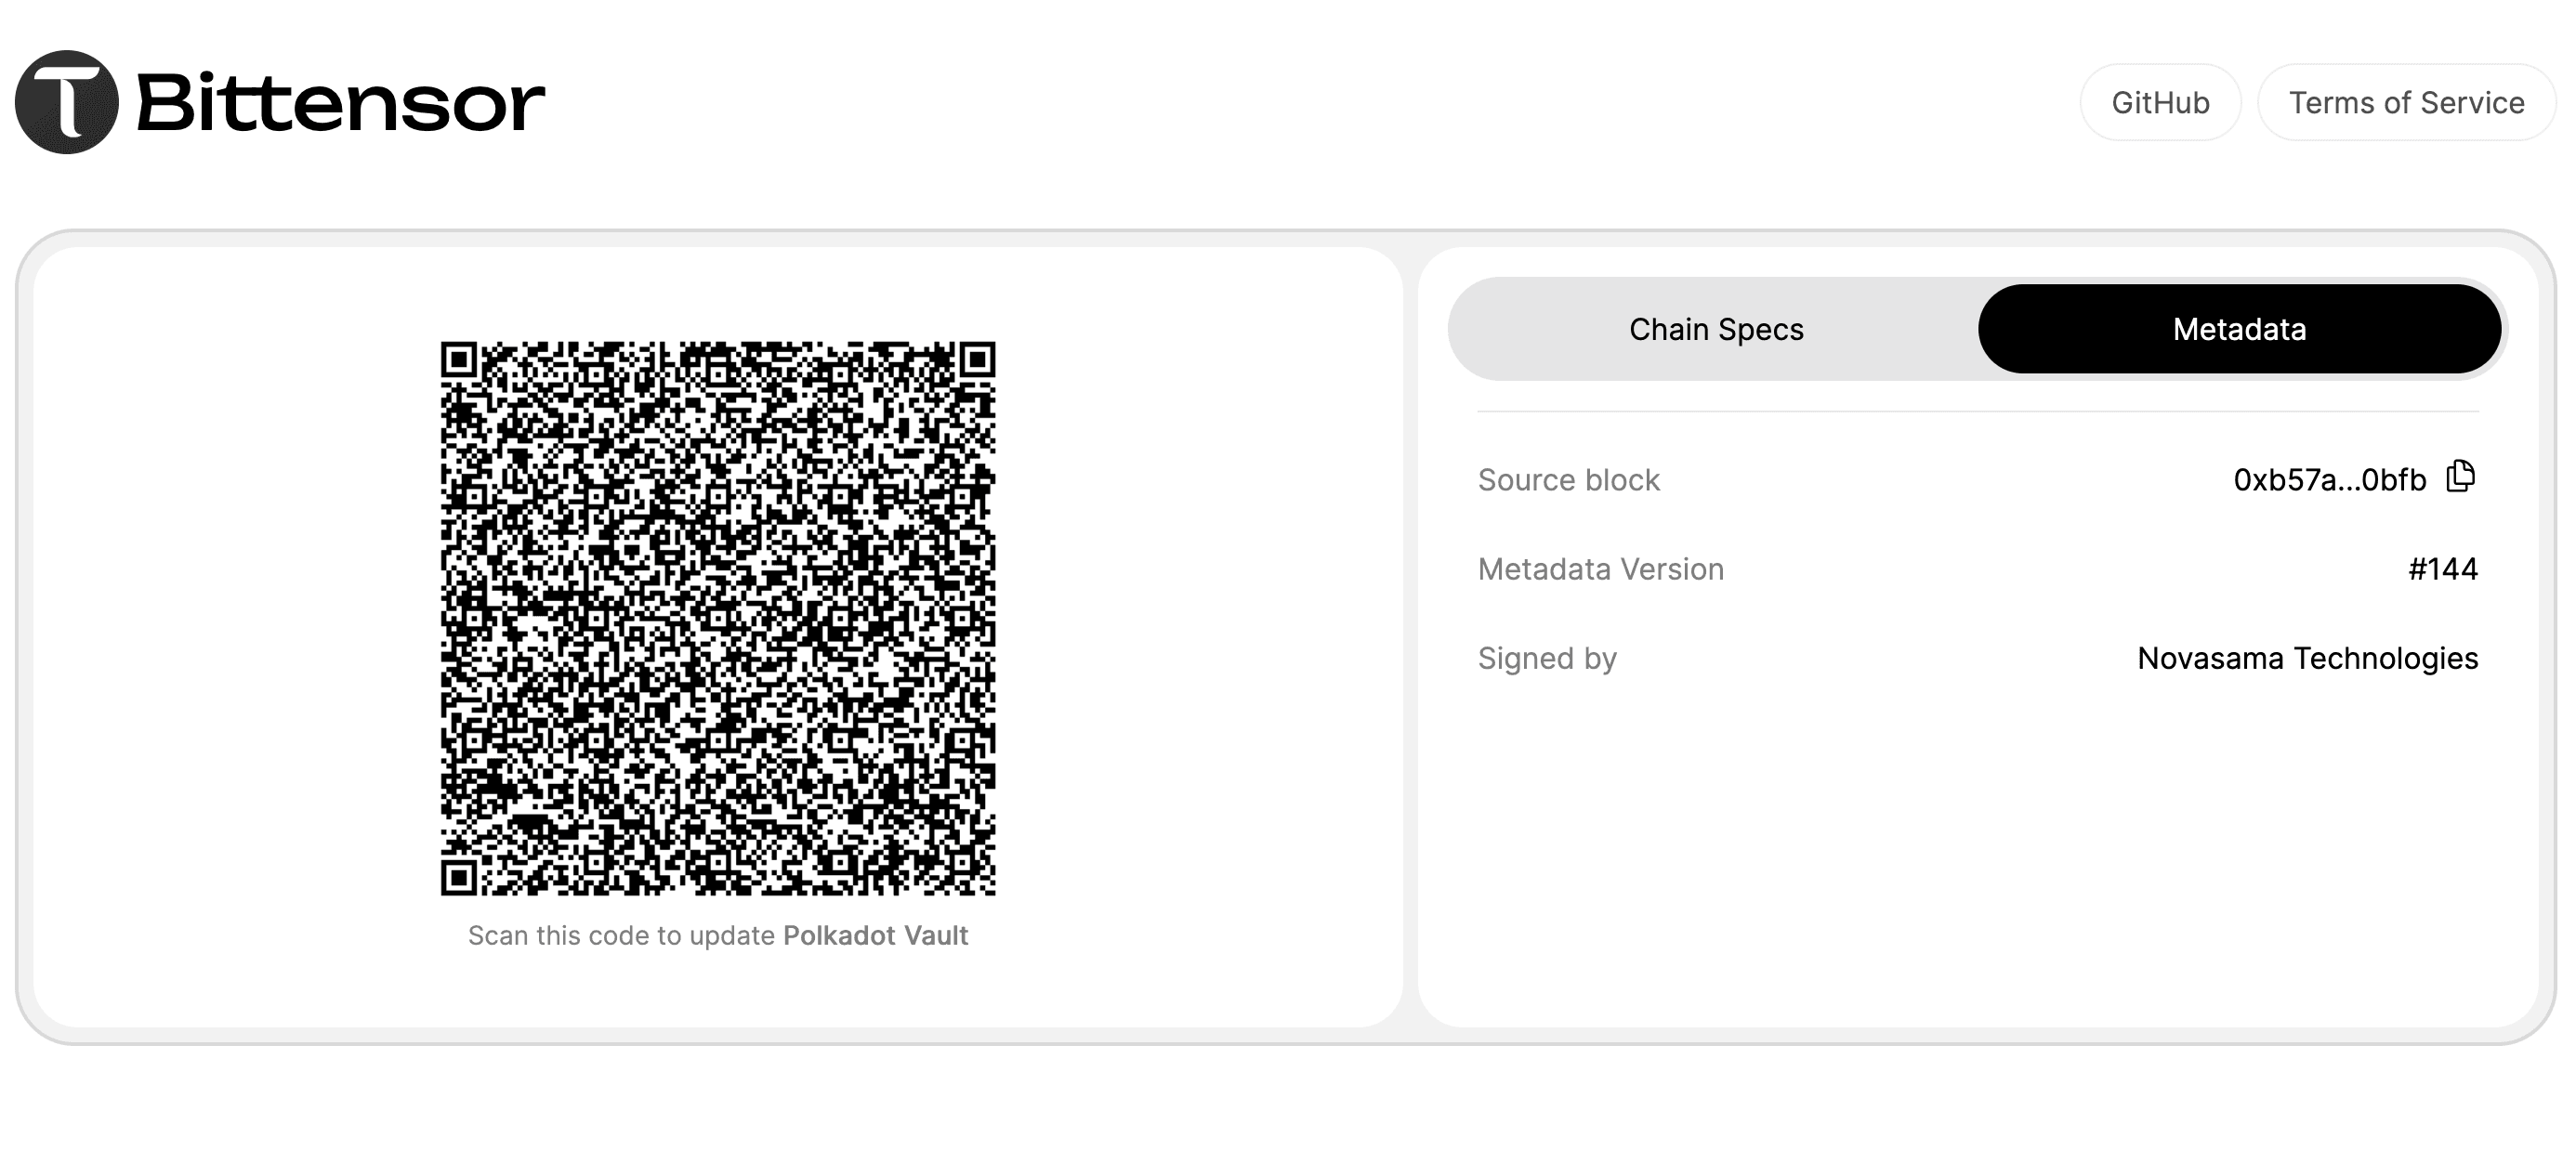
To get the above QR code, you can visit the following website "Metadata Novasama". In the "Chain Stats"-Tab you will find the information about the Bittensor Network, but all we need is the QR code.

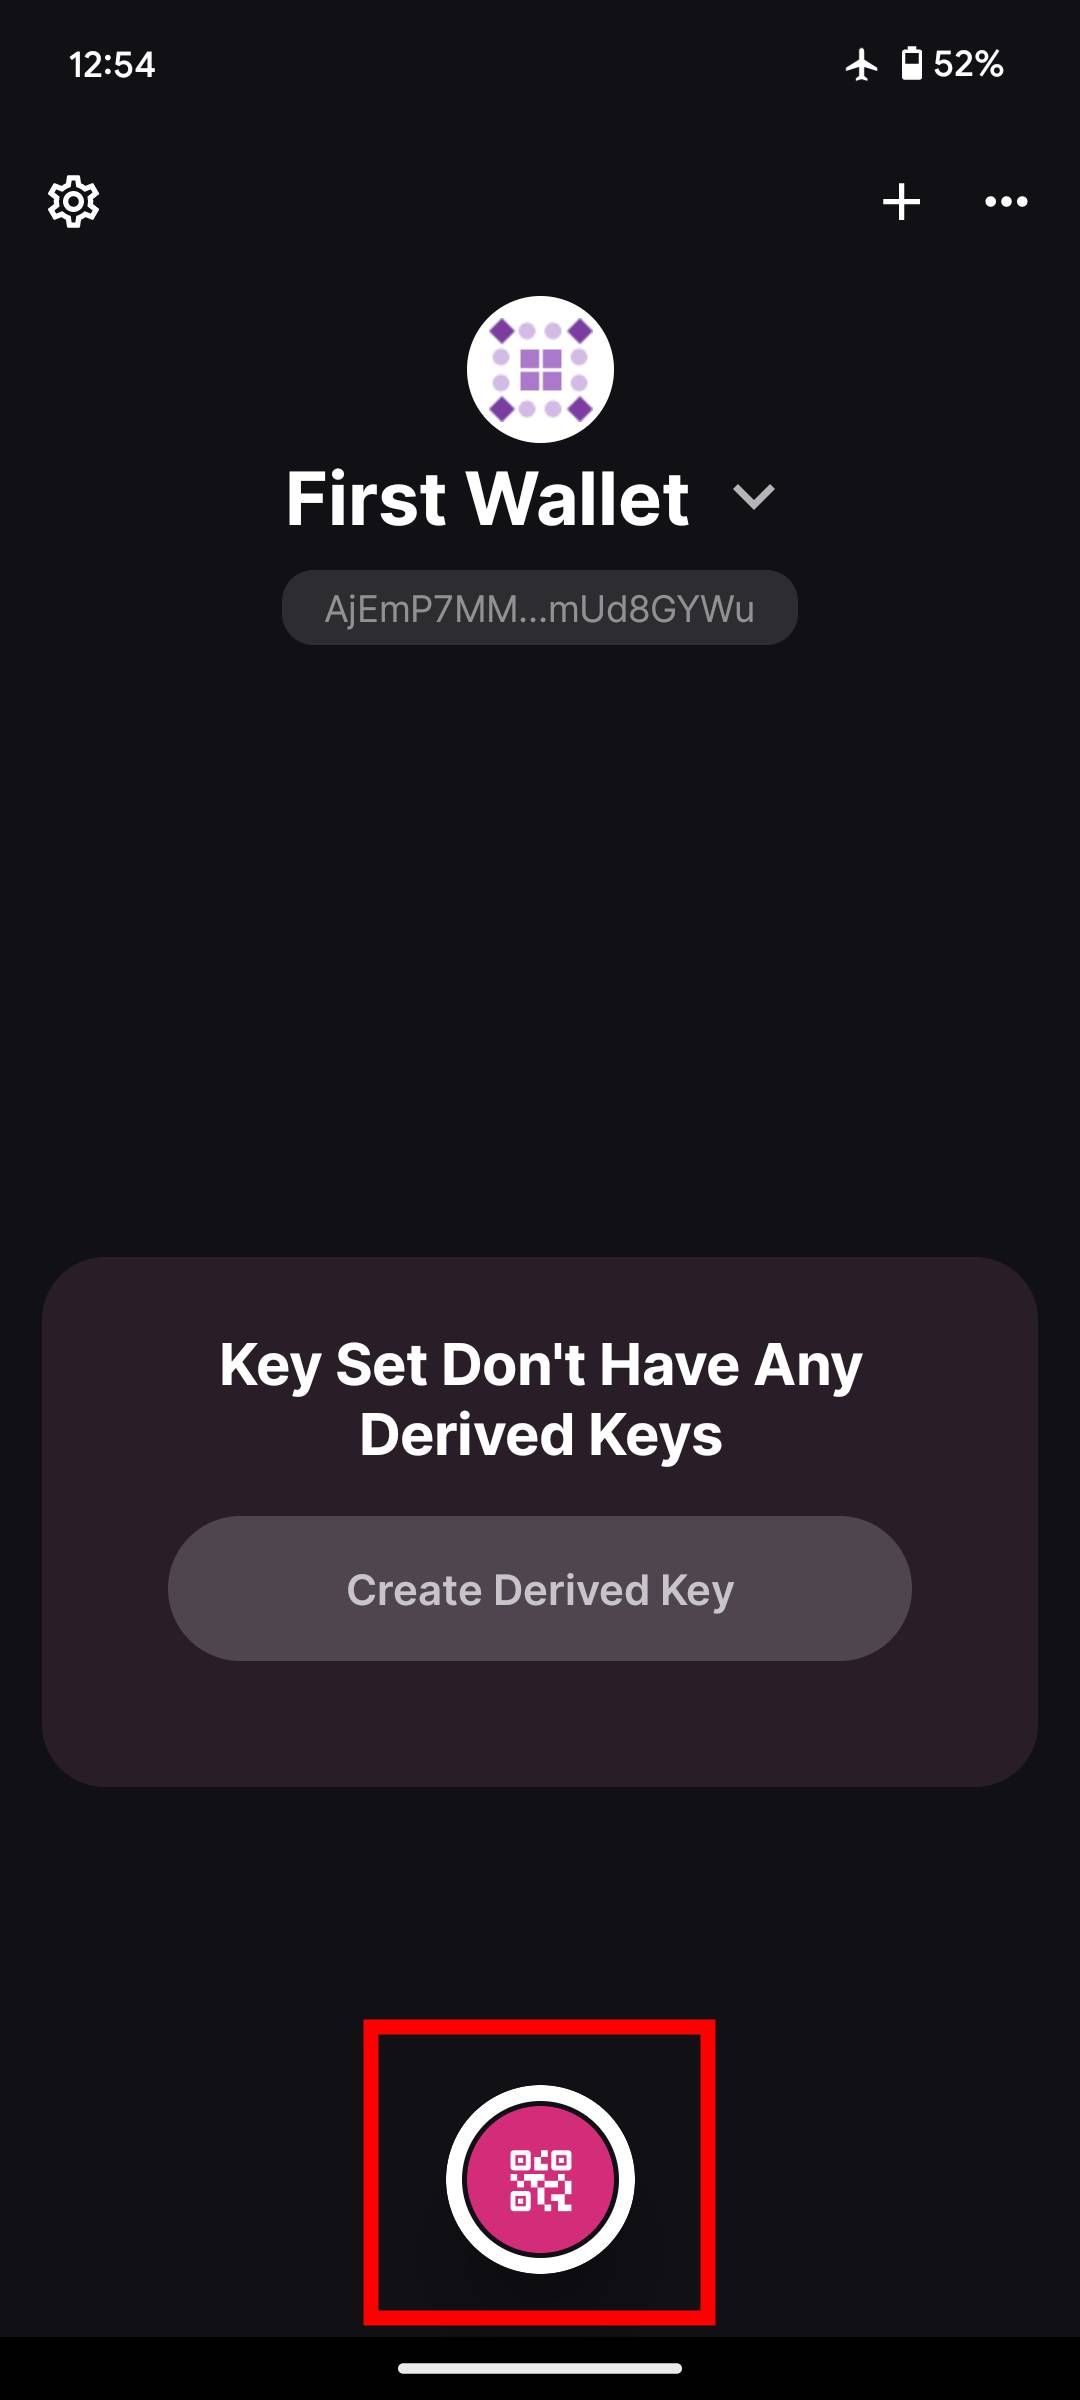
In your Polkadot Vault, click on the "QR-code" icon on the bottom and scan the QR code from the page.

Once scanned you can approve the network, and it will be added to the app. It may be that the app will ask you, if you want to add keys to your key-set, but first we need to update your metadata, so ignore it for now.

8. Update Bittensor Metdata

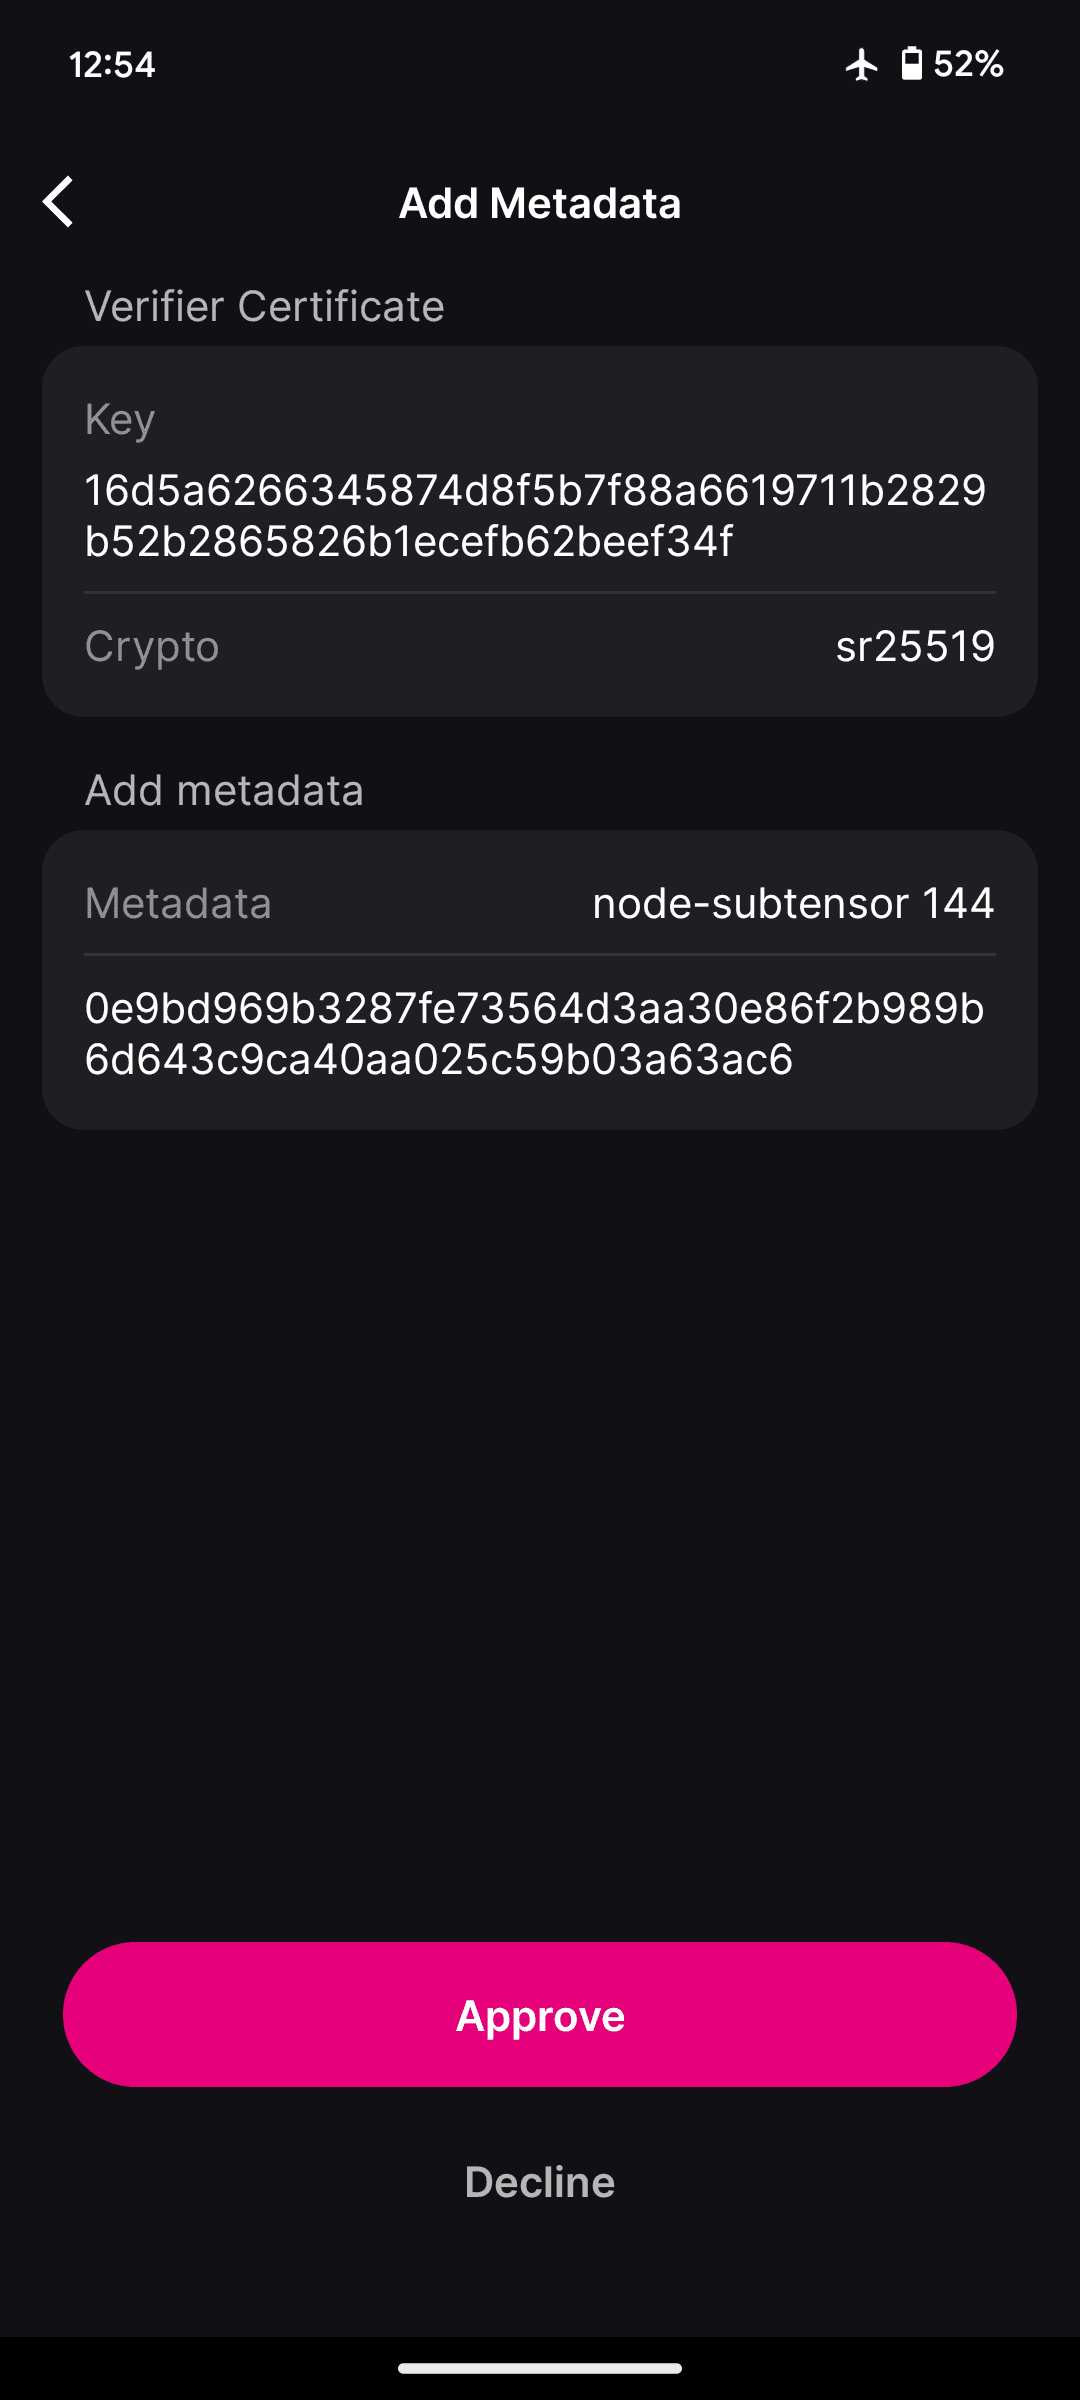
While staying on the same website click on the "Metadata"-Tab and the QR-code should change, instead of being a static QR-code it will play a sequence of multiple QR-codes, which store the newest metadata of the network.

After all QR-codes from the sequence got scanned, you will be able to approve the updated metadata.

ALWAYS KEEP THE METADATA SYNCED

You should perform the Metadata Update frequently, as issues could occur if too out-of-sync with the network.

9. Create Derived Key

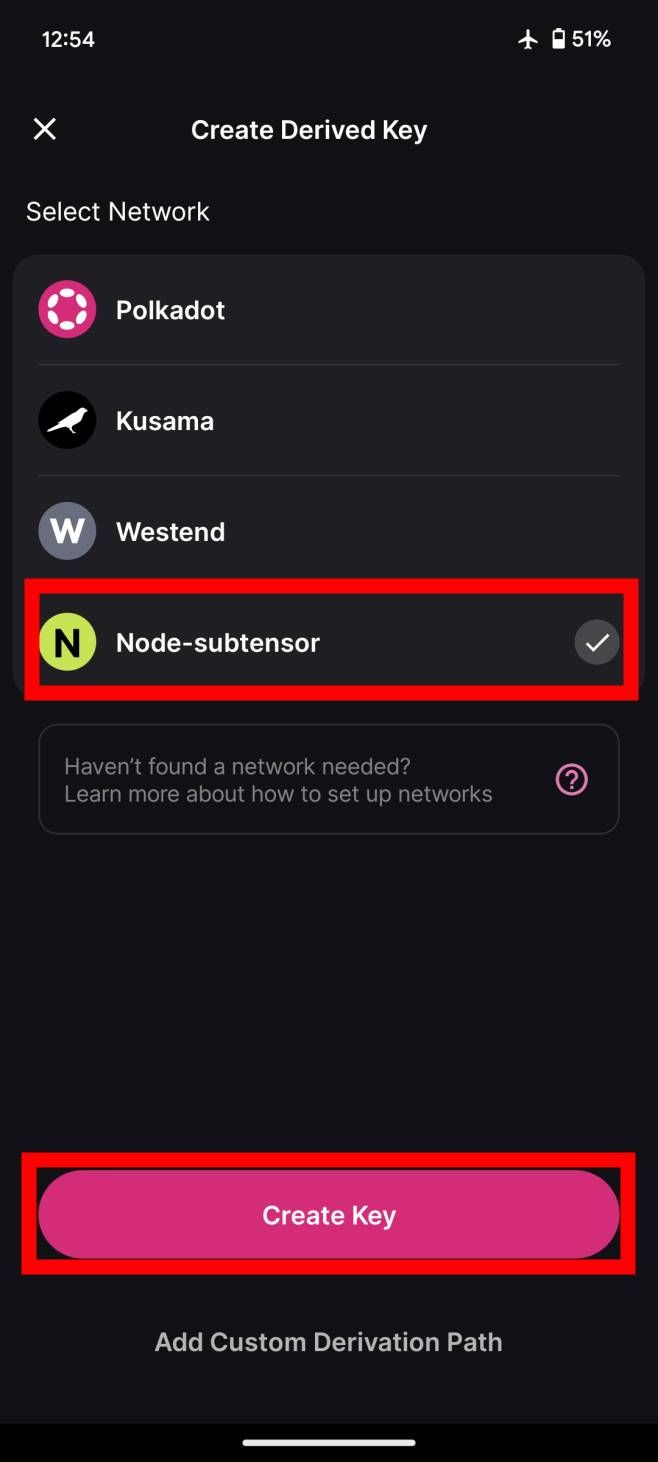
Being back on the 'home'-page of your vault. Click on the "Create Derived Key"-Button. With this option we will create our cold-key.

As marked in the image above, select the "Node-subtensor" network and click the "Create Key"-Button. You can skip the rest and go directly to the "Bonus"-Step.

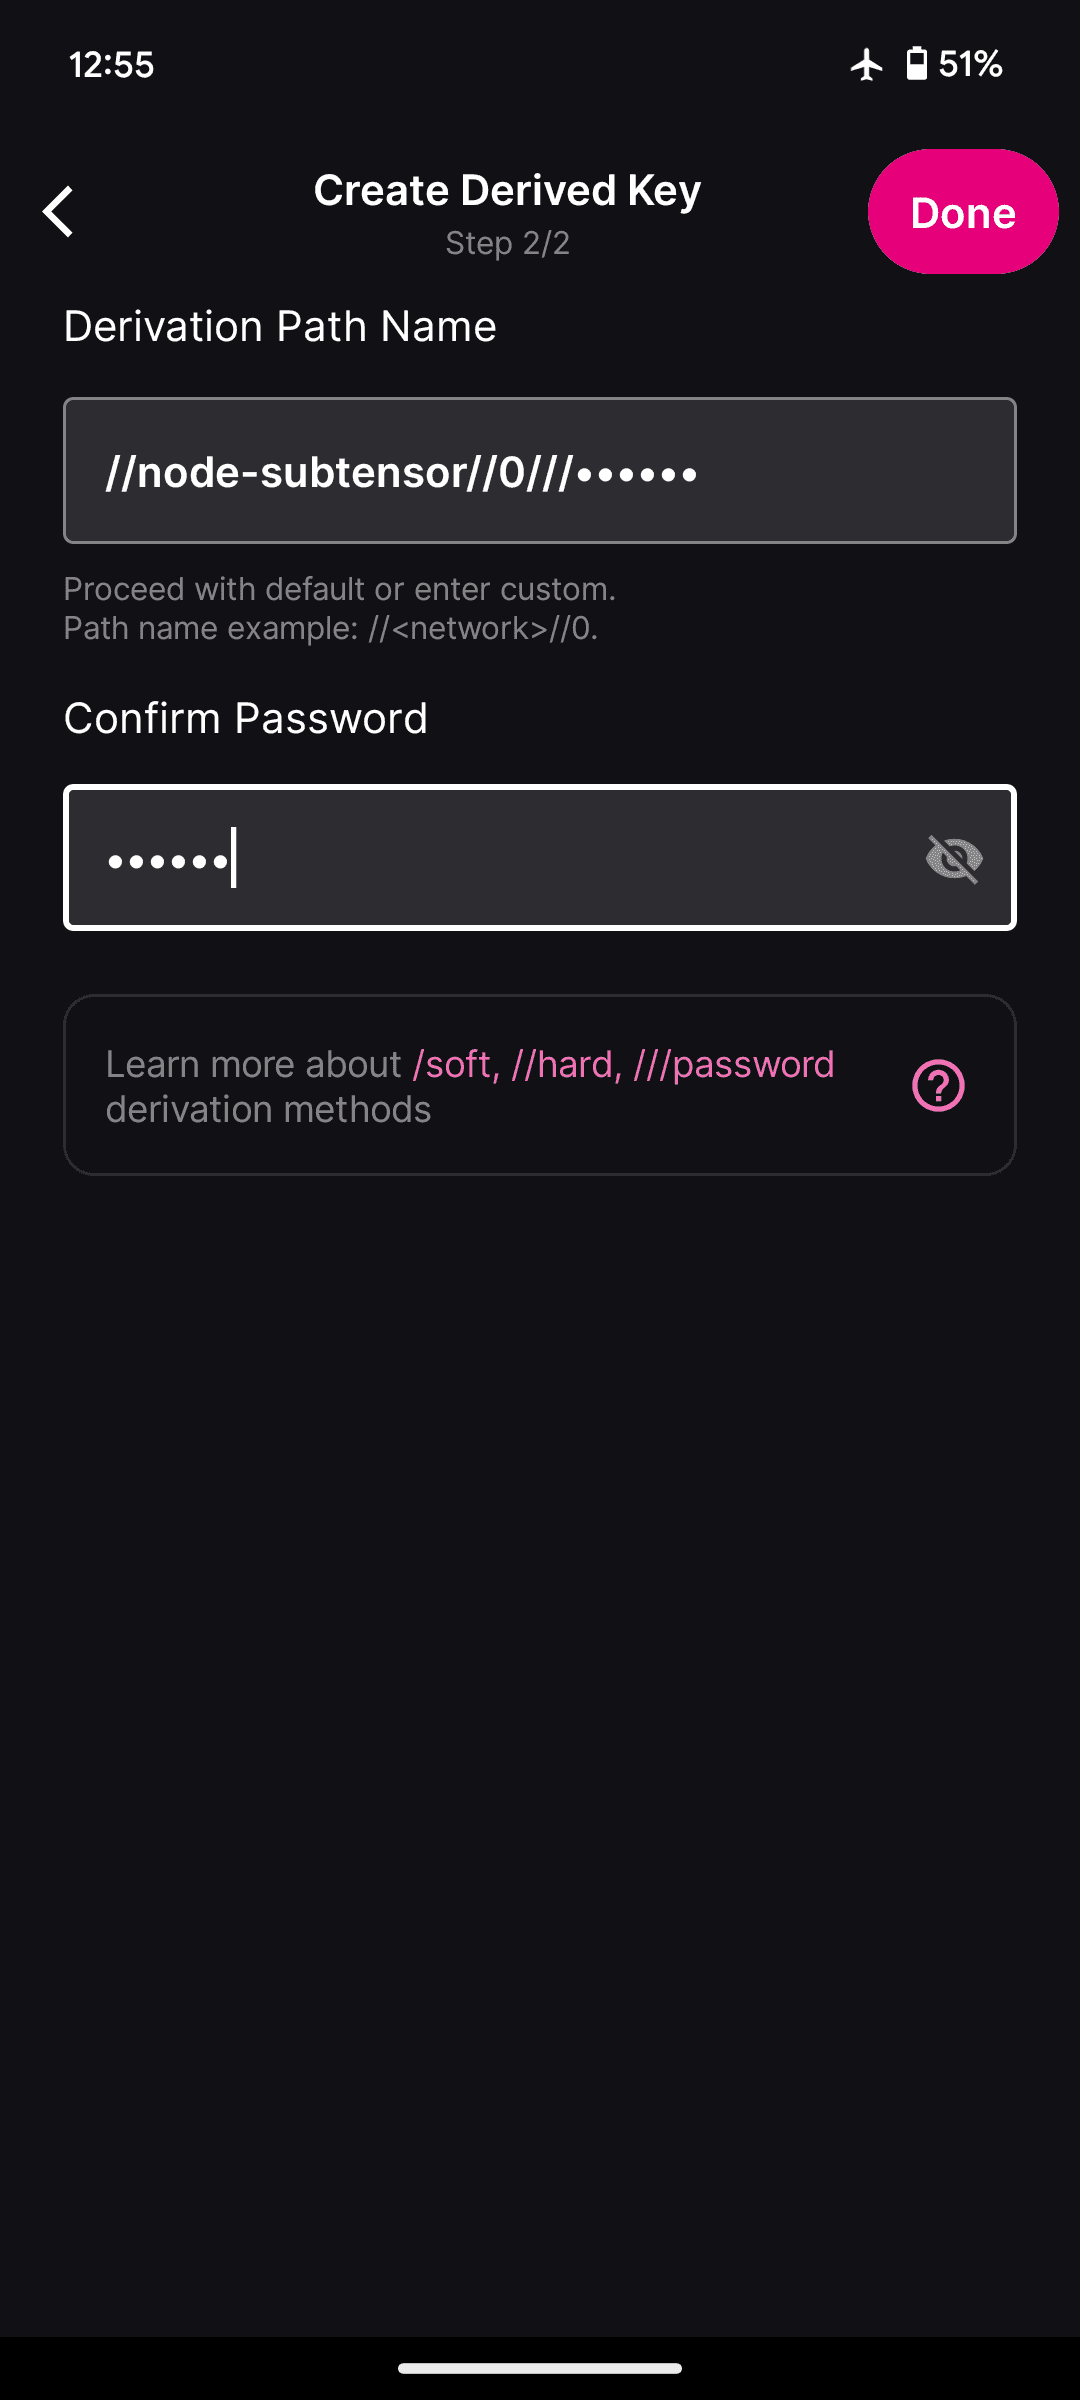
"Add Custom Derivation Path" instead of "Create Key" - Optional (much more secure, but adds complexity):

SET UP A PASSWORD FOR ADDITIONAL SECURITY

The Custom Derivation Path allows us to protect our key further with a password, which will be asked on every transaction. The password on your derivation path enables it, that even with the mnemonic/seed phrase others wouldn't be able to retrieve your wallet. It adds another layer of security where to recover the wallet a person would need to know: 'mnemonic/seed phrase', 'derivation path' and 'password'.

The derivation path is another critical information and should be stored safely, as without it you will not be able to back up your created cold-key.

The naming convention of the derivation path is as follow:

Derivation Path: //network_name//account_index///password

  • //node-subtensor: This part is the network identifier.
  • //0: This part represents the account index. In this case, "0" indicates that it is the first account derived from the root seed for the "node-subtensor" network.
  • ///******: The value after the triple slash (///) is the password or passphrase used for password-based key derivation.

Bonus: How to use? (2 Options)

Now that you have set up your wallet, you still need to figure out how to use it on your main phone or desktop.

Using on your Desktop (Webcam required):

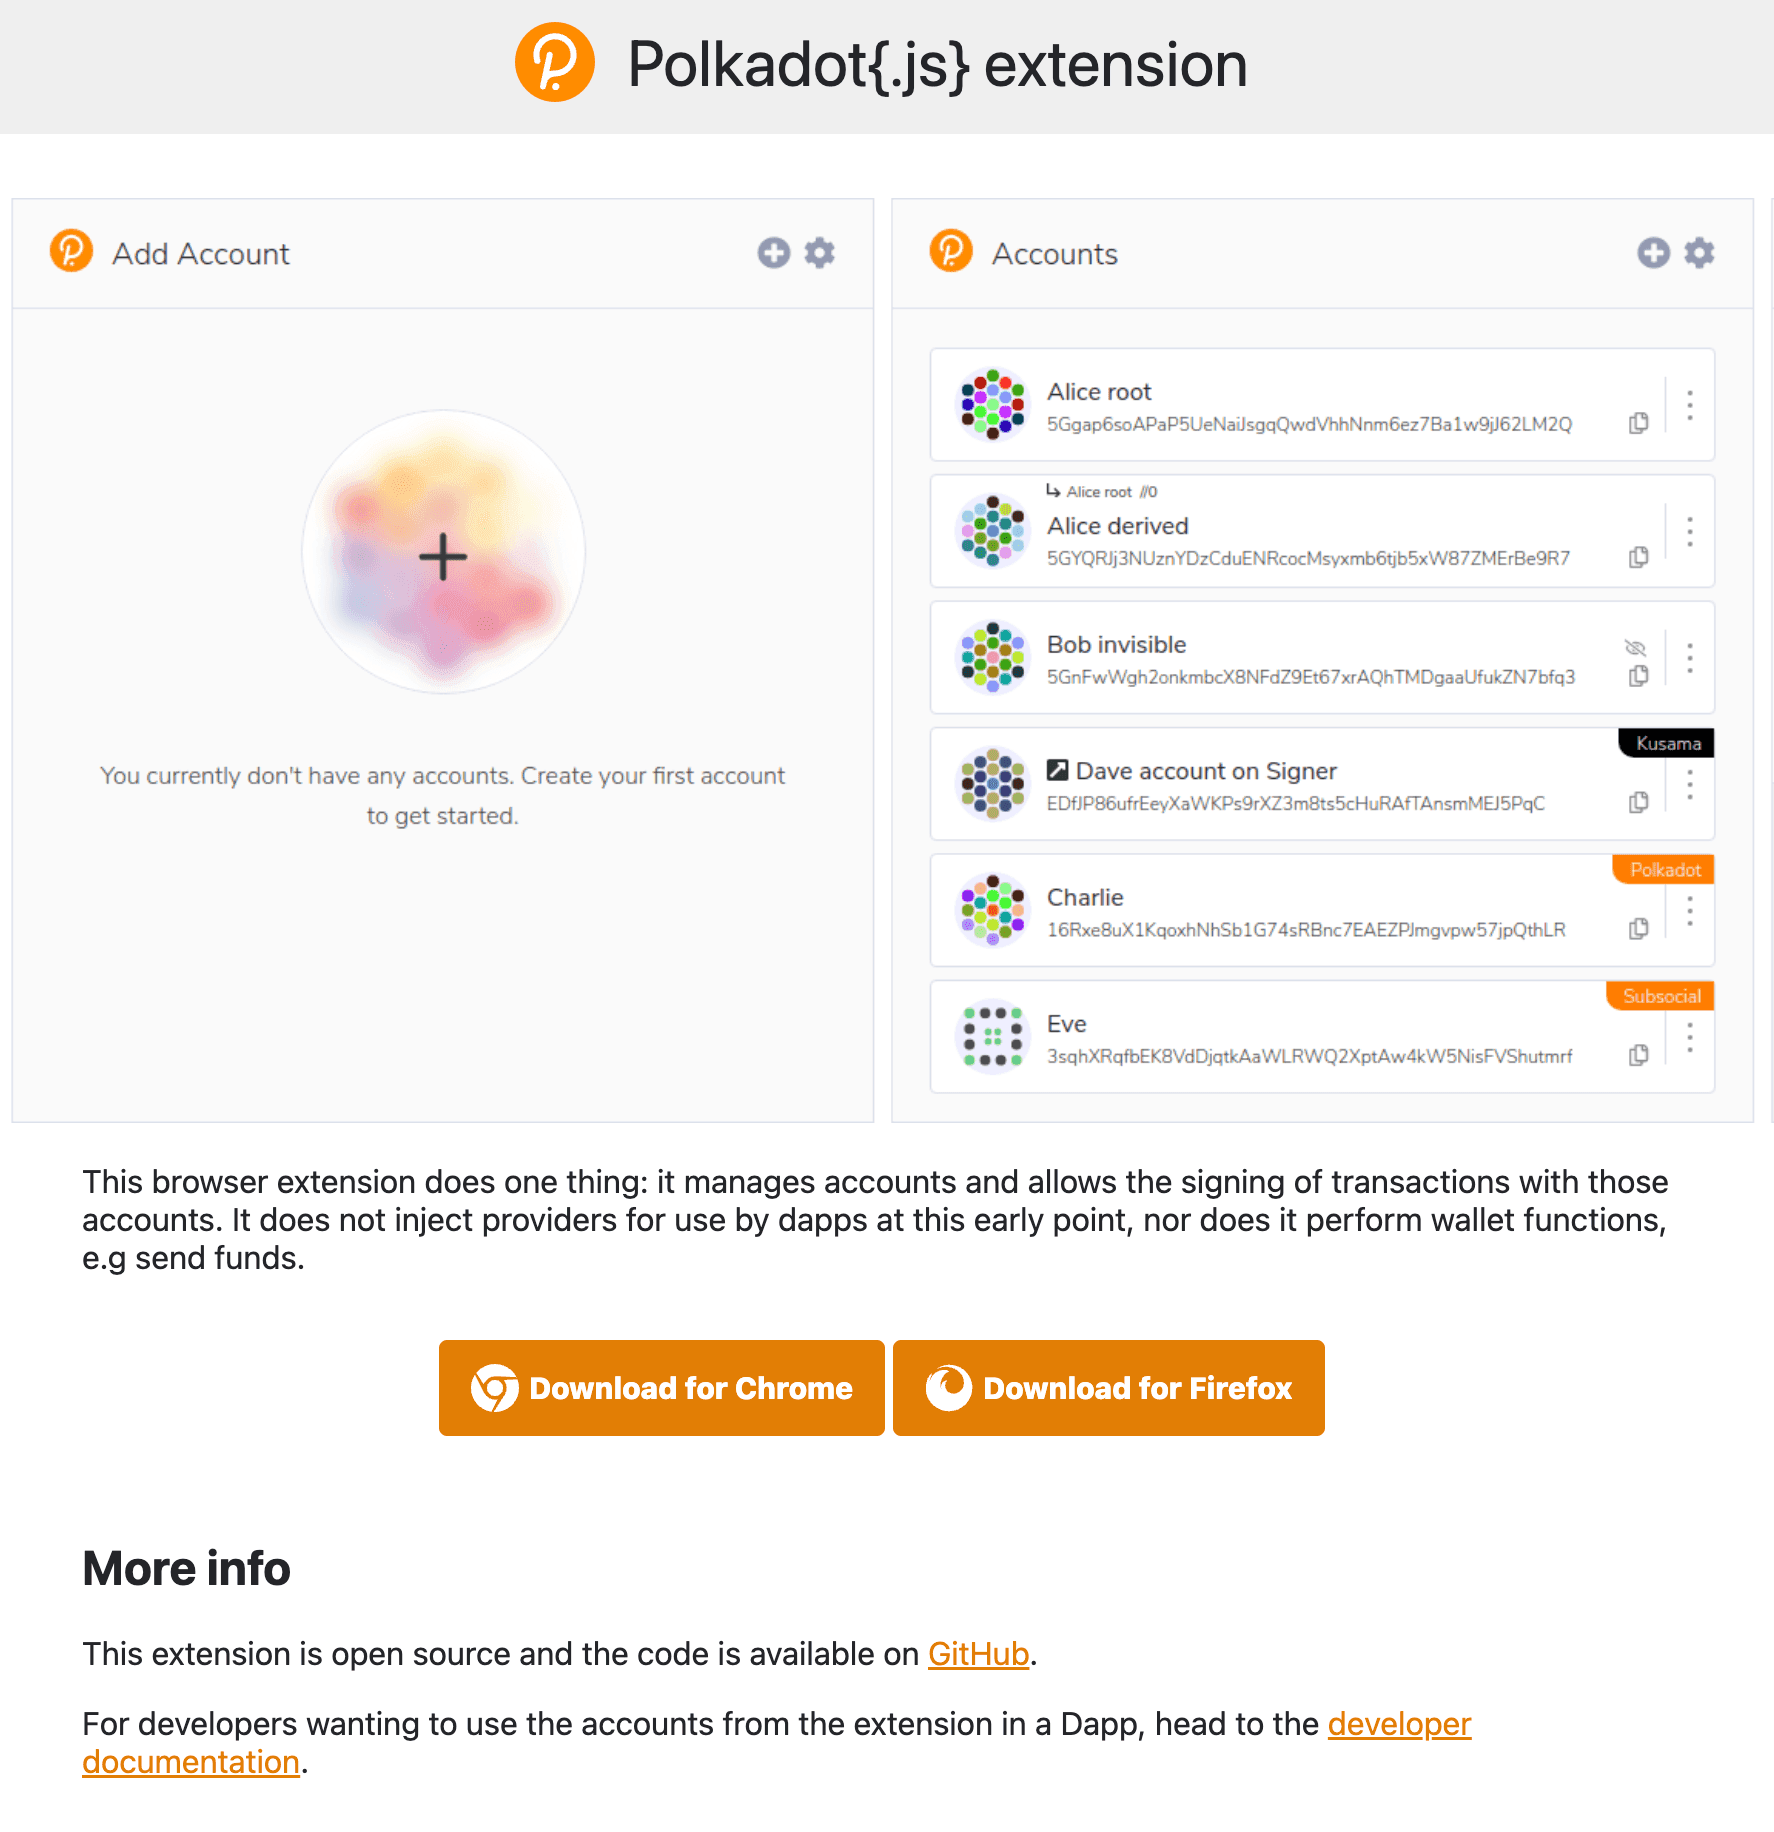
To use the wallet on your desktop you need to download the 'Polkadot.js-Extension' (available on either Chrome Extensions or Firefox).

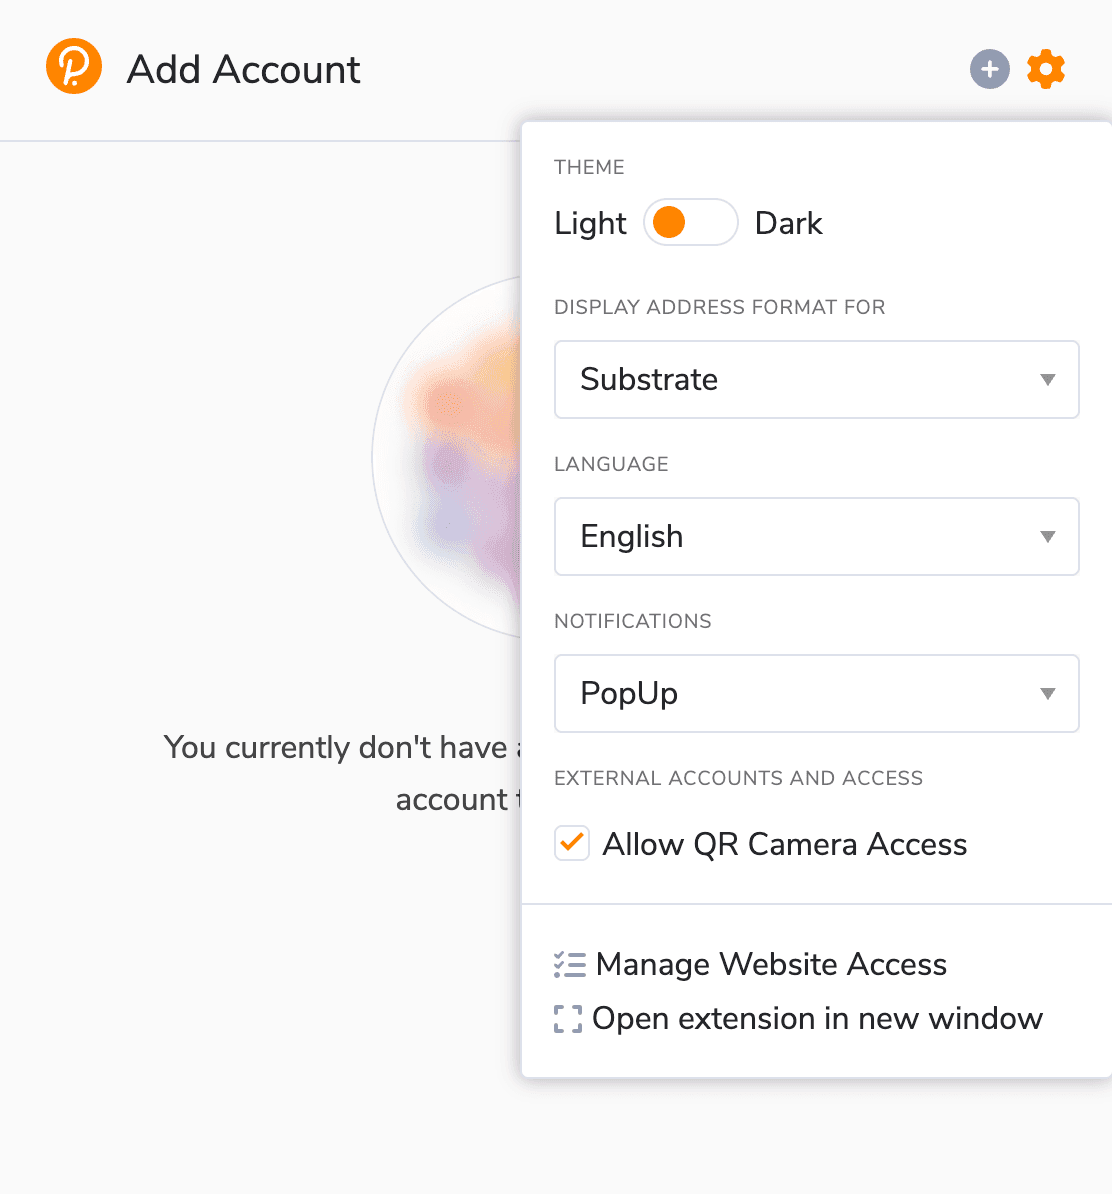
On the extension, you need to go to the "Settings" and enable "Allow QR Camera Access", like in the image below.

NOTE

It may be required that you additionally click on "Open extension in new window", where your browser would prompt you for the webcam permissions.

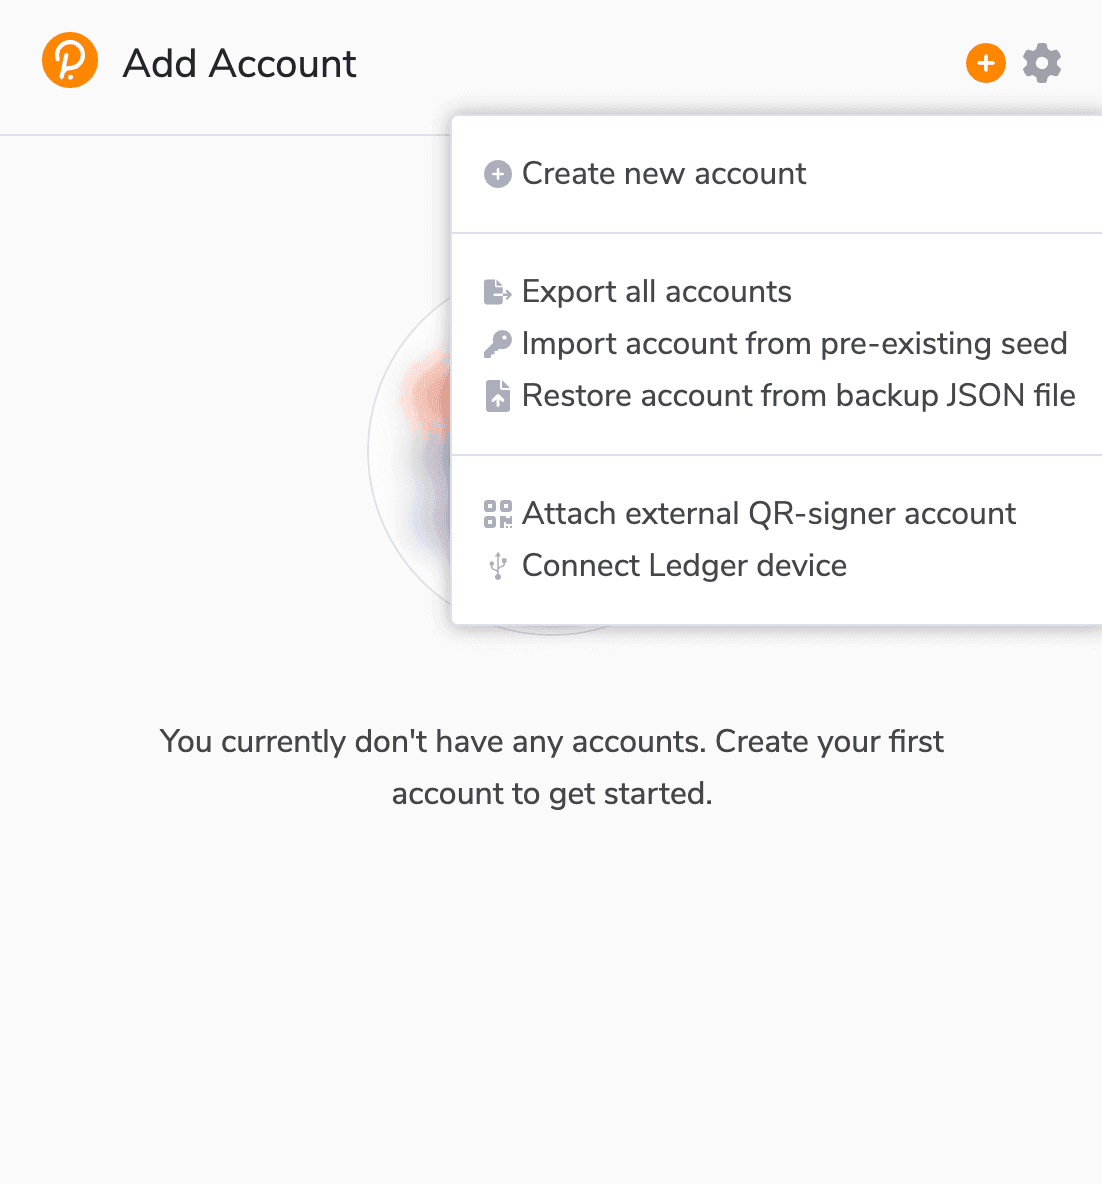
Now you can add your wallet to the extension. Click on the "+"-icon and select "Attach external QR-signer account". This will enable your webcam, you need to go to the 'Polkadot Vault' and click on your key, following that a QR-code will be shown, this should be scanned using the extension on your device.

After successfully adding the wallet to the extension you will be able to go to "Tensor Wallet" and manage your funds from there. On any transaction you will need to scan the QR-code using your vault smartphone and then the QR-code of your wallet using the extension. If you created a custom derived key, you will additionally be prompted to enter your derivation path password.

Using on your Phone (not the Vault Smartphone):

You can download the 'Nova Wallet' as explained in the 'Mobile-Wallet'-Section, instead of creating a new wallet you should select "Connect Hardware Wallet", this will prompt you to again scan the QR-code of your key on the vault smartphone. After that your wallet will be added to Nova Wallet, and can be managed from there.

Congratulations, you have successfully created a cold-storage hardware wallet using your vault smartphone. From now on you can use your wallet on either PC or Mobile.

Leave Comment

Sign In

Comments (1)

Please note that comment translations may not be accurate!

IamBananas

4d ago

I staked to Roundtable using this wallet and now it's not allowing me to unstake or stake to another... Read More